Don't let surplus summer garden vegetables and fruit go to waste! By using one or several of the techniques we will discuss below, you can reduce your grocery bill, and enjoy nutritious, flavorful garden-fresh food all year long.
Home food preservation is not a new idea, it’s been practiced in some form for many years. But in the words of one of my friends, "If it isn't broken, don't fix it." Many of the techniques for food preservation are easy to accomplish and have been passed down through generations of gardeners and food preservationists.
Food Preservation Method #1: Water Bath Canning
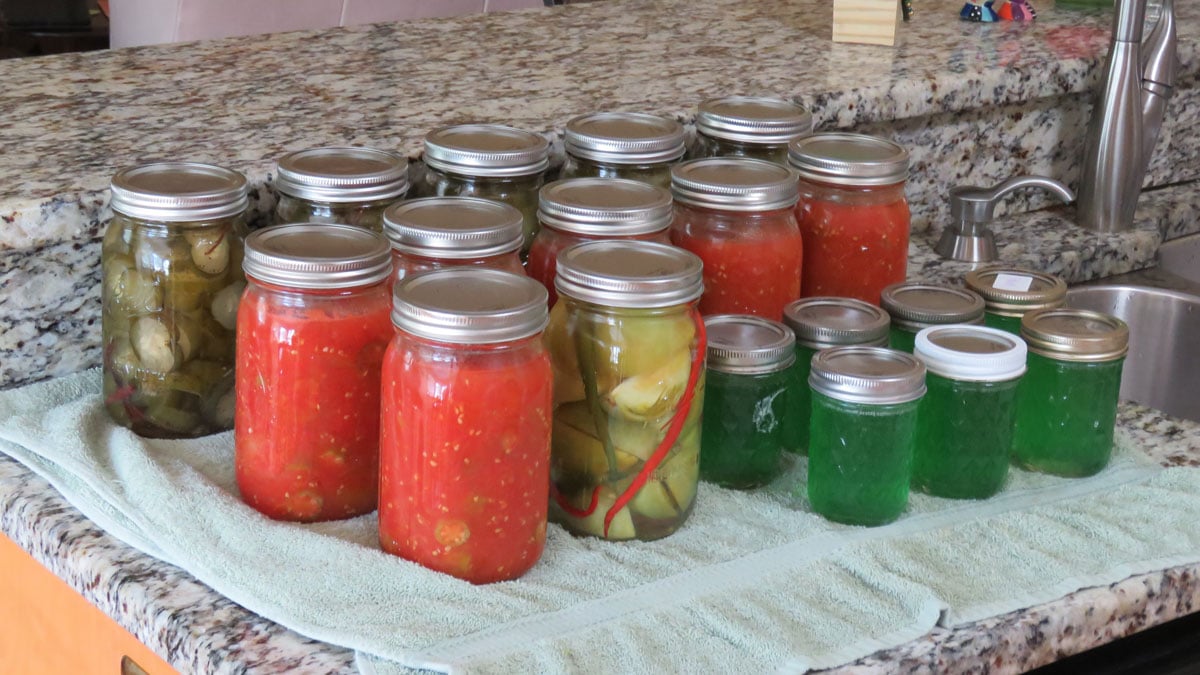
One of the older techniques is water bath canning. It can be done in glass jars and is a fairly simple process. The cooking time varies depending upon what you’re canning.
To save energy, some use pressure canners, but the time factor is not a lot different.
Having to wait for the pressure to drop before opening and unloading the pressure canner consumes a lot of time.
However, if energy savings is your goal, pressure canning is a good choice, but time savings is not always a legitimate factor.
The Cold Pack Method for Green Beans
- Beans should be washed and broken and the stem ends and tip ends discarded.
- Add a teaspoon of salt to each jar. Salt is not necessary for preservation, but for flavor only.
- Pack them in sterile quart jars and fill with water.
- Use a table knife inserted to bottom of jar at several points around the jar to remove air bubbles.
- Wipe mouth of jar and place sterile seals and rings on jars and hand tighten.
- Fill canner so the water comes up to the neck of the jars.
- Cut on high heat and start timing when the water begins to boil.
- Cook for 1 1/2 hours and remove carefully.
- Sit on towels on countertop and listen to the seals "pop" as they capture the goodness of the beans. It is a wonderful sound to gardeners and food preservers.
Note: Do not reuse seals, as they may have been indented in the original use and not reseal properly. Rings may be reused if not corroded or bent.
Tomatoes, vegetable/tomato soup and spaghetti sauce
- These items are precooked on top of the stove in an open container.
- After cooking, sterilized jars are packed, a teaspoon of salt added and extra juice poured on top.
- Insert knife and stir to remove any air bubbles.
- Leave a little head space for expansion.
- Clean mouth of jars, place sterile seals and rings on jars and place in canner as outlined for green beans.
- Cooking time in canner is less for these items, as they are precooked in open containers prior to the water bath process.
Note: Proper headspace of approximately 1 ½ inches is required. Too little allows the food to expand and seep out as pressure increases. This may leave a residue on the rim of the jar and cause it not to seal properly. Too much headspace may cause the excess air to not be properly expelled and the food may spoil.
Clemson University Extension Service maintains an online presence and is a good source of information about gardening and food preservation. They recommend that low acid foods be processed in a pressure canner, but high acid food may be canned in water bath or pressure canners.
Note: Many states have agricultural colleges and maintain websites and offices in various locations. They are a great source of information and provide recipes, answers to frequently asked questions and many other free services.
Food Preservation Method #2: Pickling
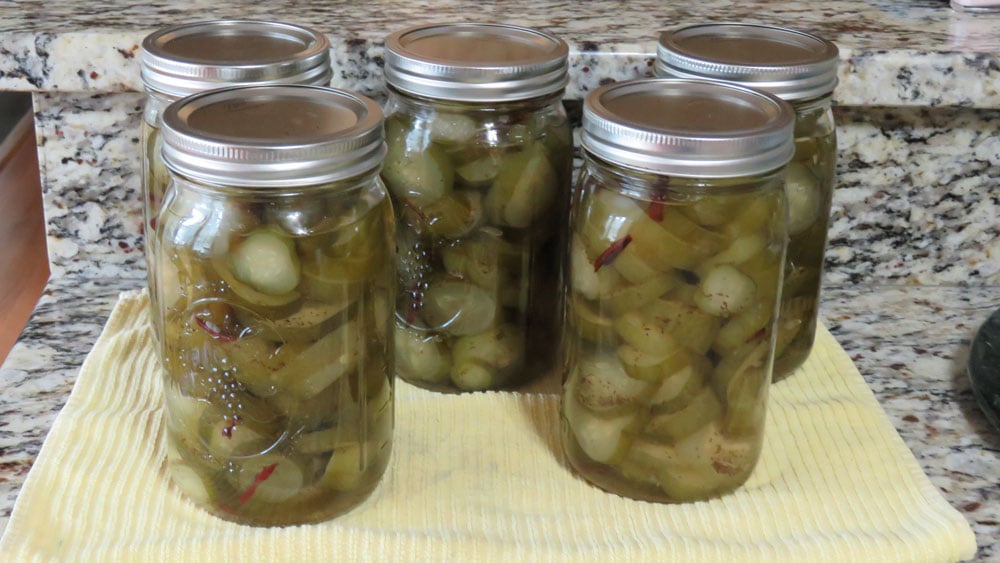
Excess cucumbers not consumed for regular table fare can be made into pickles and there are many different recipes.
Our favorite recipe is for 14-day, sweet, sliced cucumber pickles. The recipe was shared with me by a coworker, Lucille Kirby, from Spartanburg, SC in 1966 and has become a tradition in our family.
Lucille Kirby's 14 Day, Sliced, Sweet Cucumber Pickles
- Place sliced and washed cucumbers into two clear, gallon jugs.
- Dissolve 2 cups salt into one gallon of water and boil. Pour boiling water over cucumbers and allow to stand for one week (we use clean river stone to hold down cucumbers to keep them from floating). Cover lightly, but do not seal.
- On the 8th day, drain old water and boil one fresh gallon of water to pour over cucumbers. Let stand for 24 hours.
- On the 9th day, drain old water and boil fresh water, add 1 tablespoon of alum and pour over cucumbers. Let stand for 24 hours.
- On the 10th day, drain old water and boil fresh water and pour over cucumbers. Let stand for 24 hours.
- On the 11th day, drain and prepare pickling solution. This solution contains 5 pints of boiling hot vinegar, 6 cups sugar, 5 teaspoons of celery seeds and 3 broken cinnamon sticks. Bring back to a boil after the additives.
- Pour this solution over the pickles and each day thereafter (days 12, 13 and 14), drain, re-heat and add one cup sugar.
- On day 14, pack the cucumber slices into quart jars and pour the boiling hot solution over them. Seal the jars tightly with fresh, sterile seals and rings and as they cool, they will seal tightly. You will hear the pop as they seal.
This is a demanding recipe, but the results are well worth it.
These pickles can be kept up to two years, but after that will begin to lose quality and become soft, losing their crispness.
Most home gardeners have a favorite pickling recipe that they will share with you and this is a good way to extend the enjoyment of cucumbers, peppers, tomatoes and other items that lend themselves to pickling.
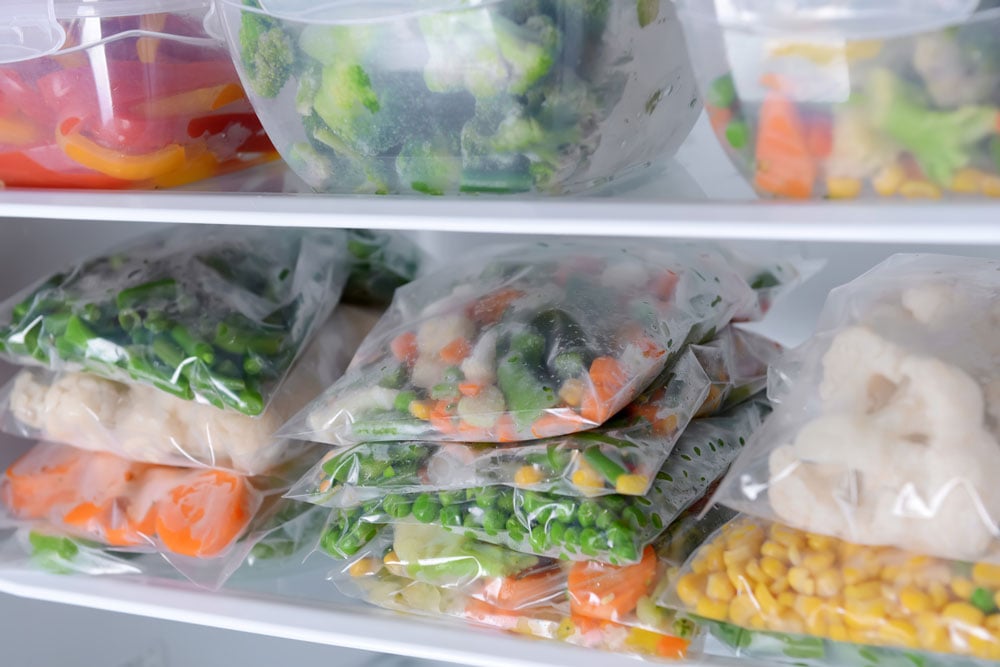
Food Preservation Method #3: Freezing Foods
One of the most important things to remember in freezing, is that most foods need to be blanched to remove harmful enzymes that can affect the quality and taste of preserved fruits and vegetables.
How to Blanch Vegetables for Freezing:
We do lots of crowder peas for freezing, but this method can be used for other types of vegetables.
- After shelling/preparing, heat a large pot of water until it is boiling.
- Pour in the peas (or other vegetables) and don’t allow them to fully cook.
- After a couple of minutes, pour them into a colander and then spread them out on clean towels on the countertops to cool as soon as possible.
- After they cool, pack in the appropriate sized freezer bags and transported to the freezer.
A wide range of items can be successfully frozen, and most frozen vegetables and fruits are as good as fresh if they are handled properly.
Chest freezers are very efficient, as they do not allow cold air to spill out as easily when opened, but upright freezers are easier to keep organized and if not kept open for extended periods when making selections they are acceptable.
Food Preservation Method #4: Jellies, Jam and Preserves

If you are fortunate enough to have fruit trees, fig bushes or berry bushes, you can prepare delicious jelly, jam and preserves to enjoy after the season has passed.
Jellies are made from the juice of the fruit, such as grapes. It is combined with sugar and pectin and cooked in an open container until it begins to thicken. It is recommended to skim the foam that collects on top of the mix to maintain the clarity of the jelly.
Also, when you strain the juice through muslin, don’t squeeze too hard, or the juice will be cloudy and the jelly will not be as pretty. My wife had to warn me repeatedly before I learned to use restraint. I was trying to get every last drop of juice, and that was a mistake.
How to Can Your Jelly:
- As with water bath canning, jars, seals and rings should be sterile (sterilize in boiling water).
- Pour juice mixture into jars
- Place seals and rings after cleaning mouth of jars and hand tighten.
- As the jelly cools, a vacuum is created and the seals lock into place.
- Some people remove and reuse the rings, but we leave ours on for extra security.
Any number of fruits and berries may be used to create tasty treats for cold winter months. Blackberries, grapes, blueberries, strawberries, figs, peaches and apples a just a few candidates.
Note: If mold is present when canned food or jelly is opened, it is advisable to discard it. In the past, some sources recommended scraping the mold off the top of jelly and using it, but this has been revised and now it is recommended to be discarded.
Method #5: Dehydration
Another easy method of preserving food is by the use of dehydration.
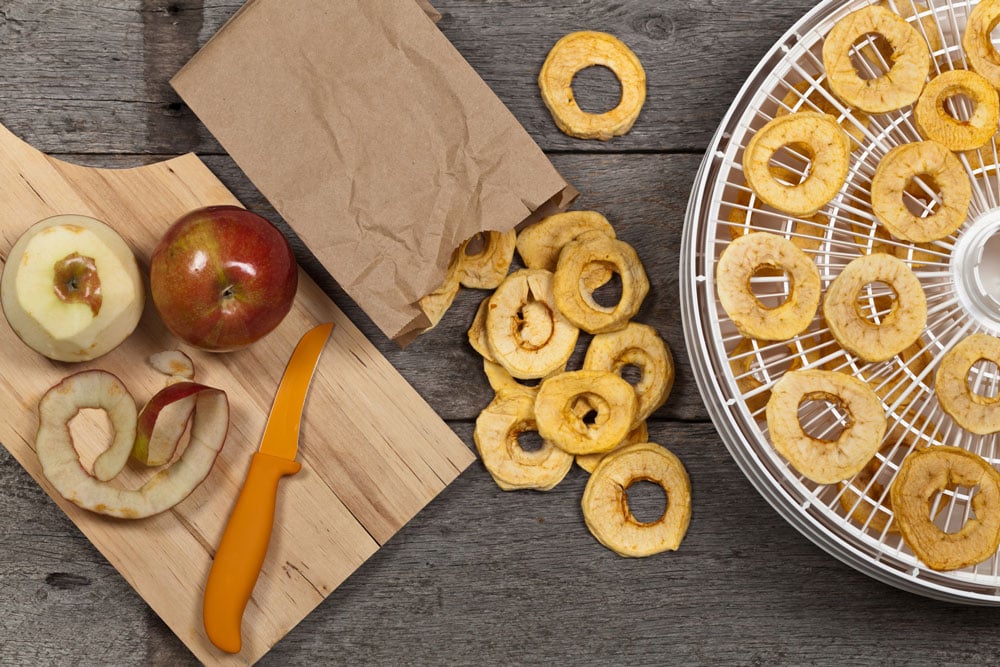
This method is particularly good for preserving apples. Granny Smith apples are favorites for pies.
How To Dry Apples Using a Food Dehydrator
- Core them and cut them into thin rings 1/8” to 3/16” thick.
- I have a four shelf dehydrator and I fill all the trays. It is electric and has a fan to move the heated air through the trays.
- It takes about 30 hours or less to dry the four trays, and the apples should be dry, but not brittle.
- After drying, the apples may be placed in plastic bags and we pack the bags in plastic storage containers.
They may be eaten for snacks or re-hydrated to make what was traditionally called “mule ear” pies. They were wrapped in a thin crust and fried. We choose to bake ours in the oven to eliminate the cooking oil. Sprinkle with sugar while warm, and they are scrumptious.
How to Make Fruit Leather in the Food Dehydrator
Homemade fruit leather or fruit roll-ups may be made in the special tray available for most dehydrators, or in an oven on a low setting of approximately 200°F.
- Puree chopped fruit of choice and add 3/4 cup sugar to 1 1/4 pound of fruit and add one or two tablespoons of lemon juice (to taste).
- Cook in saucepan over medium heat until mixture begins to thicken due to liquid evaporation.
- Pour thick mixture into dehydrator tray, or if using oven place on rimmed baking sheet with non-stick surface.
- Maintain heat until pureed fruit is reasonably dry. If underside is still too moist, turnover and return to heat to reduce moisture.
- Cut to appropriate size and shape and store in plastic bags for 7-10 days. This makes a convenient, tasty and mess-free snack.
Dehydrating Fruits and Vegetables

Many fruits, vegetables and herbs can be dehydrated and enjoyed as a treat during the off-season for gardens. Figs, for example, may be dried by flattening them and pricking the skin with a fork to allow moisture to escape more easily.
And if you do not have a dehydrator, don’t despair, you can use your oven to accomplish the same end-result.
How to Dehydrate Fruit or Vegetables Using Your Oven
- Place the fruit or vegetable on wire mesh racks to allow air flow.
- Heat the oven on the lowest setting and place racks in oven.
- Leave the door cracked to allow the moisture to escape.
- You will learn by trial and error how long to leave food in the oven.
- Do not over-dry, but be sure that most of the moisture is removed to avoid food molding and spoiling.
How to Dehydrate Meats
- Meat can be dried by using the dehydrator or oven.
- Slice meat approximately 3/16” thick and marinate in favorite marinade (brown sugar, soy sauce, and other favorite condiments).
- Place meat on racks and allow to dry until moisture is dried up and meat will bend, but not crack.
- If properly dried, it will last for extended time in a cool, dry environment.
Venison makes excellent jerky and is a treat when dehydrated in this manner. It makes a tasty snack when hiking, hunting or camping and is lightweight and easy to pack.
Or use the Old Fashioned Solar Method
I vividly remember my paternal grandmother using solar energy to dry vast quantities of peaches and apples when I was a child.
The pitted, peeled and cut fruit would be spread on paper, placed on a hot tin roof and covered with netting to protect it from insects.
Hot, summer weather would accomplish the drying in short order and the delicious fruit was enjoyed throughout the long winter months.
Considering the work we put into a garden or the cost of vegetables and fruit purchased at the grocers or farmers markets, it is unfortunate to allow the excess to go to waste. Working parents may not have the time to take advantage of food preservation, but many of us can do this to save money and increase the quality of our diet.
Plus, food preservation allows us to take fruit, vegetables, herbs and spices at their peak condition or flavor, and lock in that goodness by canning, freezing or dehydration.
Try it and you’ll see it’s well worth the investment of time and money.

.jpg "L. Woodrow Ross")