When you have an ample supply of fresh cow's milk, you don't want it to go to waste. Try these easy tips to use, cook and preserve fresh milk.
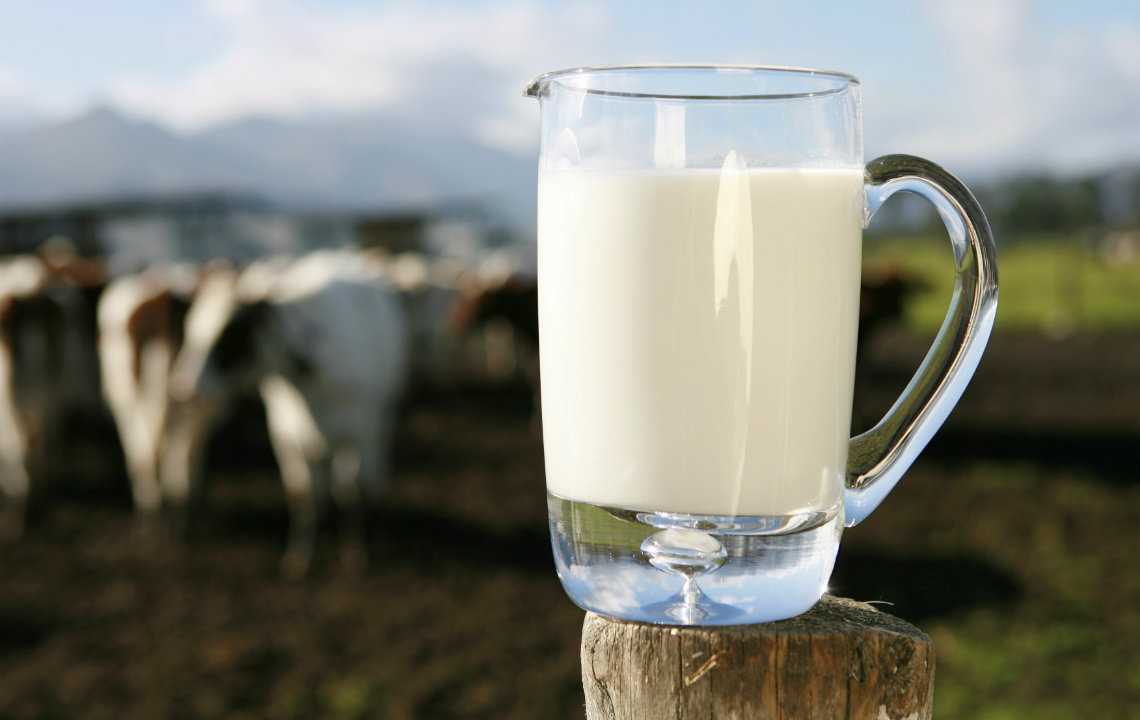
Between epic hypervigilant grocery store runs, your CSA membership and/or raising your own dairy cows, you’ll always have an ample supply of fresh milk when you live in the country.
Why is this a bad thing? Milk goes bad.
And if it’s not ultra-pasteurized milk, it goes bad much faster than superstore brands.
So unless you have a gang of teenagers willing to chug a few glasses a day, eventually you’ll wind up with an oversupply of the stuff.
What to do?
There are some great ways to use, cook and preserve fresh milk.
In today’s post we’ll share 9 easy and creative ways to use your fresh milk so you’re never left with an oversupply for long.
1. MAKE GREEK YOGURT (PLUS WHEY) FROM SCRATCH WITH YOUR FRESH MILK
With loads of protein, probiotics, calcium and a rich creamy dreamy texture, the Greek yogurt trend is here to stay.
The problem? When priced at $4-9 a quart, eating Greek yogurt can be an expensive habit.
Luckily you can make your own at home using store-bought plain yogurt (or homemade yogurt), with nearly zero effort and just a little patience.
Here’s how to do it:
Ingredients:
1 pint homemade or store-bought plain yogurt (full fat, low fat, no fat)
Equipment:
1 fine mesh strainer
1 piece of cheese cloth, rinsed
1 medium stainless steel mixing bowl
Procedure:
-
Place the fine mesh strainer over the mixing bowl and line with 2 layers of rinsed cheese cloth.
-
Plop your entire container of yogurt into the cheese cloth.
-
Let strain in the fridge for about 2 hours (the longer you leave it, the thicker it will become).
-
The whey (the cloudy liquid) will separate from the curd, leaving you with a thick, rich yogurt.
-
Reserve the whey, if desired, and enjoy your heavenly homemade Greek yogurt.
2. MAKE EFFORTLESS HOMEMADE BUTTER (AND BUTTERMILK) WITH FRESH MILK
Good butter, especially grass-fed and/or organic butter, costs upwards of $6.00 per pound.
Quality butter, as any foodie will tell you, is worth its weight in gold…but why break the bank when you can make fresher and better tasting butter at home?
Here’s how to make your own butter with only 1-2 ingredients, a blender or mixer and a strainer.
Grab a mixer or blender, some fresh heavy cream (if you can find additive-free use it) and sea salt (optional).
Pour the cream into your mixer or blender, and blend/mix for about 5 minutes.
At this point, you’ll see the butter start to separate from the buttermilk.
Strain out the buttermilk and save for pancakes, chicken or preserve it with the sherbet recipes listed below, add salt to the butter (if desired) and you’ve got homemade butter!
For a full tutorial (including tips on rinsing your butter to make it last longer) visit the butter tutorial on: http://www.foodrenegade.com/how-to-make-butter/.
3. MAKE HOMEMADE FRUIT SHERBET (WITH LEFTOVER BUTTERMILK)
Sherbet is easy to make, lower in fat and calories than traditional ice cream and offers a great way to preserve your leftover buttermilk.
Once you have a basic buttermilk-sherbet recipe down, you can mix it up by adding any type of fruit you like.
No buttermilk? No problem. Sherbets can also be made with half and half or whole milk.
Check out this article from Southern Living for raspberry, blueberry, blackberry, lime and lemon sherbet recipes.
4. MAKE DIY KEFIR WITH FRESH MILK
Kefir, yogurt’s less-trendy cousin, is a powerhouse probiotic beverage that no home should be without.
Native to Russia, Kefir boasts a diverse probiotic profile (making it good for your immune system), is easier to make than yogurt (no milk-boiling required) and is rich in protein, calcium and B-Vitamins.
Making Kefir requires the culinary prowess of following 4 simple steps:
-
Pour milk into a clean, sterile glass jar.
-
Stir in a Kefir starter*.
-
Let it sit at room temperature for 8-12 hours (or follow package instructions on your starter) the longer you leave it, the thicker and sourer tasting it will be.
-
Refrigerate, enjoy and save a little to start your next batch.
*Kefir starters vary from packaged powders to Kefir grains. The grains require some upkeep but, with care, will keep forever in your fridge.
The powdered starters are convenient and work just as well, though if you forget to save some of your reserved batch or botch a batch, you’ll need to buy more starter.
Find your best Kefir starter at: culturesforhealth.com.
5. TRY MAKE-AT-HOME SOUR CREAM (NO STARTER CULTURE NEEDED)
If you buy your milk from a small local dairy or CSA, even if it’s pasteurized it likely won’t be homogenized.
In layman’s terms, the homogenization process ultra-mixes the milk fat with the liquid to create a uniform product. Hence, cream does not “rise to the top” in commercial milk products.
Non-homogenized milk is an amazing find for two reasons:
#1: It’s been proven easier to digest and less allergenic than homogenized. As reported in our previous article, “Would you give your children raw milk”, a study comparing the health benefits of raw milk vs pasteurized milk uncovered how the process of homogenization denatures milk fat’s structure, making it harder to digest and more allergenic.
#2: You’ll have a nice thick cap of luxurious heavy cream to skim off your gallon of milk and use for coffee, whipped cream OR homemade sour cream.
DIY Natural has an excellent tutorial on how to make your own sour cream using just whole milk, heavy cream and vinegar…no culture or starter needed.
This same article includes a recipe for gourmet Crème Fraiche, a sweeter, milder, thicker version of sour cream used in savory and sweet dishes.
The Crème Fraiche recipe calls for just heavy cream and buttermilk, easy peasy.
6. MAKE PANNA COTTA WITH YOUR FRESH MILK
Panna Cotta, Italian for “cooked cream” is a delectably different and nearly fool-proof dessert you can whip up to enjoy, or to freeze, for special occasions.
Typical panna cotta recipes require very little skill and only a few ingredients: milk, cream, sugar, gelatin and vanilla, warmed on the stove, poured into ramekins and chilled.
After you’ve experienced the sweet smooth simplicity of panna cotta, you’ll wonder why anyone would bother with finicky crème brulee.
For an excellent written and video tutorial with recipe and ingredient substitutions (for dairy-free, vegan, etc.), visit “How to Make Panna Cotta” at thekitchn.com.
To freeze, cool completely and store in the freezer for up to 6 months.
7. WHIP UP A BATCH OF HOMEMADE RICOTTA CHEESE WITH YOUR FRESH MILK (AND NEVER BUY STORE-BOUGHT AGAIN)
Real ricotta cheese should be soft, silky and melt-in-your-mouth delicious…not grainy, gelatinous or overly salty like the stuff you typically get in supermarkets.
Ricotta is a common ingredient in lasagnas and stuffed pastas, but can also be used in desserts, pancakes, as an instant creamy thickener for sauces and even as a base for macaroni and cheese or cheesy baked veggies.
Ricotta is also extremely healthy. High in protein, and relatively low in fat, it makes a perfect snack paired with some fruit or chocolate chips or blended with fruit and greens into a high protein smoothie.
Now here’s the best part: ricotta is one of the easiest cheeses to make at home.
You don’t need any fancy equipment, cultures or rennet.
Just 3 ingredients…
-
Milk (you can use whole or low-fat)
-
Lemon juice or vinegar
-
Salt
…then a little heat, stirring and straining
-
Heat the milk to simmering, add the lemon juice or vinegar and salt.
-
Cool and let the curds form, strain the milk/curd mixture over a fine mesh strainer lined with cheese cloth for up to 1 hour
-
Use right away or store in an airtight container in the fridge for up to 4 days.
Ricotta can also be frozen to use later in baked goods, pastas, etc.
Get a full DIY ricotta tutorial and recipe here.
8. FREEZE YOUR FRESH MILK FOR FUTURE COOKING
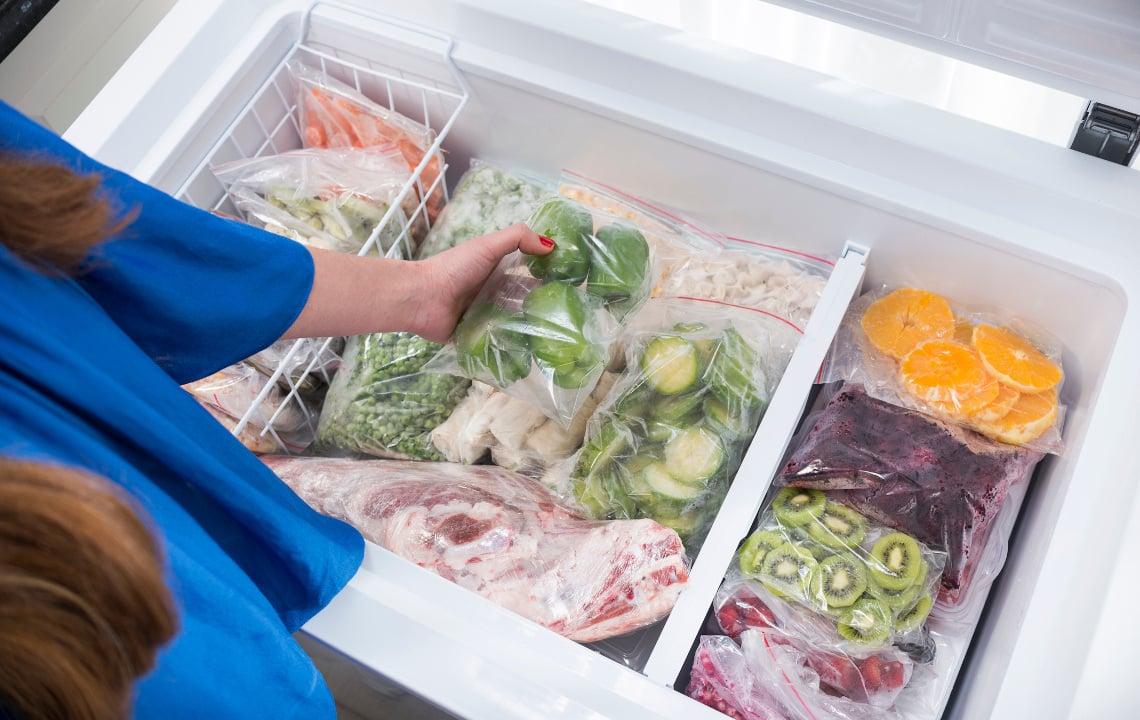
Most of us don’t realize this, but unexpired milk can be safely frozen.
Please note: not everyone will enjoy the taste or texture of previously frozen milk as a beverage as it can separate and develop a “grainy’ texture.
But you won’t notice the difference for cooking and it also works great in smoothies, just shake well before use.
To freeze: pour a little bit out of the gallon container (it will expand when frozen), or pour into smaller containers and stick it in the freezer.
Allow it to thaw for 24 hours before using.
Do not re-freeze.
9. MAKE BÉCHAMEL (SOME FOR NOW, SOME TO FREEZE) WITH YOUR FRESH MILK
Béchamel is a super-simple and versatile white sauce that can be used in pastas, soufflés and casseroles or as a base for cheese sauce.
Its ingredients: butter, flour, milk, salt and pepper.
You can also add more flavor by adding an onion studded with whole cloves, a few cloves of garlic or a pinch of freshly grated nutmeg.
This recipe from Epicurous make a perfect, simple béchamel and has instructions for adding cheese.
To freeze, cool the sauce completely and store in the freezer for up to 6 months.
Fresh milk is a terrible thing to waste. Use and incorporate any of these 9 recipes and techniques, and you’ll never waste another delicious, nutritious drop.


