Buying a high tunnel is a big investment for homesteaders, farmers, or hobby farmers, and it raises many questions. Here, a farmer shares his experience and tips on selecting, building, and maintaining a high tunnel.
One of the hardest things about starting a farm is deciding where to invest first.
Like many, we started our regenerative herb farm with a limited budget, and had to ask ourselves: should we mechanize to improve efficiency, like with a walk-behind tractor, or add infrastructure to improve self-sufficiency and extend our growing capacity with a high tunnel?
Since we couldn't do both, we re-evaluated our priorities and decided on a high tunnel. Spoiler alert: it was the right choice!
However, there is a lot I wish I had known before investing in this project, which is what this article is all about.
Here we'll discuss everything you need to know about high tunnels for your land, including what they are (high tunnel vs. greenhouse), their uses and benefits, DIY kits vs building your own, helpful tips on setting one up, and additional resources to learn more about these beneficial structures.
What is a High Tunnel?
Also called a hoop-house, these structures look like a greenhouse but are different.
Although both give you varying degrees of control over growing conditions, the primary difference is a greenhouse is a heated structure, and a high tunnel is not.
Greenhouse Vs. High Tunnel: What's the Difference?
A greenhouse is an enclosed heated structure typically more stout in construction.
It is most commonly used to grow plants in pots and trays rather than in soil. In addition to having heaters, their ventilation and irrigation systems are more advanced.
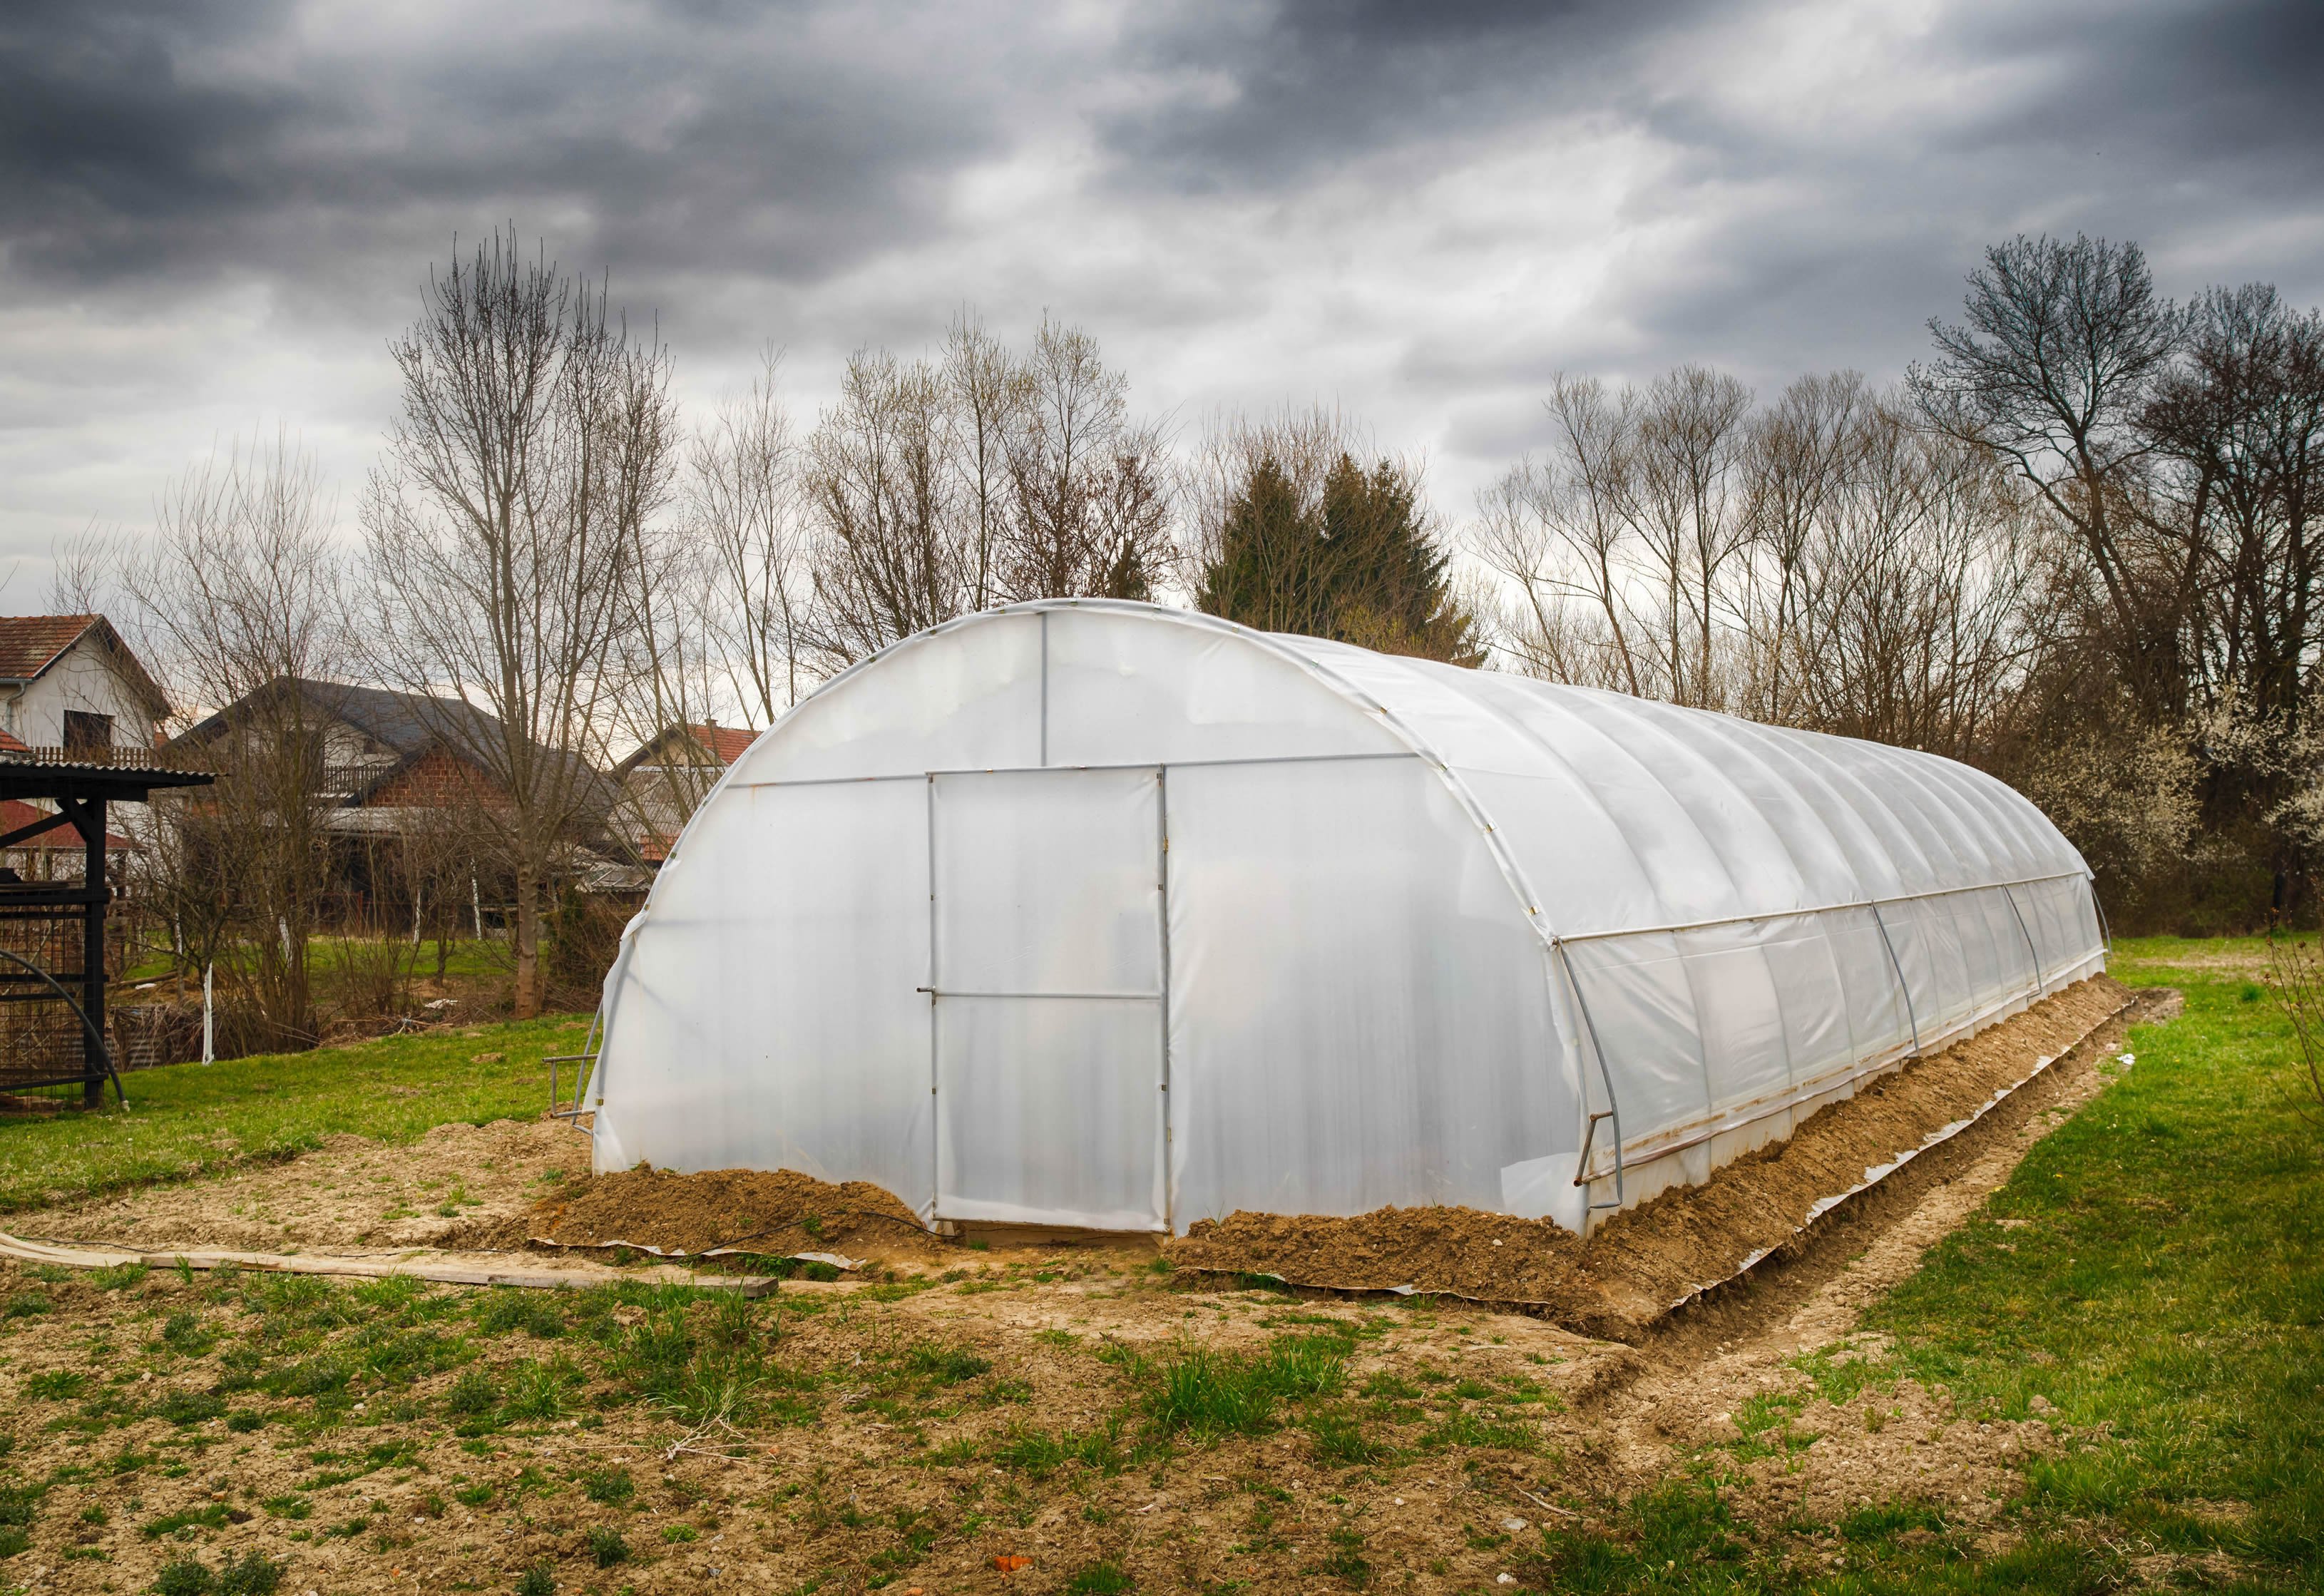
A high tunnel is a non-heated structure, usually consisting of a series of hoops at least 6 feet in height in the center.
It is covered with polyethylene or polycarbonate plastic, which makes it look like a tunnel or a caterpillar (as it can be called). High tunnels have simple ventilation systems with sides that roll up, end walls or doors that can open and vents. Plants are typically grown in the ground in a high tunnel.
Greenhouses give you the most control over fluctuating environmental conditions, whereas a high tunnel is more passive and gives intermediate control.
You can add many upgrades to a high tunnel, including heating, but this removes it from the high tunnel category.
Knowing your growing goals is an important first step in deciding which option to choose, but for the sake of this article, we will focus on high tunnels.

Uses and Benefits of High Tunnels
There are many benefits to adding a high tunnel to your farm, homestead or hobby farm.
The biggest benefit is that it protects your crop from environmental fluctuations.
In essence, a high tunnel makes a microclimate that creates warmer temperatures and protects the crop from damaging weather like excessive rain, high winds, sleet and snow.
This gives the grower more flexibility and greater control over the growing environment for any given crop. This usually translates to better crop quality and higher yields, both important factors, especially if your growing space is somewhat limited.
How Do High Tunnels Work?
High tunnels capture solar heat when it is cold, but more importantly, they block the desiccating/drying effects of cold winter winds.
If you have colder winters, even if you select cold-hardy crops, winter winds will kill most any vegetable crop or annual plant.
The primary benefit that sold me on a high tunnel was its ability to extend the shoulder seasons.
We live in the mountains of Western North Carolina. We get cold, relatively short winters with snow, but not extreme cold, and not all that much snow. Adding a high tunnel to our property has greatly extended our growing season by allowing us to grow earlier in the spring and later into the fall and early winter.
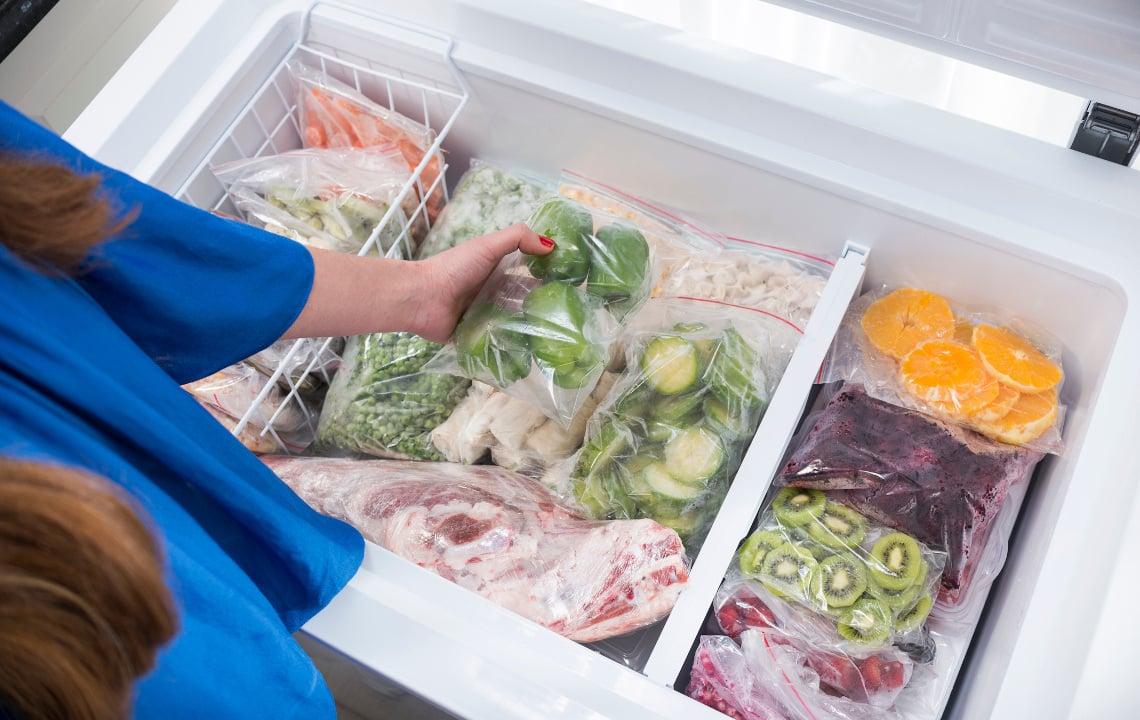
This past winter (2023 to 2024) was mild, and I was able to keep lettuce growing well into January. We got a hard frost that dipped into the single digits for a week or two, and ultimately took it out. Amazingly, the spinach and kale survived, and we had fresh spinach up to early spring, at which point we started over.
This meant our family had fresh greens all winter with no need to rely on buying lettuce and spinach from the store, which is likely trucked in from thousands of miles away.
If you live further south, you will only increase your ability to grow longer, potentially all year round, depending on temperatures and sunlight availability.
So, does this mean high tunnels are only good for growing in the colder months? Not at all
In the warmest months, a high tunnel allows you to control how much you irrigate your crops rather than relying on Mother Nature.
This is a significant benefit for us living in the Southeast, where excess water from afternoon summer thundershowers can quickly ruin crops.

A good example is tomatoes. Many, like field tomatoes, do not do well with too much rainfall.
The symptoms range from spitting tomatoes to yellowing wilted leaves and, worst of all, bland-tasting fruit. When tomatoes are growing in a high tunnel, you have absolute control over irrigation and can give the plants the perfect amount to stay healthy.
This translates to more consistency, higher yields, improved flavor and, at times, better control of pests and diseases.
On the flip side, you will need to constantly monitor your crops to irrigate.
Mother nature will not help you here, and your farm or homestead will need a regular supply of water.
An additional benefit of growing tomatoes and cucumbers in this structure is that it can easily be rigged with strings and hooks to grow indeterminate varieties for higher yields over a longer period of time.
One tip I must interject is to plan on using a shade cloth if you live in a hot area
When summer months migrate into the 90s or higher, your high tunnel will easily reach the 110-degree range, which will stress any crop (and any grower!).
I didn’t anticipate this, but I got lucky.
The first summer, we had our high tunnel. I monitored the inside temperature, and as soon as summer hit, the tunnel was well into the 100s.
At that point, I was scrambling to figure out what to do, and the answer was simple: get shade cloth.
I called the high tunnel company and luckily, they had the right size in stock. It took a couple of weeks to arrive, but as soon as I put it on, I saw a dramatic improvement in our crops. This is a must if you plan to grow in the summer months so plan accordingly.
There are various shade cloth options options depending on how much shade you want to provide your specific crop.
Building Your High Tunnel: Kit Versus Complete DIY
One of the first things to decide when considering a high tunnel is if you want a high tunnel kit or to do it completely DIY.
We chose a kit for several reasons.
Many companies offer complete kits that include everything you need in one shipment. This saves loads of time and ensures you have everything you need.
I'm pretty handy but with young kids at home and a homestead and other businesses to run, a kit was an obvious choice for us.
However, you will likely pay extra upfront for the convenience of a kit. Whether or not you save money, in the long run, depends on how much extra time you spend rounding up parts (high tunnels have some unique parts that may not be available at the local hardware store) for your DIY and the soundness of your design structure and materials.
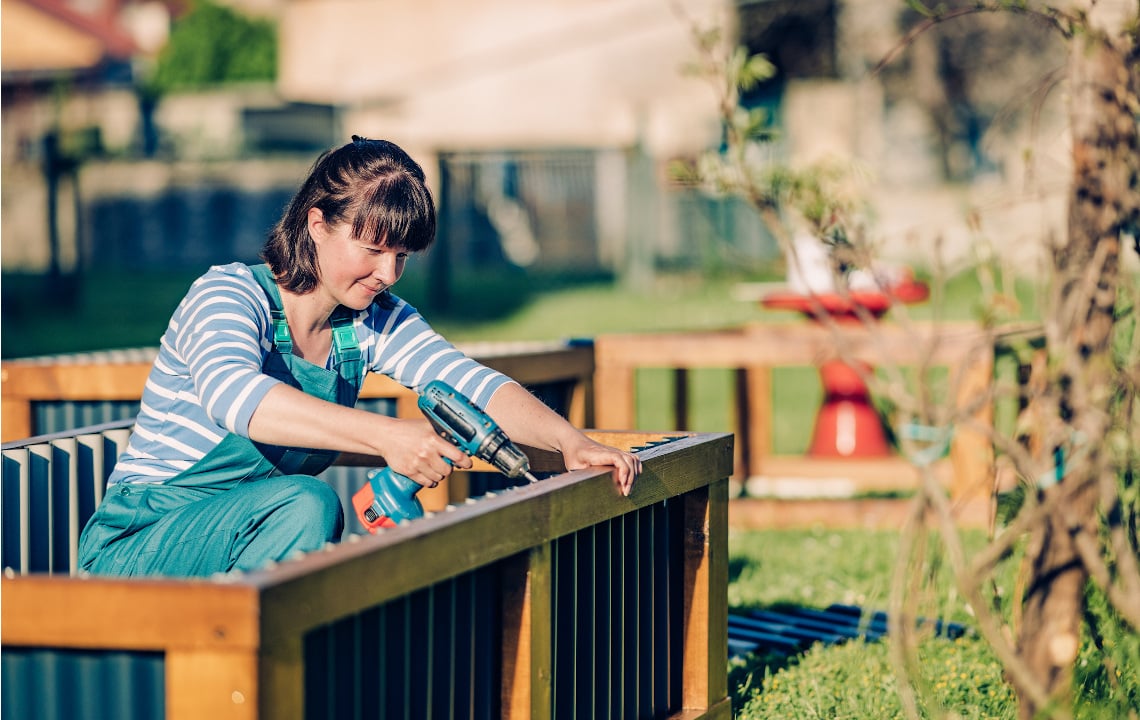
If you're handy and have the time, you can definitely DIY your own high tunnel.
At the end of this article are links to purchase customized kits, plans to make your own from scratch, and additional tools to make your DIY endeavor much easier.
Here are a few questions to ask yourself in the planning stage to help guide your decision on DIY high tunnel versus kit:
- How much time do you have?
- You will need to invest time in putting the structure together, whether you try to save money on parts or get a kit with everything included.
- Do you have extra hands to help?
- High tunnels do not require a high level of skill to build. However, extra help will make the process go much faster
- Do you have a flat area to build your high tunnel?
- High tunnels need to be on flat land. If the land isn’t flat, you will need to grade the area.
- We quickly learned that although our yard looked flat, it needed a lot grading!
- High tunnels need to be on flat land. If the land isn’t flat, you will need to grade the area.
- How much space do you have?
- This will determine the size of the structure.
- How much money can you invest in the structure?
- This may help you decide on buying a kit or doing it all from scratch.
- If you're DIYing, look for guides or plans that provide full instructions along with a supplies list so you know what to get and can estimate the cost of your materials.
- Do you have snow in the winter?
- This helps determine whether you need to look at a load-bearing peak as in Gothic or if you can go with the more classic hoop.
Where We Bought Our High Tunnel Kit
I decided to go with a kit from High Tunnel Vision Hoops for the following reason:
- Their customizability and great service.
- Their YouTube channel has detailed videos with step-by-step instructions.
- When I placed the order, I knew that I would have all I needed in one place so I wouldn’t have to try an account for everything.
- Their designs were tough and approved for National Resources Conservations Service (NRCS) grants.
Speaking of grants, if you have a farm and a shoestring budget, you can apply for an NRCS grant for financial assistance.
I didn’t go this route because we had the budget, and NRCS has some limitations on how you use your tunnel.
You can find out more information here.
If you decide to go the more frugal DIY route, there are many resources
This is a great option for many start-up farms, especially if you have stockpiled various building materials like lumber, bolts and nuts, steel pipe, PVC pipe and other necessities.

The important thing here is to understand your needs and have a good plan.
For example, one of the strongest materials you can use for the hoops is conduit pipe.
You may have some saved, or, depending on the thickness/diameter you choose, you can shop around to find the best price from almost any hardware store.
Supplying your own steel pipe does require a pipe bender to bend the pipe into a hoop or gothic shape.
Johnny’s Seed and the Bootstrap Farmer have these benders, along with other supplies, to make the structure you want.
If you do your best to think ahead to anticipate all your material and tool needs you will be in a good position to build a DIY high tunnel with fewer setbacks.
Tips on High Tunnel Construction
Whether you decide to buy a kit that has everything you need or piecemeal your high tunnel for minimum investment, you still have to build the structure.
I'll admit, the prospect of putting one of these together was intimidating. Although I am very handy and enjoy that kind of work, I have no formal construction experience, and I did not want to mess this up!
My best advice is to prepare as well as you can, enlist the help of someone with more experience if possible (but if not, don't let this stop you) and then just jump right in.
Here are some more tips.
Tip 1: Be Prepared
Spend some time researching the build so you are prepared with all the right tools and equipment ahead of time.
This will save you tons of time and prevent any last-minute errands to the hardware store.
You may need a sledgehammer, post level, tall ladder, extra pair of vise grips, etc. Having these things ahead will dramatically shorten your build.
Tip 2: Educate yourself
Familiarize yourself with building the high tunnel before you build it so you have a general idea of where to start and what comes next.
As mentioned previously, I also utilized Tunnel Vision Hoops' YouTube channel.
Tip 3: Properly Grade Your Land
If you have a truly flat area, then you can get on with removing turf and building your structure right away.
If you have sloped land, even slightly sloped, then you need to prepare the site by grading.
I had to rent a small mini-loader to grade the area where our high tunnel was built. Whether you grade your land yourself or hire someone, you must take this into account.

This endeavor was intimidating because I had never worked with heavy equipment, but I decided to go for it to save money.
Turns out, it wasn’t all that bad, and I encourage you to DIY this, but it all depends on how much earth you need to move around.
Our slope wasn’t too steep, and my high tunnel was only 17 feet wide and 20 feet long. With a rented mini-loader, a laser level and the help of a friend (both of us were inexperienced with working with this equipment), it took about 4 hours to complete this part.
You'll also need to preplan where to dump the excess dirt
We have about a 7% slope, and at first glance, it didn’t seem like we had to move much dirt. Boy, was I wrong.
That slope generated much more dirt than I anticipated.
Fortunately, my son needed a dirt pile (which he still plays in every day), so it all worked out.
Just be sure you plan accordingly.
Tip 4: Properly Position Your High Tunnel
Proper positioning is critical to your high tunnel's performance.
According to Hightunnels.org, if your property is at 40 degrees latitude or more, position your tunnel from East to West. This prevents the ribs of the high tunnel frame from blocking the sun that is lower in the horizon during winter months. This way, you can maximize light gain.
If you are below 40 degrees latitude, orient the tunnel north to south. The sun's angle is much higher in this latitude, and you don’t need to worry about the high tunnel structure blocking the sun.
Check it out for yourself at High Tunnels.org.
Tip 5: Give Yourself Plenty of Time and Ask for Help
Projects like this generally take longer than you think. This is especially true if you don’t have any construction experience.
Like most, our family has a lot going on. From kids’ activities/schedules to maintaining our other business and all the rest, I had to work it in on the weekends.
It took several months to complete at this pace (and felt like it took forever), but had I enlisted more help it would have gone faster.
In addition to taking so long, the ground under the turf we pulled up after grading was exposed to the summer sun. This resulted in it getting baked almost as hard as a rock.
I did not anticipate this either. Thankfully, with lots of compost, consistent irrigation and cover crops, I am finally getting that soil in better shape.
In hindsight, my advice is to plan the buildout in the cold months, block out a week where you can work on it 4 to 8 hours a day and get help from a friend.
But however you do it, know you will get it done eventually, and it will be well worth the effort.

You'll especially need help when you are putting in the hoops, building the end structures and covering them with plastic.
Lastly, if you can’t get the structure up in a week or two, be sure to heavily mulch the exposed ground if you remove the turf.
This will help keep moisture in the soil to maintain some semblance of soil health, and you will not have to work as hard as I did to amend and build up the soil to plant into.
Additional Resources for High Tunnels and High Tunnel Supplies
As promised, here is a compilation of resources for learning more about high tunnels, best practices for growing in high tunnels and various places for specialty supplies.
- Hightunnels.org: This site is maintained by researchers, extension specialists, professors, growers, technicians and students collaborating to share experiences and knowledge about high tunnels. A great all-around resource
- Southern Agriculture Research and Education (SARE): This is a helpful document on high tunnel construction
- University of New Hampshire Extension Building Videos: Step-by-step videos on building a high tunnel
- High Tunnel Supply Companies offering “a la carte” supplies and complete kits with everything you need:
This is by no means an exhaustive list, but it gives a good place to start.
Final Thoughts
Despite the lengthy construction process and unanticipated bumps in the road, we have been completely happy with our high tunnel, which we use for personal and professional growing.
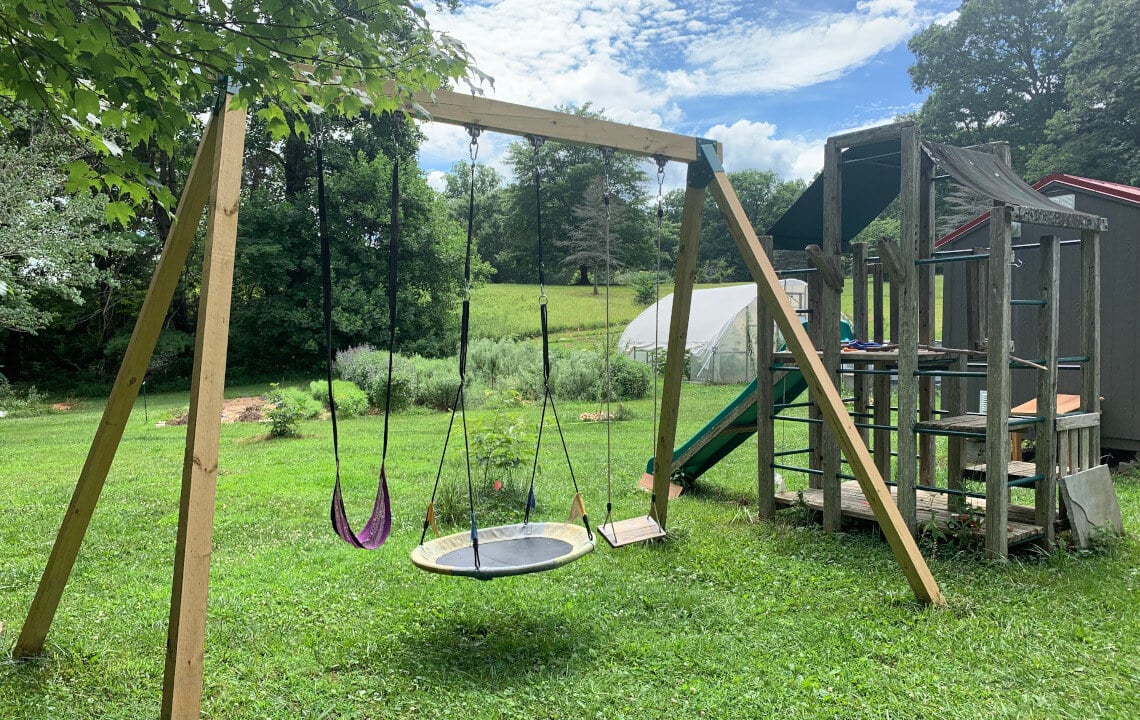
It also makes a great play space for the kiddos on very cold or wet days and has allowed us the space to grow surplus food to preserve and share with friends and the community.
Plus, it feels amazing to look out at the structure every day, knowing we worked hard to build it.
I hope this advice and information proves helpful to you on your journey to expand your farm, garden and self-sufficiency.
-1.jpg "Rolando Boye")