Homestead sheds and garden buildings don’t have to be cookie-cutter and boring! Three DIYers from around the world (literally!) share their creative and functional outdoor buildings.
A successful garden or homestead requires proper equipment, tools, storage and animal enclosures (if you have livestock). Focused and dedicated spaces provide secure storage for tools and materials and ensure safe and comfortable housing for animals.
With that in mind, you may be wondering, “Should I buy pre-designed shed kits, or do I build my own sheds and greenhouses”?
This, of course, depends upon your skill level, time restraints and budget.
If you feel up to the challenge and are eager to build your own greenhouse, rabbit hutch or workshop, we have some inspiration for you.
In this article, we explore three creative designs and DIY structures from around the world. From Scotland to Nebraska to North Carolina, homesteaders and gardeners are putting their DIY skills to good use.

1: The ‘Hobbit House’ Workshop, Edinburgh, Scotland
In South Queensferry, a pleasant little town just west of Edinburgh, Scotland, Ali Hughson lives with his wife Vivienne and their two sons. “We moved here about 12 years ago from the center of Edinburgh,” Ali explains. “We felt we needed some outdoor space for our family to enjoy.”
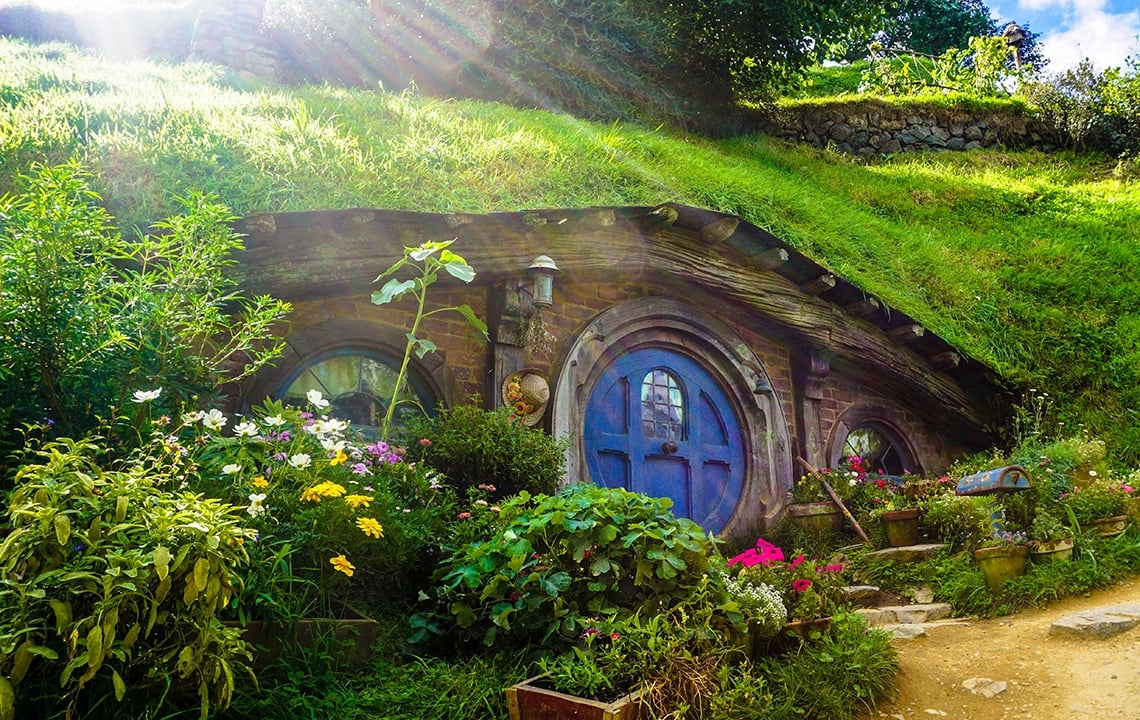
From this desire, Ali began dreaming up a unique gardening shed. His love of fantasy literature spurred an award-winning idea, A Hobbit House Workshop.
“I’ve always been a lover of art and a fan of fantasy books and films,” says Ali. “The work of J.R.R. Tolkien has been my favorite since I was a child. I now work as a designer. I love creating things and coming up with ideas. So when the old shed in our garden started to rot, it was easy to decide what to do with the space.”
The space in their garden is very limited, so the workshop had to be small — approximately 2.5m x 2.5m (about 8 ft x 8 ft).
“I wanted it to be small, inviting and very practical,” Ali explains. “I had worked with wood before. Digging into the ground like a traditional Hobbit House wasn’t an option due to its situation and cost. I decided that building it with wood was the best option.”
And so Ali got to work.
The workshop is built using a timber frame, insulated and clad using sarking boards, which were sanded and varnished.
“The round door was quite the challenge,” says Ali. “Not the door itself, but the frame that it sits in. There was a big sigh of relief when it fit for the first time. And of course, it had to be green.”
Since the Hobbit House workshop has been built, Ali says he has been able to make many small, and some large, pieces from Pyrography (wood burning) portraits to tables and desks. He’s still working on the workshop itself, tinkering and updating the interior when time allows.
“I’ve also been lucky enough to win the Workshop category for the UK-based ‘Shed of the Year’ Competition in 2022,” he says.
Follow along on Facebook for more information about the Hobbit House, the building process, photos of the house (the photo here is a representation and not Ali's original work) and Ali’s design work.
2: Greenhouse Built from Scratch, Atkinson, Nebraska
Mary Woita is a rancher’s wife, a homeschooling mother of four and an “accidental country girl.” Originally from Southern California, Mary moved to Nebraska when she was recruited for a job.
She met her husband, started a family and lives on the family ranch, where they are slowly building the homestead of their dreams.
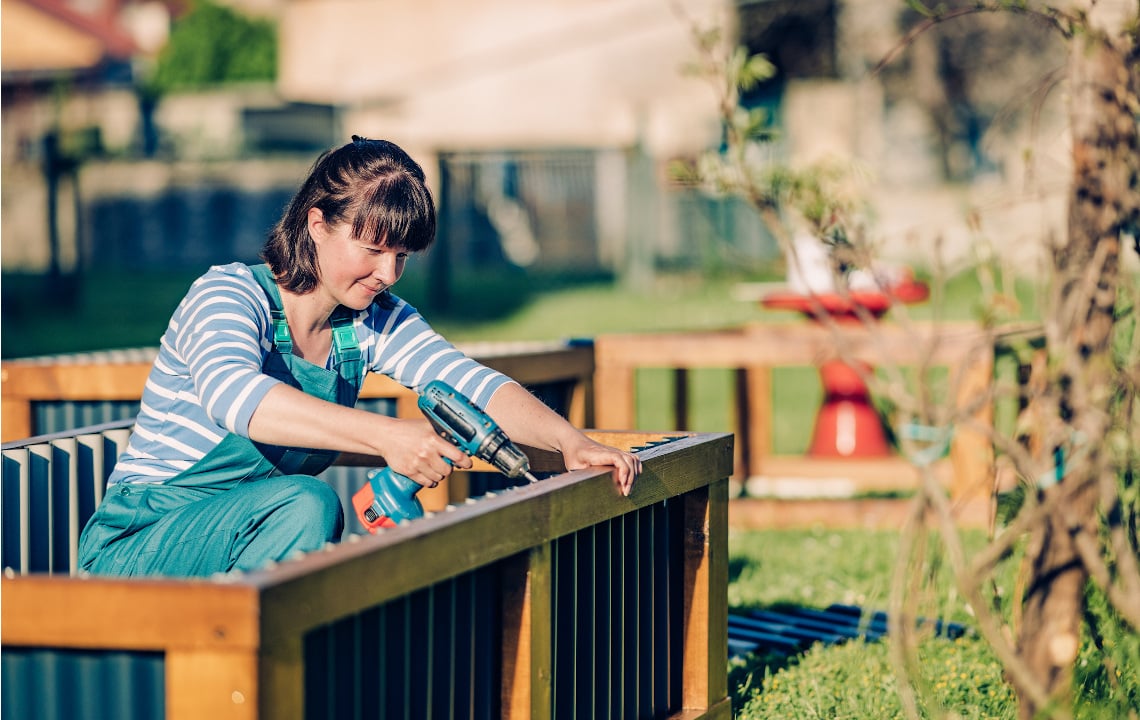
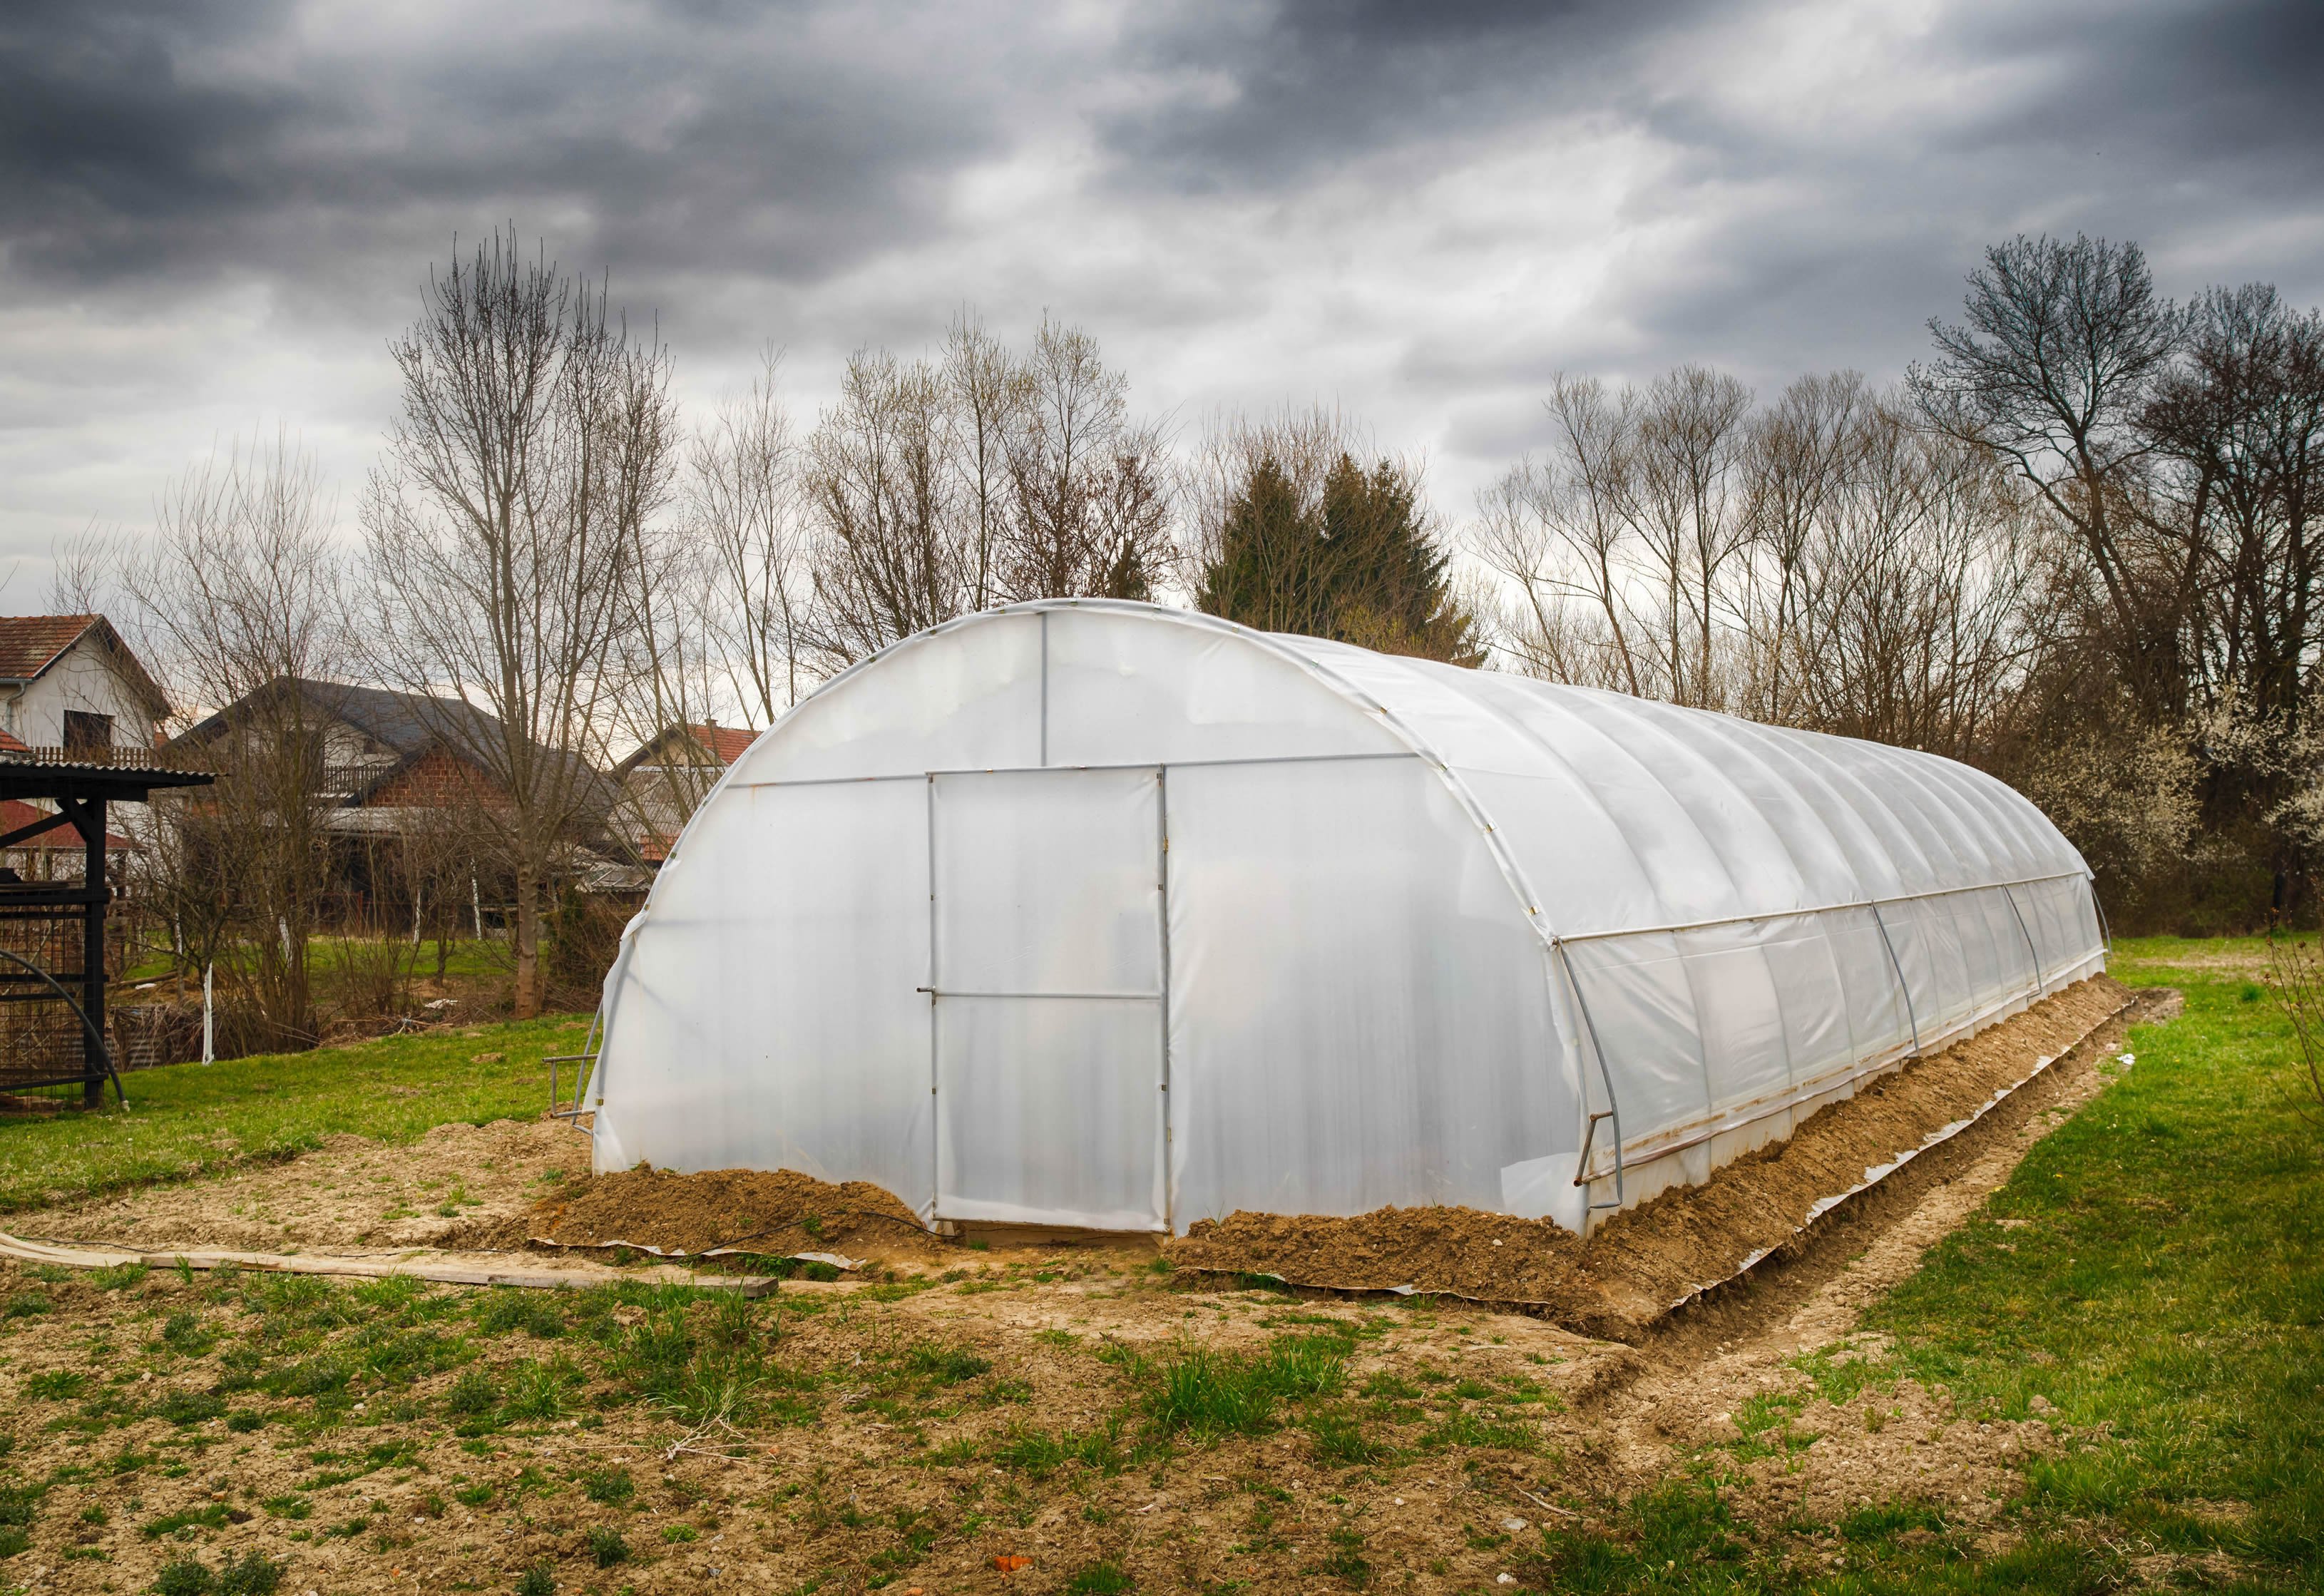
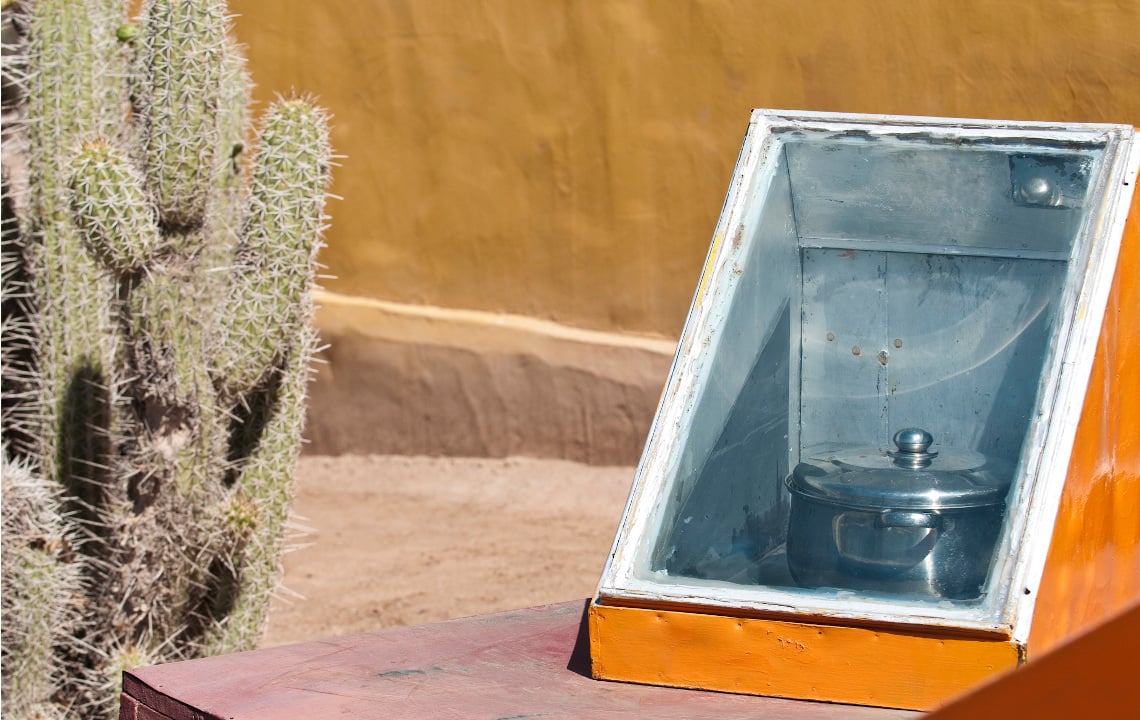
When asked why she and her husband built a greenhouse, Mary replied, “I desired my own hobby greenhouse to extend our growing season and a place for starting garden seeds. My husband did a lot of research and came up with a plan on how to build one that would work for our needs and available garden space.”

how they built the greenhouse
Materials Used:
- (12) 8’ long, 6 mm greenhouse polycarbonate sheets
- (4) 16’ 2x4
- (4) 16’ 4x4
- 3” deck screws
- Drill
- Miscellaneous building tools as needed
The Step-by-Step:
- Measure and cut the lumber according to its approximate dimensions — always take actual length and angle measurements on the structure before cutting.
“There’s a saying, and maybe you’ve heard it before,” Mary says, “Measure twice and cut once.” - Build the base and then frame for the wall.
“Once the wall frames were built, we attached them to the base using 3” deck screws,” she explains. - Measure out your door frame.
“I wanted a screen door,” says Mary, “so my husband cut and measured the frame to fit.” - Next, install rafters. At this point, if you want yours painted, this is a good time to do that.
- Now you can begin to add plastic sheeting, secured with screws.
“The sheeting we used came in 8’ pieces,” she explains. “We cut them to size. We also cut scrap lumber to size and added them between the wall frames for additional stability. My husband also added scrap lumber pieces of wood on the arches in the rafters.” - For the vent, measure the space between the rafters. Mary’s husband made two wood pieces to fit.
- Lastly, add a 10’ rain cap to the top of the roof to keep the rain out.
“You can also use metal stakes to secure the greenhouse in the ground,” says Mary.

What makes this greenhouse unique? Mary says it’s not overly complicated, is much more budget-friendly and is better quality than a store-bought version.
“This project was a labor of love,” she says. “My husband and his father worked on it together shortly before my father-in-law passed away. So there is a bit more sentiment added to it.”
Connect with Mary Woita on her blog and website, Boots & Hooves Homestead, where she writes about food and gardening, “inspiring busy moms to live a simple and healthy country lifestyle”.
Related reading: High Tunnels For Beginners, Homesteaders and Hobby Farmers
3: Adam’s Rabbit Hutch & Run, Burnsville, North Carolina
Living on a homestead, it’s nice to have a partner with handyman skills. Someone who can take an idea from his wife’s mind and turn it into a reality.
Adam Watts is the husband of Rethink:Rural writer Mara Watts (me!). Mara has a knack for designing and building homes for animals that are predator-proof and functional.

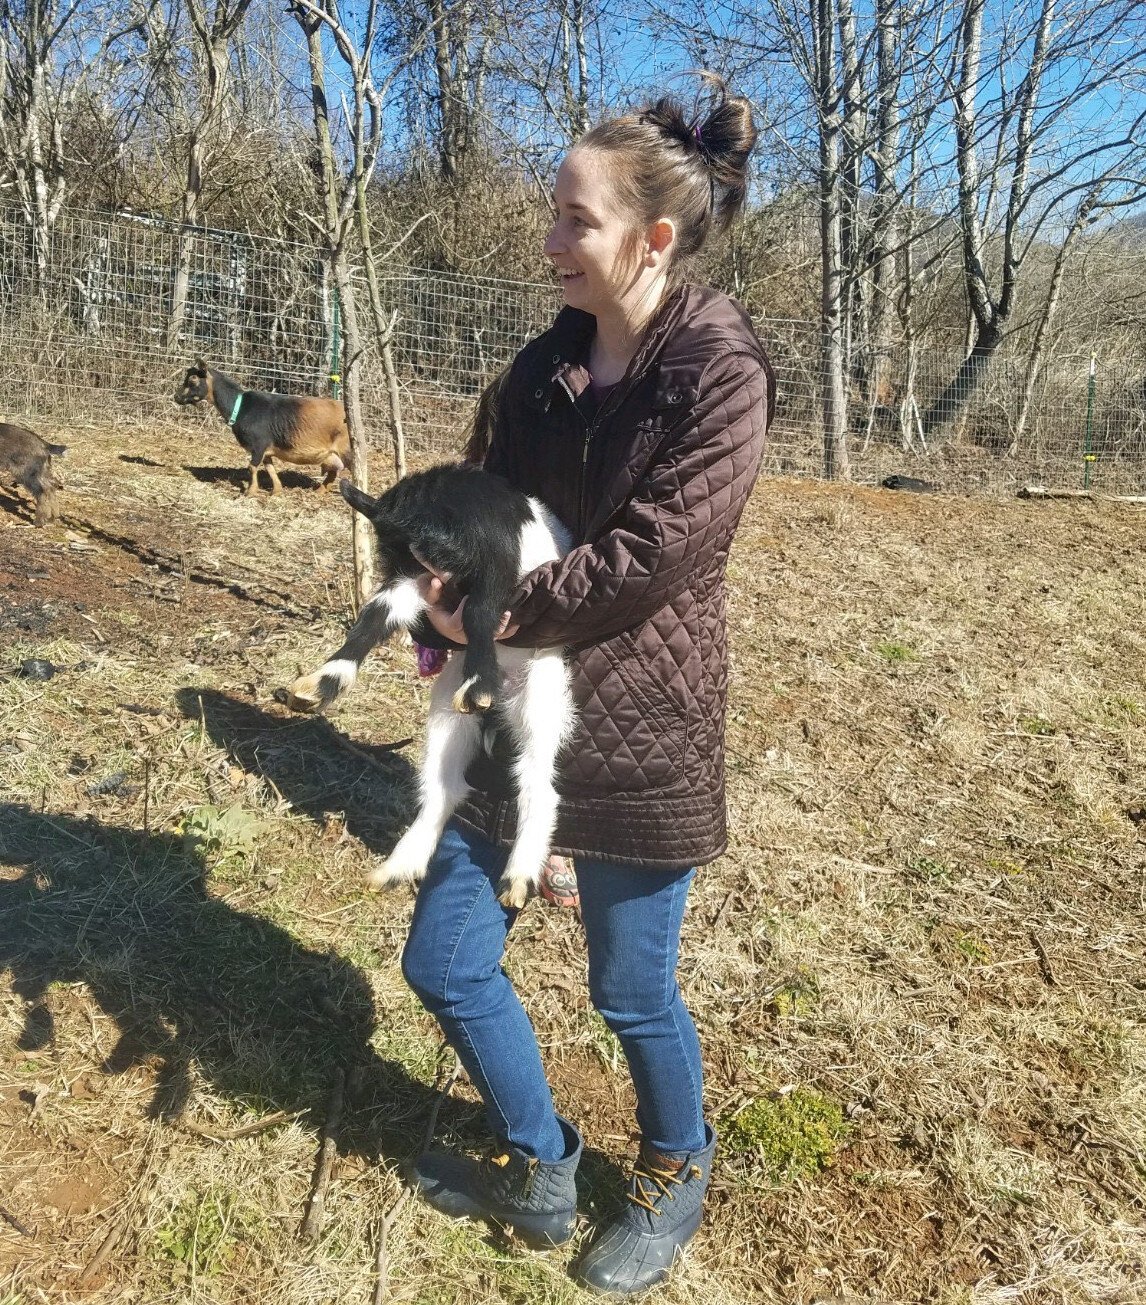
So when Mara fell in love with raising Holland Lop rabbits, a secure and homey hutch was needed.
“Mara wanted to raise rabbits, so I figured it would be ideal to construct a hutch that gave them room to exercise and have time on fresh grass,” Adam explains. “This was a fun and rewarding homestead project.”
To construct the hutch, Adam used:
- (~15) 2x3x8 boards
- Fencing boards
- OSB
- Metal roofing
- Door hinges
- Wire mesh
- Chicken wire
- Screws and a staple gun
- Rope
- Building tools
How he built the bunny hutch:
- Cut all of the boards to size. For the bottom box (the run), he made a rectangular base (bottom and top boards). He added 2 ft boards in between to make the run’s box.
- Chicken wire was added around the outside of the run and on top of the box.
- 2x3s were cut into six 2 ft boards. The boards were used to make the rabbit house that sits on top of the run.
- He used OSB and set it at an angle on top of the hutch, then added metal roofing on top. Wire mesh was used as the flooring on the bottom of the house (garden mesh is best for tiny rabbit feet, it’s also big enough to allow waste to fall through).
- A fencing board was used for the ramp. Adam attached a rope to lift and release the ramp (for predator-proofing). A scrap piece of fencing board was used as a door over the ramp exit (another layer of predator-proofing).
- Fencing board was cut to size to make walls and doors for the rabbit hutch.
- Add rabbits!

“The rabbits loved being side-by-side,” says Adam. “They were a bonded pair and would nuzzle their noses against the wire. They’d also sleep by each other. The custom hutch was definitely a win — with the rabbits and with Mara!”
After a few weeks in their new luxury hutch, a few lessons were learned, including:
Rabbits dig and burrow. Because of this natural instinct, Strawberry (the female) would dig a small burrow in the corner of her run. Huckleberry (the male) quickly discovered this allowed easy access to her side of the pen. As you may know, rabbits enjoy breeding, so a few surprise litters were had because of this very lesson.
What to do about it:
Add chicken wire or some kind of wire to the bottom of the run. This will stop the burrowing problems and provide an extra layer of predator-proofing.

Litter training is helpful (or figure out some sort of rabbit waste system). Yes! Rabbits can be potty trained, but their litter box must be tended to daily.
Luckily, rabbit droppings are beneficial for the garden, but they pile up quickly. While in their hutch, the rabbits, for whatever reason, chose to potty on the ramp instead of in another open corner that led to the ground. Constant cleaning of the ramp was required. Had the rabbits been potty trained or a waste system created, this might not have been an issue.
What to do about it:
As mentioned, litter training is helpful if you have the time and patience to train the rabbits and clean up after them. If not, a pan underneath the wire mesh at a slant will direct waste to the ground.
Among these, there are many other garden and homestead DIY projects you can try your hand at:
- Build a predator-proof chicken coop
- A fire pit to enjoy all summer long
- Build a pond or lake on your property
- Hunting Cabin (on a budget!)
- Nesting boxes that attract bluebirds to your land
- And so much more!
If you enjoyed reading and learning about DIY homesteading builds, then you may also enjoy our articles on Backyard Office Sheds and The Beginner’s Guide to Build-It-Yourself Home Kits.
Have you built a similar structure from scratch on your rural land? We’d love to hear about it! Leave a comment below and tell us what you built and how.