A regenerative herb farmer shares a simple guide on how to grow garlic plus the benefits of doing so in your home garden, hobby farm or homestead. It's easier than you think!
It’s also one of the easiest crops to grow, even if you don’t have much land or a green thumb.
In this article, you’ll learn the basics of growing garlic, including bulb sourcing, bed preparation, mulching, fertilizing and harvesting.
Can you save money growing your own garlic? Yes, you can.
Growing or raising your own food isn’t necessarily cheaper than buying it these days, but most of us don’t do it for the cost savings.
Garlic can be an exception, especially if you like buying organic or heirloom varieties.
Let’s break it down.
At the time of this writing, Whole Foods sells a pack of 3 organic garlic bulbs (usually small in size) for $2.69.
At one pack a week, that equals about $140 per year before taxes.
To grow this amount, you would need to order about 3 to 4 lbs of garlic bulbs.
Buying high-quality cloves is an $80 to $100 investment the first season.
Adding $40 of fertility (discussed further below) does add some cost, but it can improve your crop performance and is well worth the extra money.
At this point, you are at or just below the breakeven point. The real savings come if you plant a little extra so you can save them to plant the following year.

This way there are no out-of-pocket expenses for the following season.
One more benefit of saving “seeding” stock is that over time, your garlic will adapt to your growing region, thus improving quality (better flavor and bigger cloves), disease resistance, and yields.
Growing your own garlic is also an excellent investment in your soil because it builds soil health in the colder months when nothing much else grows.
In regenerative agriculture, which we practice on our herb farm, one of the foundational principles is to always keep something growing in the ground versus leaving it bare and exposed to the elements.
When a plant grows in the ground, its roots supply a fresh source of root exudates (sugar molecules made up of carbon) to soil microorganisms, using photosynthesis as the engine to drive the process.
These microorganisms, like bacteria and fungi, form a symbiosis with the plant to improve soil and plant health.
Plus, you can get two harvests from one crop of garlic.
If you choose a hardneck variety, you can and should harvest the scapes in early spring (which can be used as a garlic substitute in many recipes, like pesto and soups), followed by the bulb harvest a few weeks later.
How to Plan and Grow Garlic
1. Sourcing Seed Stock
The first thing you have to decide is what type of variety to choose. Garlic comes in two main types, softneck and hardneck/stiffneck.
As the name implies, softneck garlic grows a softer neck, making it ideal if you want to braid the neck when curing/drying (braided garlic is stunning and makes a great gift).
 Softneck types also grow two layers of cloves: an outer layer of medium-sized cloves and an inner layer of small ones.
Stiffneck varieties tend to be hardier, and if you want to harvest garlic scapes, this is the type to choose.
The last thing you want to be sure of is getting a good source of cloves. For first-time growers, this can be very important because it will improve your crop quality and give you a positive experience by allowing you to encounter good yields and fewer disease problems.
My favorite source of seed stock is Johnny’s Seeds, but be sure to pre-order in early summer before they sell out.
I prefer the hardneck variety because of its hardiness. You also get two harvests: an early-season harvest of the scapes and bulbs you have been waiting all winter for.
2. Bed Preparation and Fertilizer
This part is relatively simple.
The most common recommendation for when to plant is by the first fall frost date, which in some regions is into late November.
- I start by briefly marking out the beds I plan to plant into.
- I like to use 30-inch-wide beds with 18-inch-foot paths because when planting, you can crouch down and reach the far side of the bed.

- From there, I fork my bed with a broadfork (or sturdy digging fork). This helps to break up the soil, aerate it, and allow for better water drainage and penetration. It also raises the bed a little and lets the garlic bulbs grow downward more easily.
- One pass of the broadfork (or digging fork) is sufficient unless your ground is very compacted, in which case another pass might be necessary.
- If you incorporate a tiller of some sort, that will also do the job, but in my experience, the tiller/cultivator causes greater compaction in the long run and typically doesn’t go as deep as the fork.
- The last thing I do is apply compost. This offers natural, more balanced fertility early on, but it also makes it easier to plant the individual cloves and serves as mulch if it's deep enough.
- Two inches of quality compost is a great place to start and easily supplies the garlic cloves' needs in the cold months ahead.
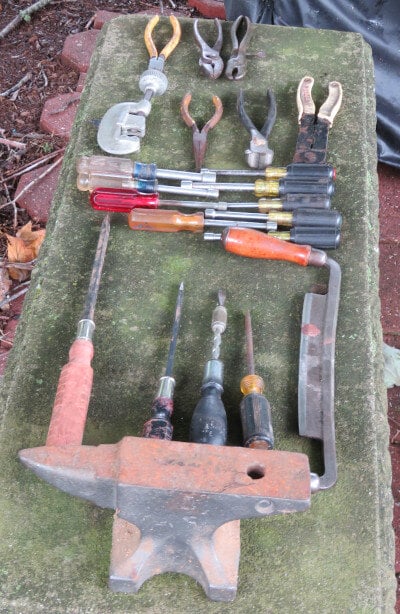
Related read: Must Have Tools and Accessories for Gardeners.

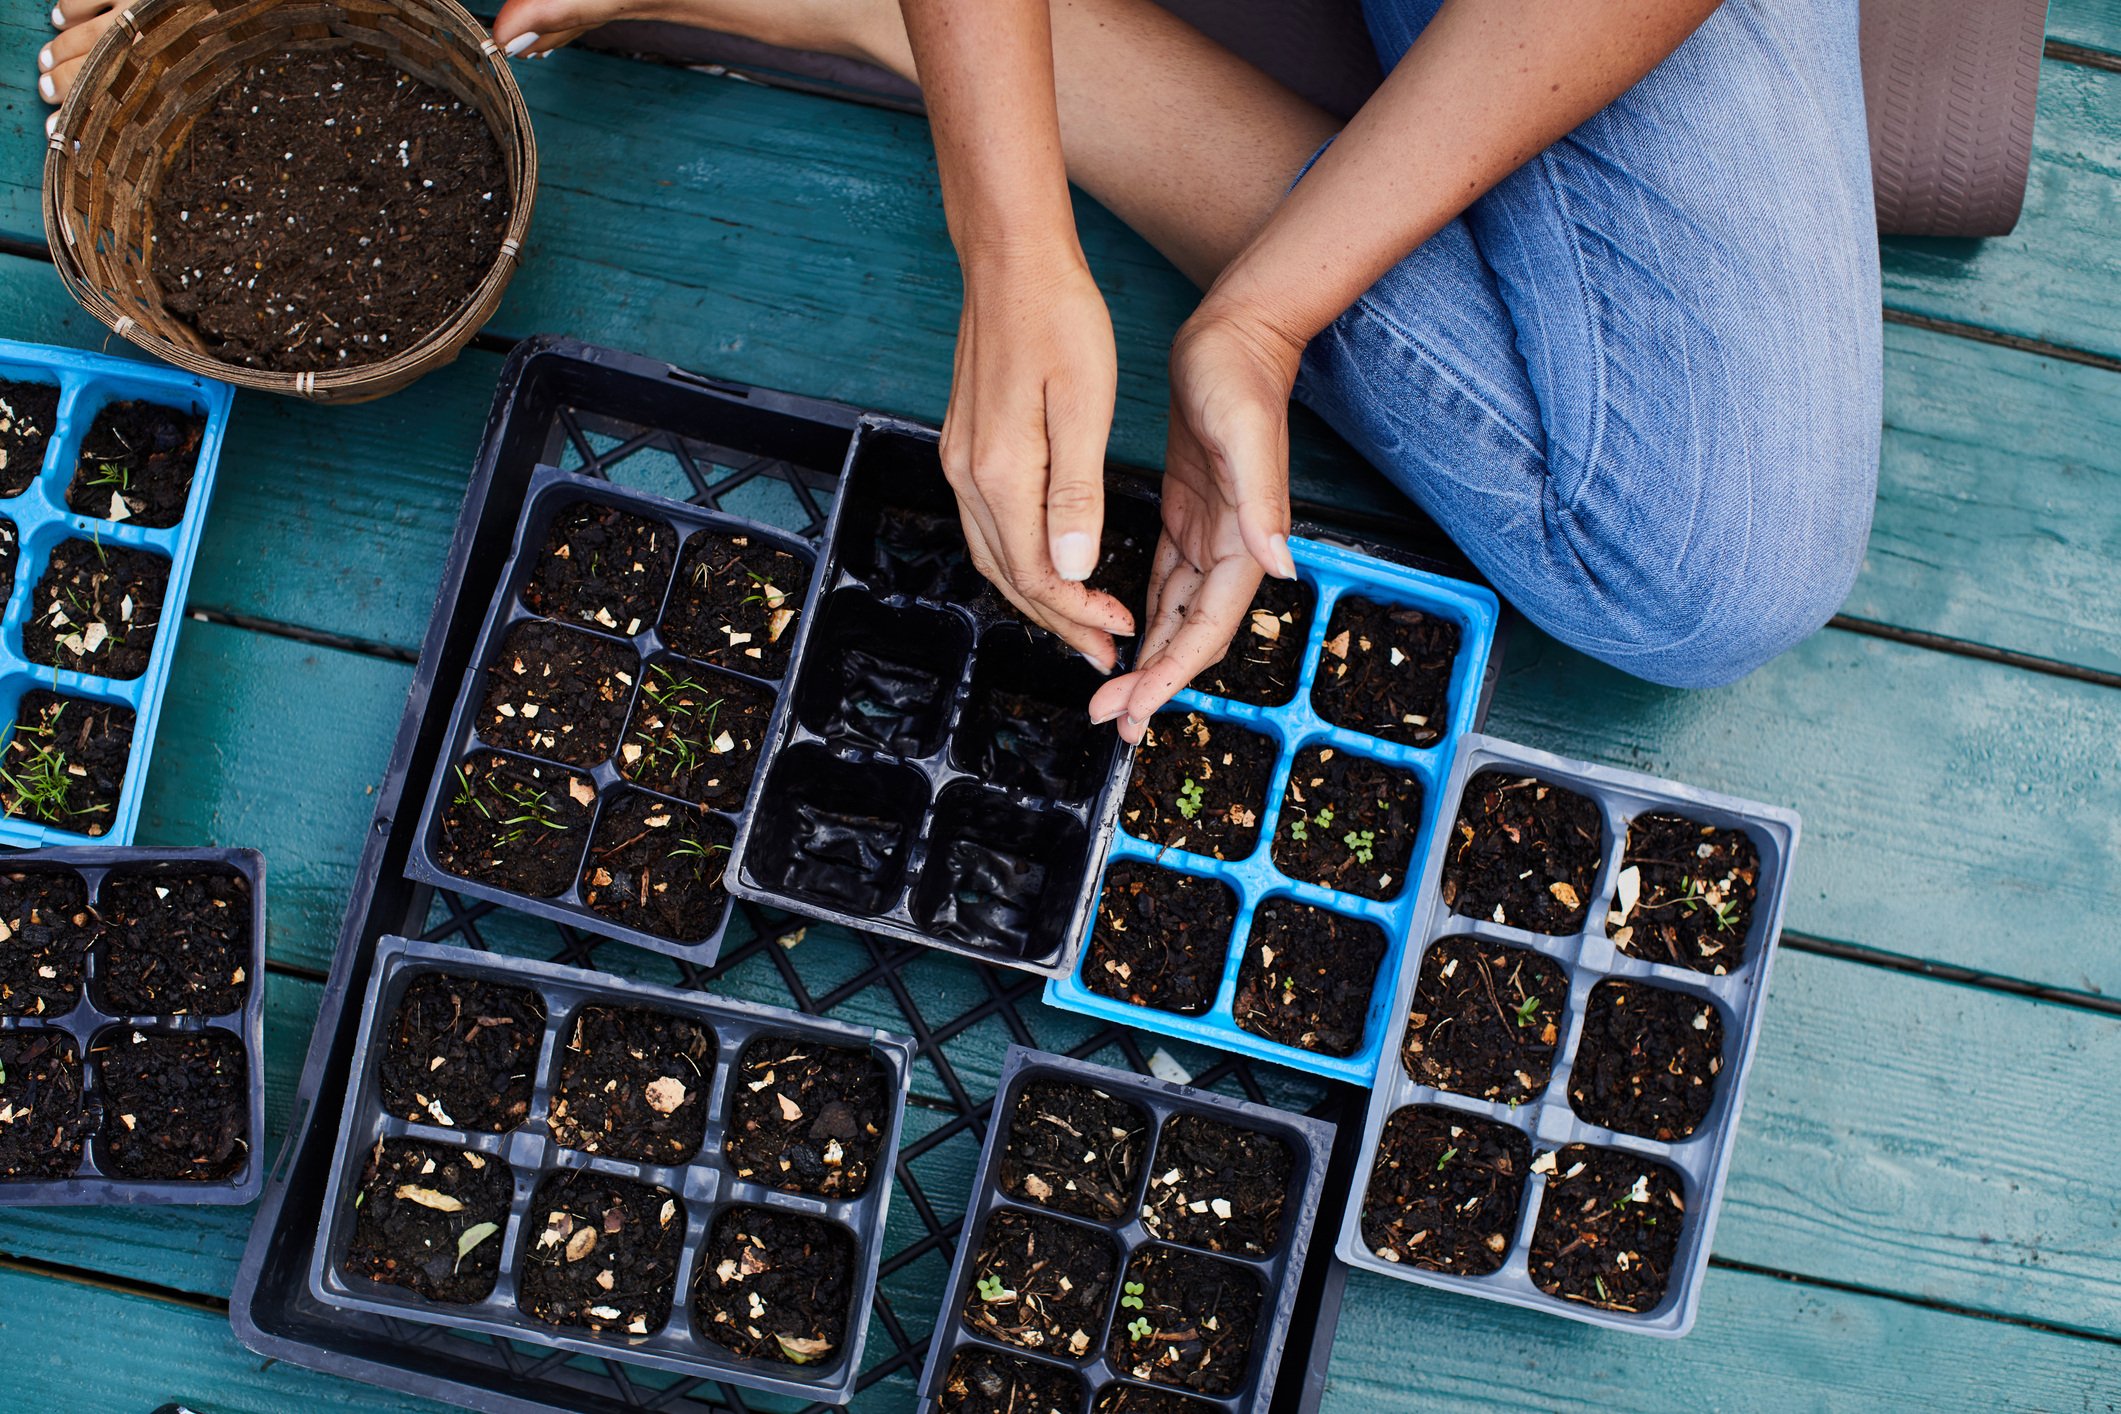
3. "Seeding" Your Garlic
Now you are ready to plant the cloves. This part is easy and is a great way to get children involved in the process.
If the cloves are not separate, you need to separate them from the bulbs before planting.
I always recommend buying whole bulbs, as this will keep the cloves freshest with the paper-like layer covering them.
The easiest way is to break up the bulbs by firmly pressing on them with your foot or squeezing them with your hand. It isn’t necessary to remove the paper-like layer on the individual cloves.
Now you are ready to plant the garlic
- On 30-inch beds, planting cloves 6 inches apart in 3 rows that are also 6 inches apart gives ample room for garlic to mature well.
- When I get my kids involved, I pre-dig the holes with a trowel at the proper spacing or use row markers with a bed preparation rake.
- If using the rake, all you need are row markers like these, which are simply rigid plastic tubes that fit over the rake tines.
- A 30-inch bed preparation rake like this makes this very easy.
- First, space the markers about 8 inches apart seen in the first image below. Then, you can drag the rake the length of the bed, followed by perpendicular drags along the width of the bed with row markers about 6 inches apart. See the photos below.

Making three primary rows the length of the bed.
 Perpendicular drag to mark planting holes.
- All that’s left is popping in the cloves 2 to 3 inches deep (enter the kiddos) and covering them up. Be sure to plant the cloves with the bottom rounded side down (pointy-side up).
4. Mulching
Be sure to have your mulch ready to apply once the cloves are planted.
- Apply 3 to 4 inches of wood chips, dry grass clippings, straw or leaves
If you use leaves, it helps to chop it up into smaller pieces so the winter winds don’t blow it away as easily.
Learn more in: How (and why) To Make Your Own Leaf Mulch.

Mulches hold in moisture and prevent the ground from freezing, which can damage the bulbs. When the warmth of Spring comes in, the mulch actively decomposes, adding additional fertility and building soil health.
Next, thoroughly water them in and leave them alone for the duration of the winter.
I live in Western North Carolina and have never needed to water the beds. They’re such an easy crop!

5. Fertility
There is no need to fertilize in the winter months. The compost application should supply enough when the soil starts to warm in the spring.
If you have poor soil and need to boost fertility, drenching with fish hydrolysate every couple of weeks in the spring, until the scapes emerge is a good way to supply organic nitrogen.
Neptune’s Harvest is a good-quality fish hydrosylate, and it's easy to buy online or in-store. Follow the dilution instructions on the label. This will green up the above-ground growth and enhance bulb development.
Lastly, garlic does require phosphorus to help with root development and can help with growing larger bulbs.
A side-dress of bone meal in late April is a great way to supply these needs in an organic form.
Be sure to water in the bone meal after application.
In my experience, if you start out with high-quality compost at the time of planting and apply a thick layer of mulch, fertility needs in the spring are minimal to none.
6. Harvest & Post Harvest
If you choose to plant stiffneck garlic, it is always best to harvest the flower stalks, a.k.a. the scapes. These emerge around 1 to 2 months after the first leaves start to show.
Harvest by cutting the scape when it reaches ½ or full curl. The scapes are delicious and harvesting them directs the plant's energy into growing the bulb rather than flowering.
Your garlic is usually ready to harvest between June and August when the bottom 3 or 4 leaves turn brown.
You can dig up the bulbs with a good hand trowel, but I find a digging fork saves time.
Ideally, if the soil is moist, like after a rain, you can usually pull it out with your hands, like a carrot, without using tools that could damage the garlic.
Either way, be careful not to damage the bulbs and prevent bruising. Then, brush off as much soil as you can.
Once harvested, the garlic needs to be cured for long-term storage.

How To Cure Garlic At Home
Choose a place that’s warm and shady with good air circulation.
The first time I did it was outdoors under our deck closed in with lattice. That worked perfectly.
Air circulation is essential, but you don’t need a fan. If you feel you need to use a fan, don’t point it directly at the bulbs.
Either hang them in bundles or, if you have the space and screens, lay them out to dry. I have hung my garlic and laid it out on screens, but I found that hanging them worked better.
When I laid them out on screens, I used a fan blowing directly on the bulbs during curing and the garlic got soft and wrinkly very quickly. Lesson learned.
It takes about 2 to 3 weeks to cure and you know when they are done when the outer skin is like paper.
I have read that you can store them by either braiding them (for softneck) or tying them up and hanging. For the sake of taking up less space, I like to cut the tops off, put them into an open container, and store them in our basement.
The key to storing them long-term is to keep them in a cool, dry place. If stored in the refrigerator, they will sprout.
Final Thoughts On Planting and Growing Your Own Garlic
Growing garlic is easy and provides loads of satisfaction for the beginner, intermediate or expert gardener.
It's also a great way to take advantage of growing in the cold months with no fuss, a fun activity to enjoy with children, a way to save some money and a wonderful thing to share with family and friends.
Did I mention that garlic is also rich in medicinal plant compounds called allicidins, which have excellent immune- and cardiovascular-supportive properties? But that’s a topic for another article.
Good luck and happy growing!

-1.jpg "Rolando Boye")