You've finally got the big country yard you've always wanted for your growing family...now what? A homesteading family of four shares how they transformed their rural backyard space into the ultimate nature-inspired playground.
One of the biggest perks of buying acreage, whether large or small, is children have a lot more room to spread out, run wild, play freely, explore safely and enjoy the great outdoors.
When we bought our mini herb farm in Western North Carolina, one of my must-haves was space to create a backyard-type haven for our children to play safely, take risks and thrive.
We also wanted our home to be “the home” where our children’s friends and playmates (and our friends, for that matter) want to hang out.
This allows us a bit more control over what happens during playdates (outdoor play versus screen time, for example) while giving them all the fun of an awesome play space.
Plus, we like to entertain and our backyard provides the perfect backdrop for birthday parties, cookouts, hot dogs roasts, backyard camping and weekday fun.
It took us a few years and some investment of time and money, but slowly, our backyard has become an incredible play space for our two children and dozens of friends and family members.
Here’s what we did to create an epic rural backyard play space that’s fun and engaging for all ages.
First, We Chose Our Property With Care
I grew up on a 100+ acre organic communal farm in rural British Columbia. My husband grew up in urban and suburban Houston, Texas, first in a townhome, then in a sprawling home in the suburbs.
Our upbringings couldn’t have been more different. However, I had very specific ideas about the property I wanted for our family.
My top 5 specifications were:
- It had to have a creek. A pond would be a bonus (we didn't get the pond...yet)
- It had to have a large, flat, open space for them to run (flat land is hard to find in the mountains!)
- It needed trees for exploring, hanging rope swings and climbing
- We needed some hills for running and mountain biking
- It needed berry bushes and fruit trees OR space to plant them
After much searching and refining our land search (we quickly learned that large, cleared acreage was out of our budget in this area), we found the perfect spot that met this criterion and my husband’s vision for our herb farm.
It had a creek, flat, open space for running, trees and berry bushes along the creek (although not the best climbing trees, we remedied that), a surprise mulberry tree, hills and even a small fenced area.

Our blank-slate property five years ago.
We bought the property from a retired couple whose children were long grown and gone. It was a well-manicured blank slate, so we had a lot of work to do.
Here’s what we’ve set up and installed over the past five years to transform our yard from a sprawling lawn to an ultra-fun unstructured play zone.
We Installed a Donated Play Set
Cost: Free
Our neighbors from our rental home wanted to get rid of their old, but still excellent, cedar playset.
The catch? We had to move it, and it was big!
So, we gathered six guys, borrowed a trailer and truck and moved it onto our property.
This gave us a climbing structure, a slide, monkey bars and swings for only the cost of feeding everyone lunch.
We had to replace the swing set and monkey bars as our daughter grew, but the climbing structure and slide are still in excellent condition and used daily.
We Planted More Fruit Trees and Berries And Let the Wild Ones Go Wild
Cost: $5-15 a tree/bush, free to let the wild berries go wild
Berry picking is such an amazing joy to share with children, young and old.
I distinctly remember the berry seasons on our farm growing up and wanted to share that with my children on our own land.
As luck would have it, our land came with a fruiting cherry tree, wineberries, blackberries,and black raspberries established, though they had been cut back a lot over the years.
My husband was also ecstatic to discover a huge mulberry tree by our creek, which bears a considerable amount of sweet fruit every year.
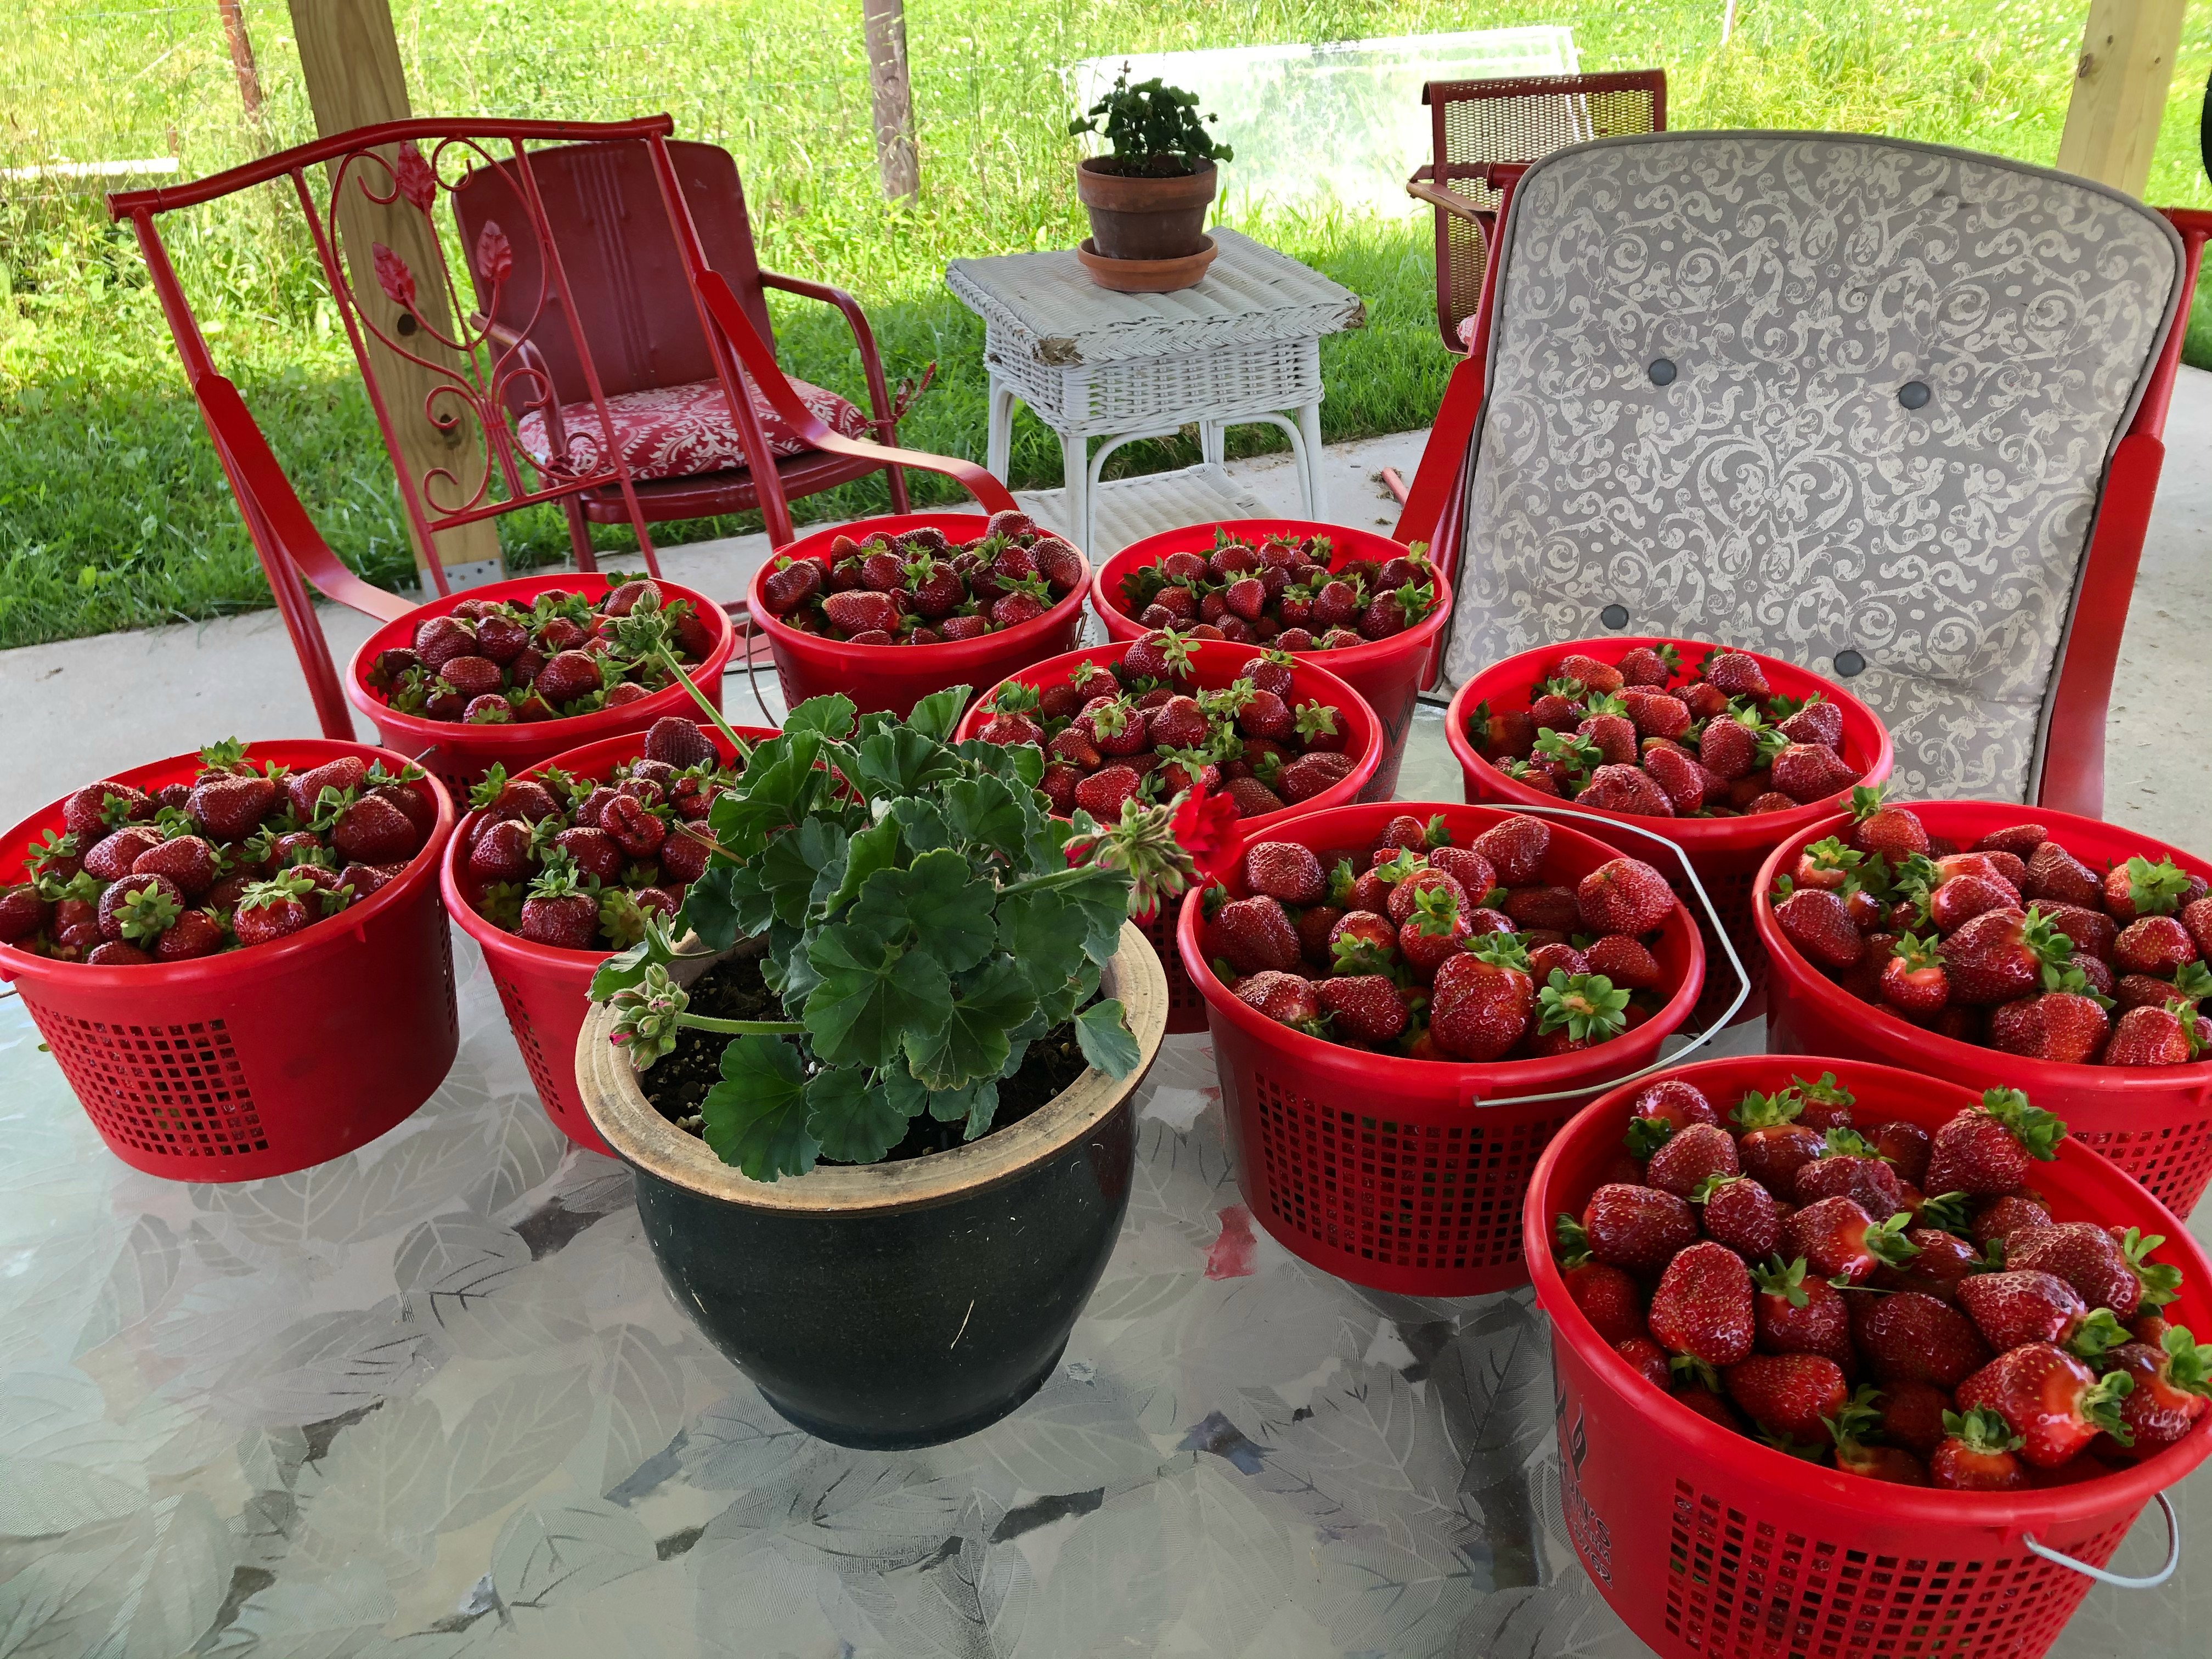
We also added a strawberry patch, Elderberries, red raspberries and several blueberry bushes, which means the kids have berries to pick throughout the spring and summer.

The Elderberry Grove
I relish the joy they get from running outdoors first thing in the morning and after dinner to pick the delicious berries.
We’ve also added a plum tree, apple trees, an Asian pear and persimmon trees, which we look forward to enjoying in a few years.
Our neighbors also have an incredible fig tree and grapes that they let the children munch on.
We Set Up A Trampoline
Cost: About $250.00 (look for sales!)
Trampolines are controversial and, admittedly, can be dangerous.
Despite growing up with one (the netless type), I initially swore I’d never get a large one for our yard.
We had a smaller, 7-foot version in our rental home where a child couldn’t do much damage.
However, as our son grew older, it became clear that our smaller trampoline wasn’t fit for two kids. Plus, as a high-energy boy, he needed a place to bounce frequently.
So, we bit the bullet and invested in a 12-foot trampoline with a net for Christmas.
The rules are: no shoes; if you wear socks, they need to have grippers, or you go barefoot; no fighting, no balls and two at a time.
So far, we’ve not had any significant injuries. It’s highly effective at draining their energy and it’s the best toy we’ve ever purchased.
We Made A Large Dirt Pile
Cost: Free
Do you really need a dirt pile if you have a sandbox? The answer is yes!
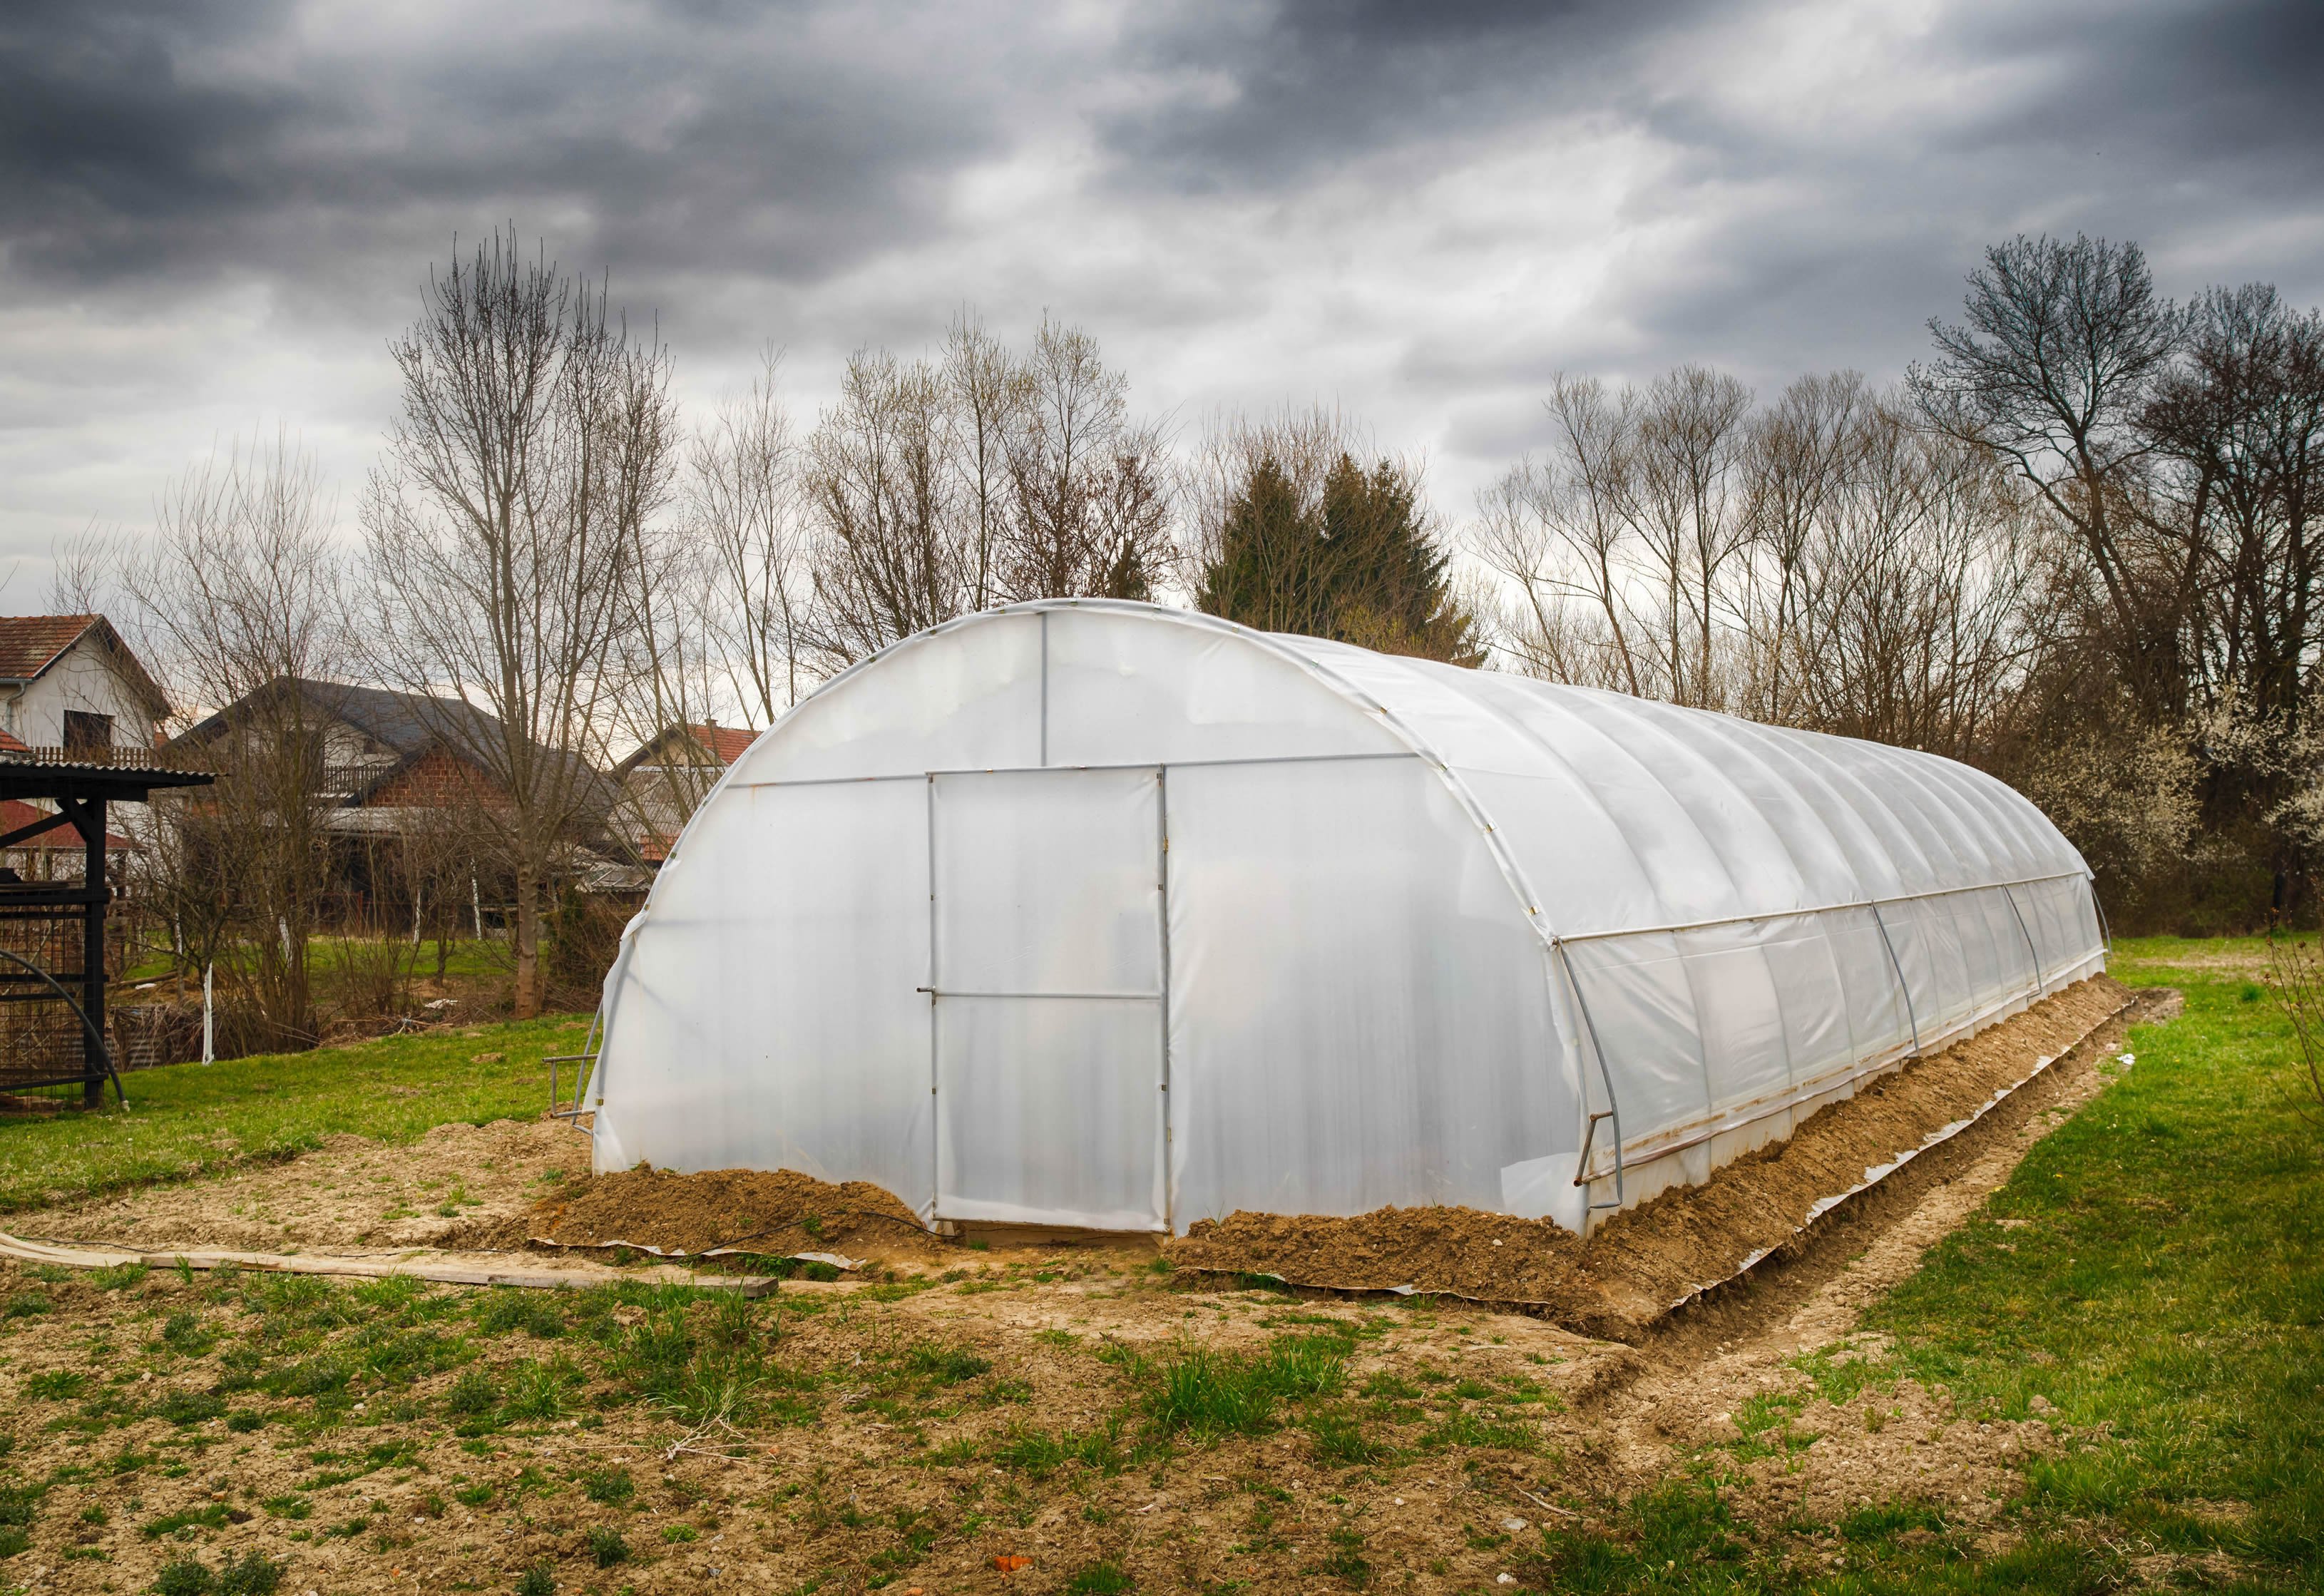
When we leveled the ground for our high tunnel, we had a massive pile of dirt left over. Instead of using it for another project or having it hauled away, we left it for our son to play in with his trucks and dig as many holes and tunnels as he wanted.
That was three years ago, and he still plays in that dirt pile almost every day.
This was a great freebie and an excellent example of how children tend to adore the simplest play spaces.
We Installed a Zipline
Cost: $150
This is the latest addition to our yard and such a fun one.
You need two trees or two posts, a way to climb up onto the zipline (ladder, platform, etc.) and some installation smarts.
If you have flat land, figuring out the slope is easy. There is no truly flat land where we live, so we had to do some figuring to determine the proper slope and speed.

We chose this model with a seat because that’s what we were familiar with.
It was fast to set up, and both children and their friends have loved it.
Our one rule is the younger children must have a spotter.
We Built A Sandbox With Rocks
Cost: About $150 for the rocks and 1 cubic yard of play sand
Years ago, one of my friends, who was also a landscaper, built her three boys a beautiful outdoor sandbox using river rocks as the border.
It looked so lovely against their wooded background that I knew I’d have to build one when we had children.
I’m not a builder, but this was a cinch!
I measured the space in diameter, got cheap stones from our local rock yard (the ones that they’d discard anyway—that was a workout!), ordered a flat of sand to be delivered at the same time and loaded the rocks into my SUV.
Tip: Use online calculators to figure out how much play sand you need (make sure it’s play sand, which is toxin-free), or just wing it by buying bags from the hardware store. It’s typically cheaper to buy in bulk.
Then, we dug up the grass in a circle, put down some plastic, laid the rocks around in a nice circle and filled it with sand once it was delivered.
Easy peasy, looks beautiful and natural and provides hours of fun!

We Hung a Hammock
Cost: Free (got the hammock from a client)
The trees by our creek made the perfect spot to hang a simple camping hammock.
We leave it up year-round and it’s a fun spot for reading, swinging, relaxing after a long day of gardening/yard work (for the adults) or horsing around.
Hammocks are cheap, and if you don’t have the perfectly placed trees, you can buy a hammock stand or install posts.
Tree Pods are another cool idea to consider.
We Set Up Balance Beams
Cost: Free (we upcycled the timbers and cinder blocks from our farm supplies)
The act of balancing is so important to children’s physical and brain development, plus it’s fun.
We set up super-cheap balance beams using a few landscape timbers and cinder blocks.
The kids can move them around to create different angles and challenges, and they even use the timbers as bridges across our creek for more balancing fun.
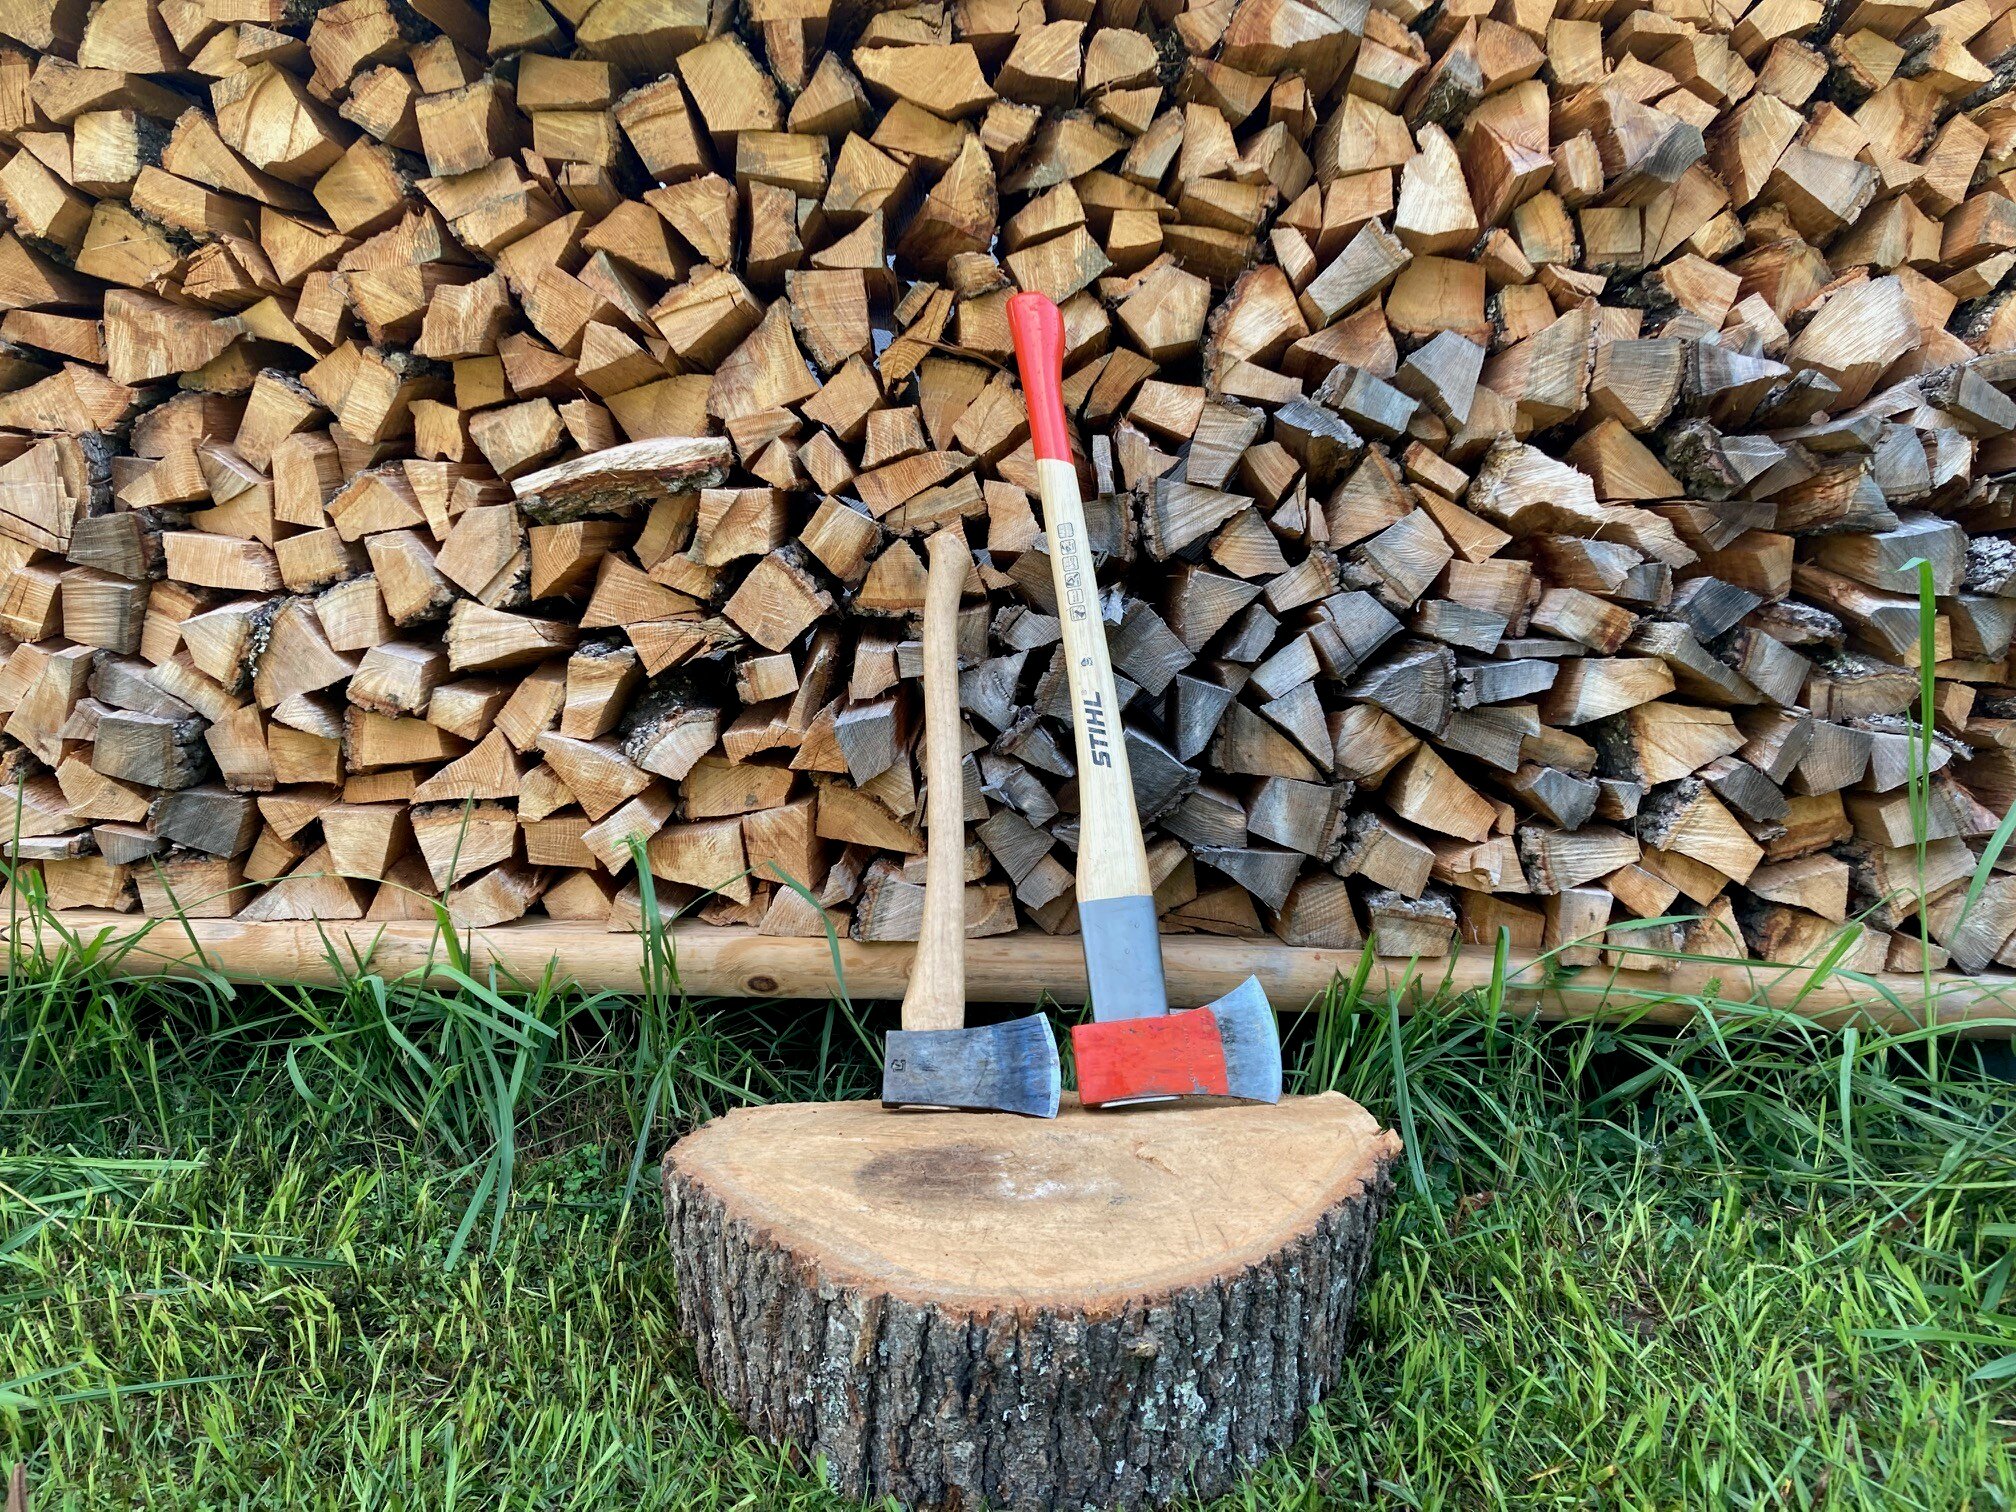
We Set Up A Stump Obstacle Course
Cost: Free
Stumps serve so many purposes on a property, from providing seating to acting as a workout tool. They also grow all types of wild mushrooms, from lion’s mane, reishi, oysters and many more which can be fun to try and identify and serve as a teaching opportunity for kids.
When a dead and fallen tree on our neighbor’s property turned out to be unsuitable for firewood, my husband hauled over the stumps and we set up this balance station/obstacle course for the kids.
Younger ones should have a spotter (because you can fall and hit your head), but it’s a great place to practice balancing, jumping and risk-taking and doubles as a shady snack spot.

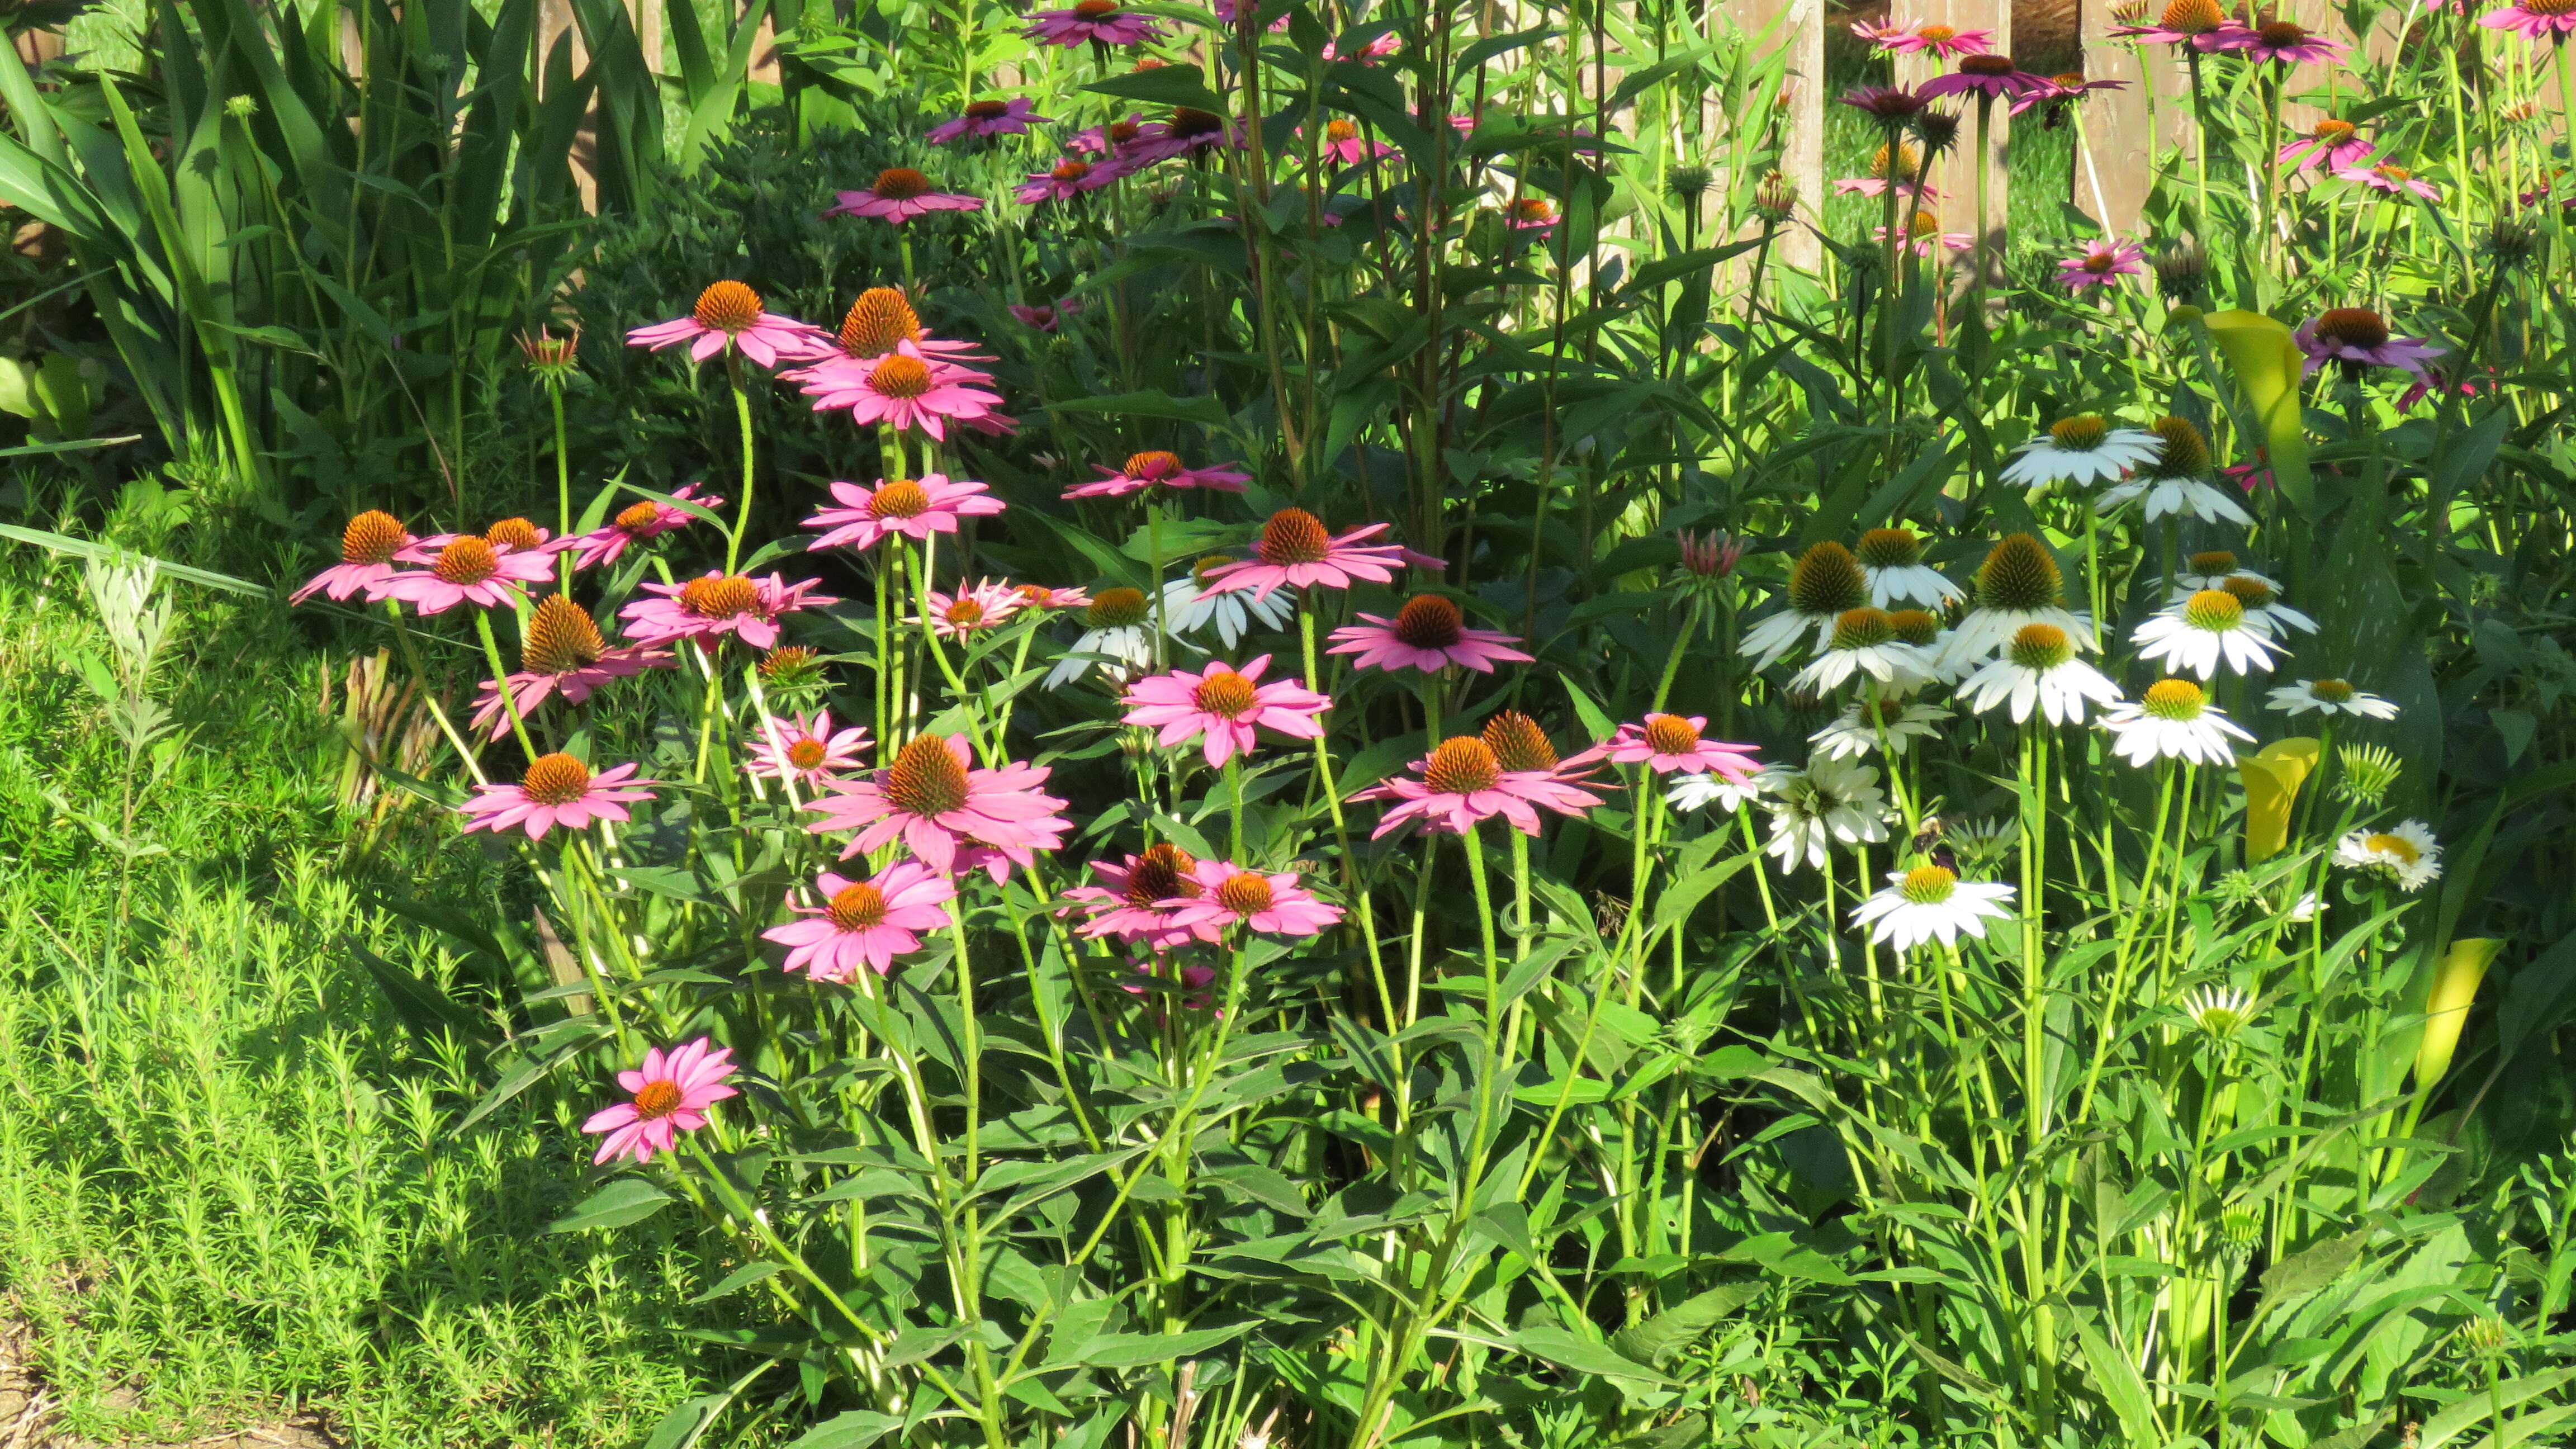
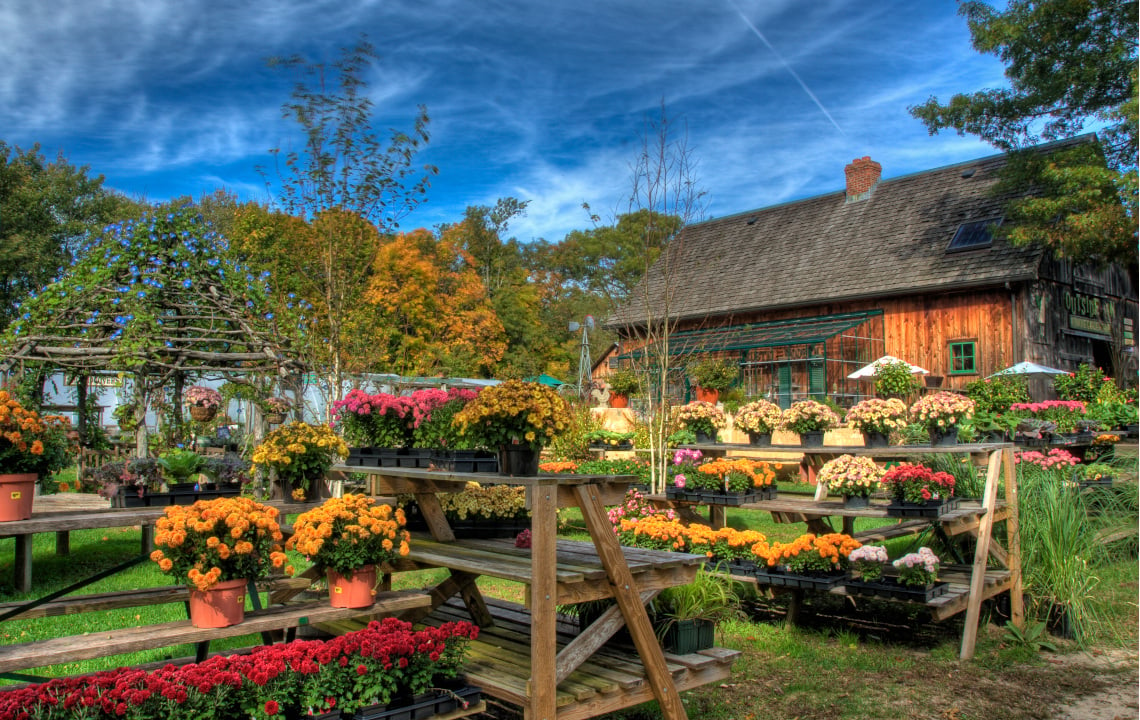
Every Year We Plant A Wildflower Garden For Cutting
Cost: About $7.00 for wildflower seeds
In my perfect world, I design, plant and tend an extensive flower garden for pleasure and cutting every year.
In reality, we’re far too busy tending our vegetable and medicinal herb gardens to mess around much with flowers!
But my daughter loves flowers and is a natural at arranging them (like her late grandmother), so I wanted to do something to nurture that gift.
The answer: plant wildflower seeds!
It’s so easy and produces an absolutely stunning garden with very little effort.
In the spring, we purchase a big bag of wildflower seeds from the hardware store. We roughly prepare a garden bed by raking and pulling up some weeds, scattering the seeds, remembering to water them every day for a while, then eventually forgetting about them until they blossom into a beautiful flower garden.
This year my 11-year old daughter did all the prep, planting and watering herself.
My daughter loves cutting them, and they add beauty and functionality (because they double as pollinators) to our homestead.
We Outfitted A Climbing Tree With Ninja Tree Climbing Ropes and Holds
Cost: $35.00
I waited on this toy until my son was almost five then I couldn’t resist.
If you haven’t seen these genius apparatuses, they are long ratchet straps that you weave climbing holds through then wrap them around any type of tree to make the trunk more scalable.
This is awesome for us as all our trees have very high limbs, which make them almost impossible to climb.
These tree climbing ropes are also wonderful for helping smaller children reach the branches they couldn’t otherwise.
Installation is easy and takes very little skill and no tools.
We’ve made wearing a helmet a rule for our smaller child, and we spot him when he’s climbing.
These also make a fun ladder alternative for treehouses and ziplines.

We Set Up A Firepit Area For Hotdog Roasts
Cost: Free (the firepit was a gift)
This consists of a firepit we already had, a table nearby for condiments, some stumps, and additional lawn or camping chairs as needed.
I used to like the challenge of sending the kids hunting for hot dog roasting sticks and whittling them, but I recently bought some stainless steel hot dog roasting sticks. They make everything easier and cleaner, and the hot dogs don’t fall into the fire as much.
Learn to build your own fire pit here.
We Built a Stick Fort
Cost: Free
The kids (of course) want a treehouse, and that’s something we’d like to do in the future.
In the meantime, my husband got them involved in building a simple stick fort, which is great for hide-and-seek, setting up fairy villages and hanging out.
They built it against a large tulip poplar using sticks we gathered from around the property. It took only a few hours, looks super cool and natural and has been a great play space for them.

We Sprung For A Seasonal Above Ground Pool
Cost: $150-$350
This was our COVID purchase and totally worth the investment.
I’ve lived in the South for a long time, but I have not and will not ever become accustomed to the heat. Even up here in the mountains, where it’s 10-20 degrees cooler than down South, I dread those humid days of summer.
Installing an in-ground pool was not an option for us due to the close proximity to the water table. Plus, the cost is very high and we had other priorities.
So, I researched seasonal above-ground pools, and we purchased a 15-foot easy-set pool in 2020.
It made our COVID summer as it provided an outdoor space for friends to come play and kept us sane during those hot and crazy times.
Unfortunately, the ring to that pool broke after three years. Which is kind of what we expected.
So last year, we upgraded to a deeper seasonal steel frame seasonal pool, and it’s been wonderful.
I know people joke and call them “redneck pools,” but they look so much nicer these days, are affordable, you can convert them to salt water if you like and are an excellent alternative to installing an in-ground pool.
I recommend the steel frame over the easy-set version for longevity.
We put ours up around Memorial Day and take it down in September, after which we use the deck space for cool-weather firepits.

We Hung A Rope Swing From A Tree
Cost: Free (used upcycled rope)
This is so easy, but you need a sturdy branch and a sturdy rope.
My husband set one up by tying it on a sturdy maple branch and tying a large stick on the end as a foothold.
You can also make a large loop for the foot and set one up between two hills or banks or across a creek.
Rope swings are super fun, versatile and cheap. I highly recommend them!
Grandpa And Grandma Got Us A Saucer Swing
Cost: $35.00
My Dad and stepmom have been instrumental in outfitting our children with fun toys and activities for years.
So, when he asked what they needed for Christmas one year, I was quick to say, “A saucer swing!”
We initially set it up on the branch of a poplar tree, which was a dreamy spot for about two years.
However, after it came crashing down with my daughter and her friend on it (miraculously, no one was injured!), who had both hit growth spurts, we decided to relocate it to the swing set. Dreamy is not always practical, lesson learned!
If we had a larger branch, I would install it there again, but if it's to support tweens or teens, make sure it’s a very large and solid branch.
Our saucer swing is similar to this model.
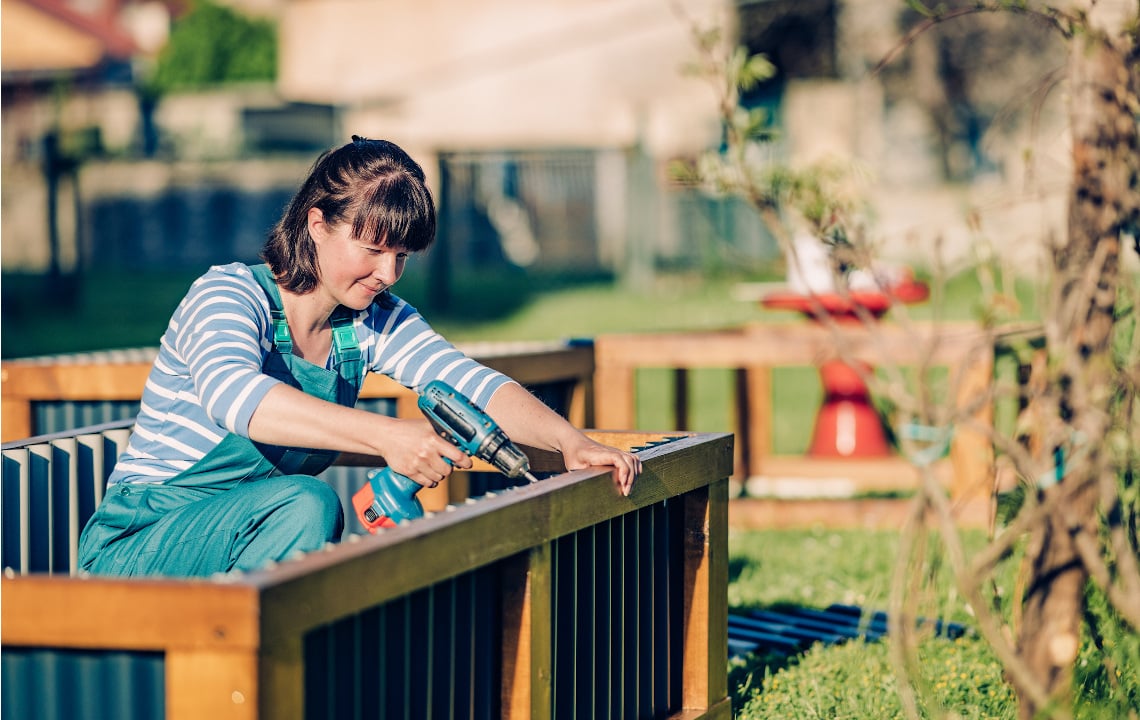
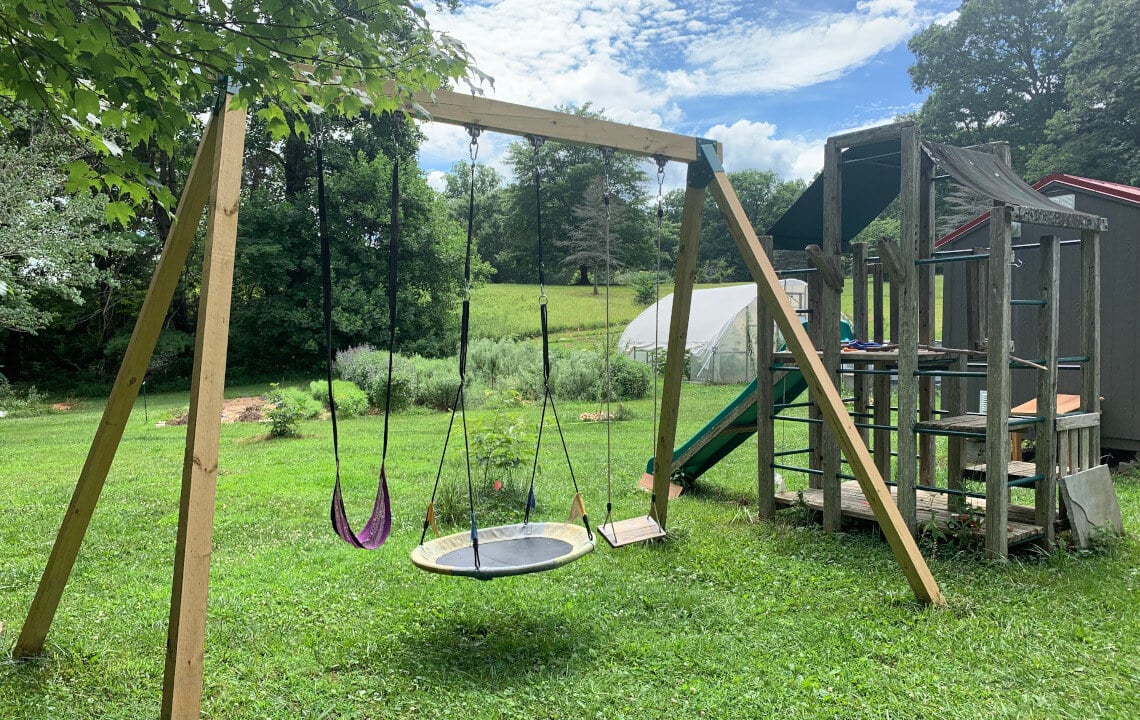
We Built a Tall Swing Set (and almost died doing it)
Cost: $150.00
In the beginning I mentioned we had to eventually upgrade the swing set that came with our donated playset.
We like to DIY things as much as possible, and high-quality swing sets are expensive, especially if you want them sturdy enough to hold tweens, teens and adults.
The best option we found for our skill levels and budget was to purchase a hardware kit, purchase the lumber separately and build it ourselves.
We decided to build it tall to accommodate our tween daughter, who still loves to swing as much as she did as a toddler.

This proved challenging, especially when the last darn 4X4 refused to go into the bracket!!
However, after plenty of choice words, a few tears of fear on my part and almost giving up, we succeeded, and the kids now have a super sturdy swing set.
The whole project cost us about $150 for the bracket kit, mounting hardware and lumber (, minus the cost of the swings and swing hardware, which we already had from our previous set.
- We made ours tall, 10 feet, and long enough to accommodate 2 swings and a saucer swing. For this, we used the following lumber:
- 4 - 4X4s (10 foot long)
- 1 - 2X6 (12 foot long)
- Here’s a link to the bracket kit and mounting hardware we used.
- Here’s a link to the swings we bought.
- Our 4-year old (and me) loves this wooden belt swing.
- Our 11-year old loves this portable nylon swing, which we also take with us when we travel and hike.
- This is our favorite, now retired, baby swing because it’s made of durable cloth versus breakable plastic. The only caveat is, it needs to be brought in at night or during rain to prevent mildew.
How To Begin Creating Your Ultimate Rural Backyard Play Space
As I was writing and photographing this piece, it struck me how far we’ve come in 5 years; but it didn’t happen overnight.
When we bought our land, money was tight. We had a new baby on the way and lots of infrastructure to put in place for our farm. Plus, our house, built in 1976, needed some renovations and repairs.
So we started small with the free playset and our existing small trampoline, a sand table and metal swing set.
From there, we added free and inexpensive pieces as we were able and enjoyed the natural features, such as the creek, trees, gardens, berries and stumps.
We also shopped sales, bought what we could used (though I wouldn’t recommend that for things like ziplines and trampolines unless you know for sure they’re in good shape) and gifted or asked for larger items at Christmas.
All the while, our philosophy has been to create a space conducive to lots of functional physical activity, unstructured creative play and the joy of childhood.
There are still elements we want to add over time, a treehouse, slackline and/or ninja course, a bigger rope swing and a bocce court, but in the meantime, we are thrilled to be able to provide our children with a safe space to play, develop, explore, create, grow, get dirty and just be kids.
After all, isn’t that what a country childhood is all about?
For more tips on raising country kids who love the outdoors, check out the following articles:
- 13 Unstructured Playtime Ideas To Get The Kids Outside
- Raising Farm Kids: A Family's Move From Subdivision To Hobby Farm
- How To Teach Kids To Build A Campfire Safely: A Step-By-Step Guide
- Hiking With Kids: Mistakes To Avoid For Happier Trails
- Start Bird Watching With Kids To Connect With Nature