Learning how to build a campfire is a rite of passage for country and city kids, but it must be done with great adult intention and attention to detail. A survival expert, father and grandpa shares how you can teach your children to build campfires safely and efficiently.
Children are naturally fascinated by campfires and firestarting.
However, there are certain steps they must be taught before they start lighting campfires. As parents, grandparents and caregivers, we would be wise to teach them these fire safety rules before they take it upon themselves to experiment.
Commonsense fire safety steps that may be practiced subconsciously by a skilled outdoor person might not be so obvious to a child. Here, we outline the essential steps of how to start a campfire.
1. Find A Safe Location For The Campfire
The first step in building a campfire is selecting a safe location.
Here are a few things to consider when selecting a location:
- Avoid building a fire under low overhanging limbs.
- Clear a spot for the fire, removing any debris that might be flammable.
- Locate the fire in a safe, clearly defined area, not posing a threat to escape or risk igniting anything nearby.
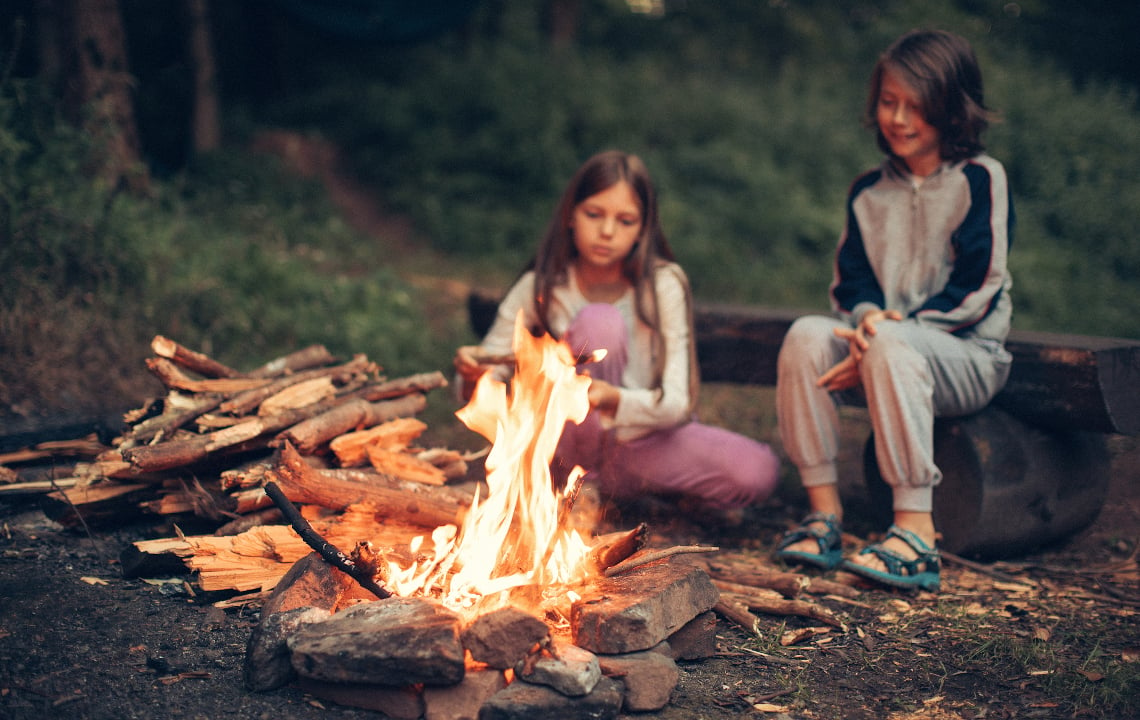
- Use rocks to confine the fire if possible.
- Do not use rocks from streams as they may explode when trapped moisture in them expands
- Avoid placing anything flammable too near the fire.
2. Safety Tips When Starting a Campfire
Children may be eager to get to the lighting part, but it is important to observe certain precautions when starting a fire.
- Do not use flammable liquids to start fires (gasoline, kerosene, charcoal starter liquid). These dangerous fluids can flash up and cause serious injury. They expand at many times the original volume with explosive force.
- This point is especially important to drive home, as children, especially teens, may be tempted to experiment with flammable liquids, which too often result in serious injury, fire damage, or even death.
- Don’t allow fire to escape into nearby leaves or debris.
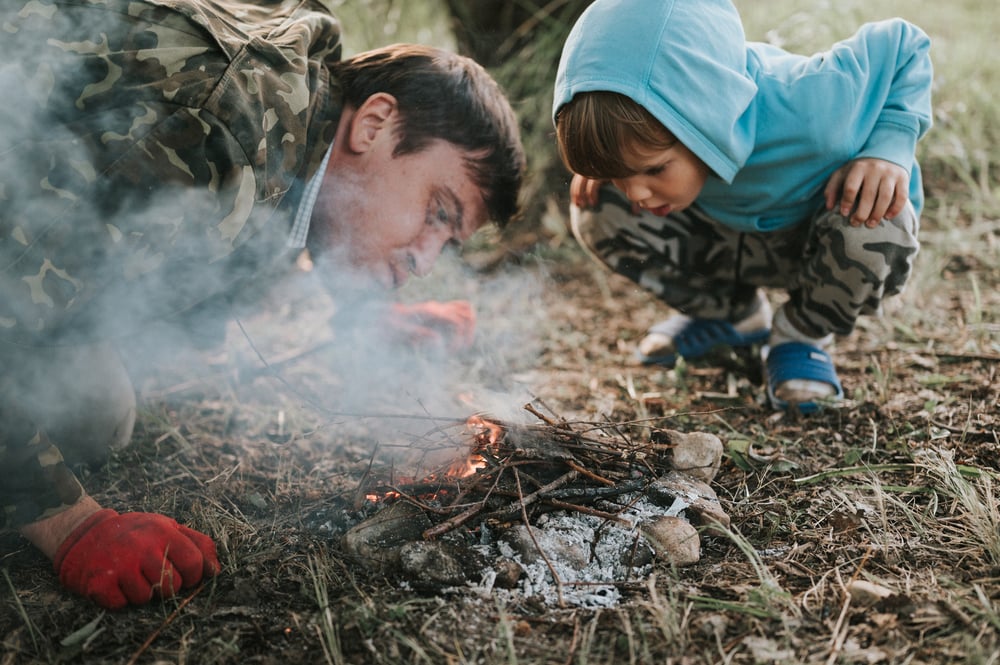
- Don’t position your face over the ignition site to avoid a flare-up from causing a serious burn or singed hair.
3. Tips for Easy Campfire Starting
Always gather your tinder, kindling and wood prior to starting a fire. Nothing is more frustrating than igniting tinder and kindling and having it die out prior to gathering larger firewood.
Starting fires with dry materials is very easy, but even wet wood can eventually be ignited with some effort. 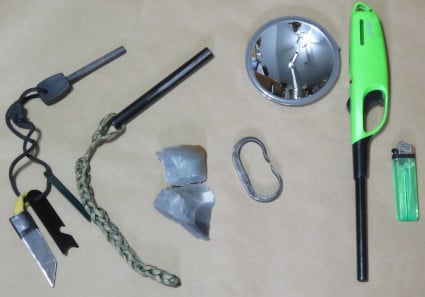
Three elements are required to start a fire
- Oxygen
- Fuel
- Heat
When building a campfire, oxygen is readily available, fuel for ignition should be flammable and heat would be supplied by matches, a lighter or in a primitive setting by a spark from flint and steel or a ferrocerium rod, typically called a ferro rod.
In the pioneer days, most people knew the importance of tinder.
In modern times, tinder may be dry grass, leaves or even paper from home.
Dryer lint is an excellent source that is easily ignited by match, lighter, ferro rod or flint and steel.
Consider Teaching Your Children how to prepare char cloth, which is the ultimate, lightweight, portable tinder.
Char cloth is made by cutting small strips of 100% cotton cloth (old denim is a good source), placing it in a small tin (®Sucrets, ®Altoid or similar), and placing it in a fire for several minutes.
Due to the limited oxygen in the tin, the cloth will char instead of flaming.
This small tin of char cloth will supply tinder for multiple fires. It will easily catch a spark from flint and steel or a ferro rod.
For more tips on primitive fire starting methods, see: Fire Starting Tutorial.
4. Teach The The Steps To Proper Campfire Construction
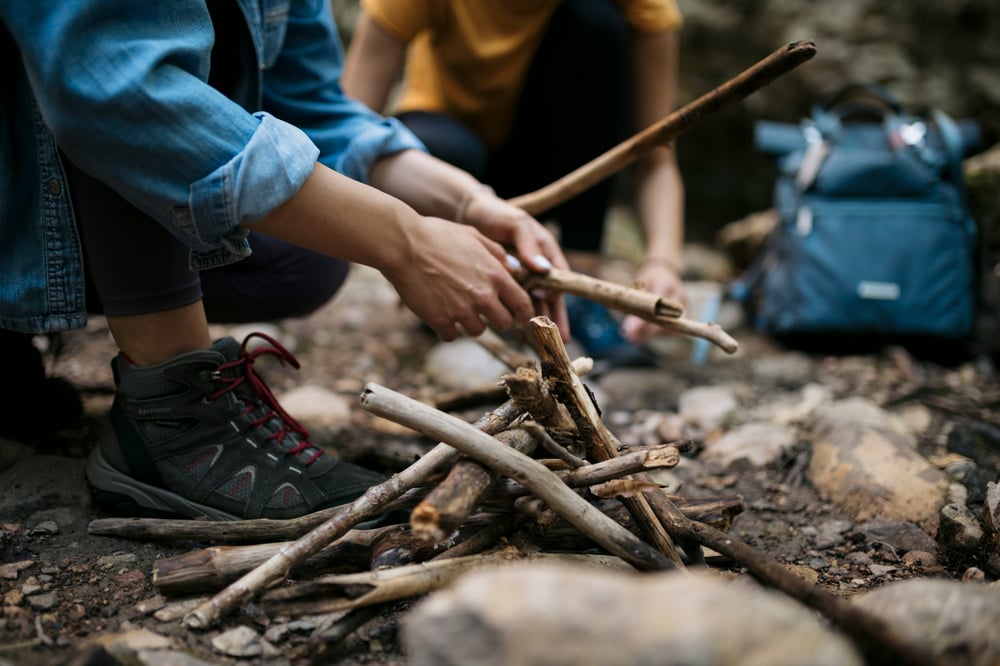
We often hear the term, build a fire, which is good terminology.
A fire should be constructed in an orderly fashion to make it easy to ignite and maintain.
We mentioned tinderearlier. To place that in perspective, here is the order in which we should build the fire and the elements required for each step.
1: Start with tinder
As defined earlier, is the most easily ignited material. It should be placed in the center of the area cleared for the fire.
2. Add Kindling
This should be placed over the tinder in a pyramid shape, leaving access for the source of ignition to reach the tinder. Kindling is usually dry twigs of very small diameter.
If possible, fatwood (source is dead evergreen stumps, junction of dead limbs with the tree trunk, etc.) should be the choice. Fatwood contains a concentration of dried pitch or resin. Small bundles of this material are commercially available.
3. Apply the flame source to the tinder
Allow it to ignite the kindling.
In the case of using char cloth, after the char cloth has supported a spark, place it into the tinder bundle.
Blow vigorously to create a flame, and once it occurs, back away to allow the kindling to ignite.
A good tip for getting sufficient oxygen to the char cloth/tinder is to use a section of bamboo to blow through. This allows you to keep your face protected from the flames.
4. Add larger sections of wood
Once the tinder ignites the kindling, gently add progressively larger sections of wood to the fire, maintaining the pyramid or teepee shape. Split wood will ignite faster, but unsplit sections will burn longer.
Once these steps are complete, you are set to enjoy the results of your campfire
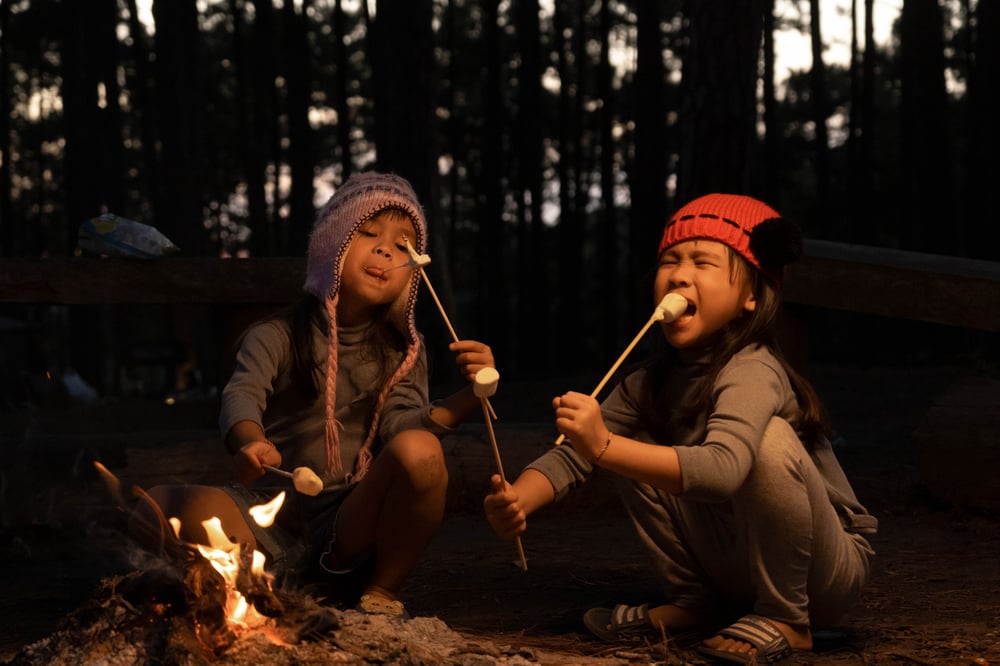
It’s time to break out the wieners and marshmallows, but be responsible and aware that a flaming marshmallow on the end of a stick or spindle is a dangerous item.
Nothing is more welcoming than a nice fire on a cool night. It is one of the things that makes camping so much fun.
However, a word of caution is in order. Never leave a fire unattended, and when you break camp, make sure the fire is completely dead. It is wise to keep a bucket or container of water nearby so that the fire may be extinguished if necessary.
Also, be sure to set rules and boundaries with your children regarding campfire building. I highly recommend that they not be permitted to build campfires without adult supervision until they are at an appropriate age and have demonstrated responsibility and proper safety knowledge and skills.
The right age is up to the parents, but always exercise more caution versus less caution when it comes to firestarting and children, tweens or teens.
Finally, enjoy this experience with your children. Learning to start their first campfire is a memory they will not soon forget and a skill that will serve them their whole lives.



.jpg)
