We don’t know when or how man first discovered how to use fire. But we do know that various ways to start and use fire were developed long before matches and lighters came on the scene. Perhaps primitive man discovered animals killed in forest fires and learned that cooked meat was delicious. The details of how he tamed fire and learned to create it will never be known, but here we will take a look at some of the ancient and some more modern aspects of fire-starting.
For fire to occur, three things are required:
- Tinder,
- Oxygen,
- And ignition.
If any of these components are missing, fire cannot be created.
To be successful, here's how to do some fire-starting preparation
Be sure that you have cleared an area of any debris that might be ignited and result in a forest fire.
Next, gather some tinder such as dry leaves, pine needles, cattail down or similar material (in our current times, dryer lint is a good tinder material).
Gather some twigs and some larger wood for subsequent stages of the fire.
Once this preparation is completed, we are ready to kindle our fire using one of several techniques outlined below.
The primary methods of fire starting involve the use of friction to create an ember, or sparks created and cast onto tinder to ignite it.
Bow Drill Technique for Fire Starting
This is a friction method and involves the use of several items.
#1: The Bow
The bow can be cut from any type hardwood tree. I recommend that it have at least a slight curvature that will prevent the spindle from rubbing against the bow during cycling.
The bow should be a minimum of 1” in diameter and may be 20” to 30” in length. The longer the bow is, the longer the stroke and heat generation is increased. Individual preference and physical stature may dictate variation is bow length.
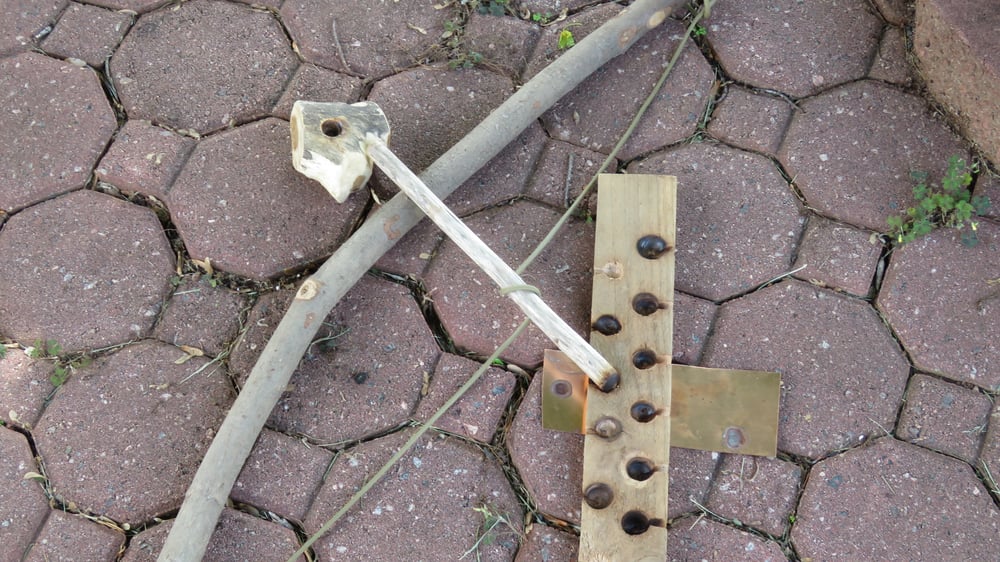
The bow should be strung with cordage that is durable and has the ability to provide a good grip of the spindle.
If it slips on the spindle, the spindle will not create enough friction against the fireboard. Paracord is a good choice, bank line, hand made cordage, rawhide and various other types are acceptable.
Note: Some hand-made cordage is not durable enough due to excessive bending during the process. It may have excellent straight-line pull strength, but may fail due to the flexing of the fibers.
#2: The Spindle
A spindle is required and length is not extremely critical, although it should remain straight and not flex during the process.
Dry yucca plant stalks gathered in the fall after the plant dies back make excellent spindles. The diameter should be approximately 3/4 inch.
The top of the spindle should be tapered to a pointed end of approximately 1/4 inch. The bottom should be trimmed to a blunt, rounded tip.
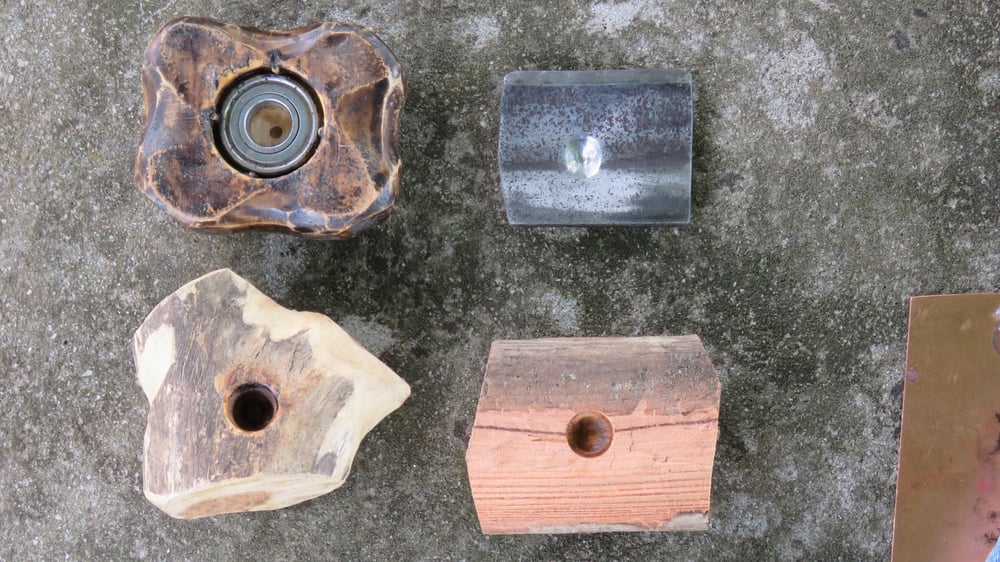
#3: A Bearing Block
A bearing block will be needed to hold the spindle in place during the process.
It needs a hole in it, slightly larger than the top of the spindle.
The goal of the fire-starting process is to create great friction at the bottom where the spindle meets the fire-board, but to minimize the friction at the top where the spindle meets the bearing block.
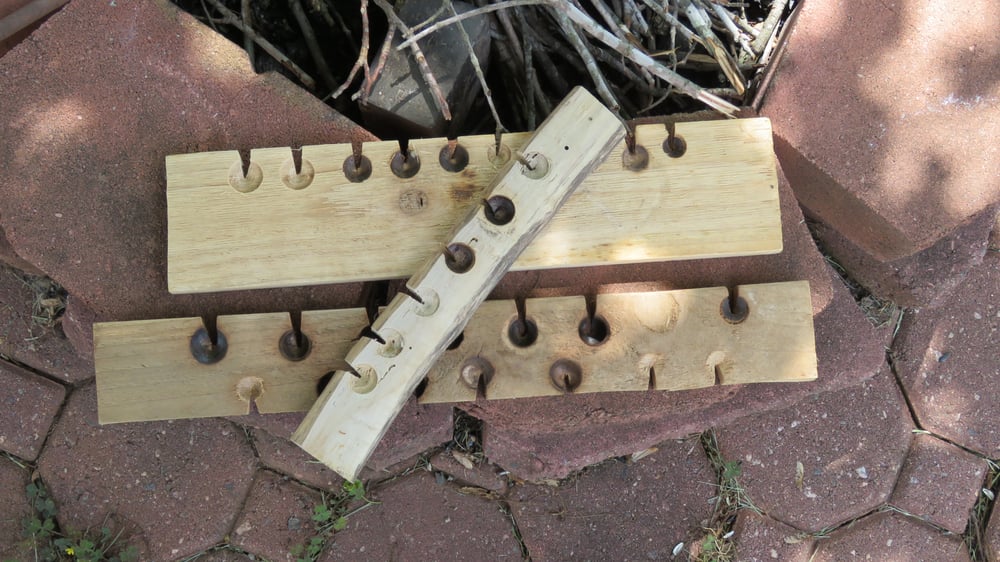
Various materials may be used for a fire-board, but cedar is an excellent choice.
A thickness of approximately 3/4 inch is acceptable. A divot may be started with a knife approximately 5/8” from the edge of the board. This will allow the 3/4 inch spindle to have a 1/4 inch margin from the edge of the fire-board.
After creating the divot, twist the string of the bow around the spindle. It should be tight enough so that the string will not slip.
Place the large end of the spindle against the divot and “burn in” the divot into the fire-board.
After a nice depression is created, cut a “V” notch from the edge of the fire-board into the center of the divot. This notch will catch the wood dust that is created when the spindle is cycled and when sufficient heat is created, the dust will ignite, creating an ember.
How to Start a Fire using the Bow Drilling Technique
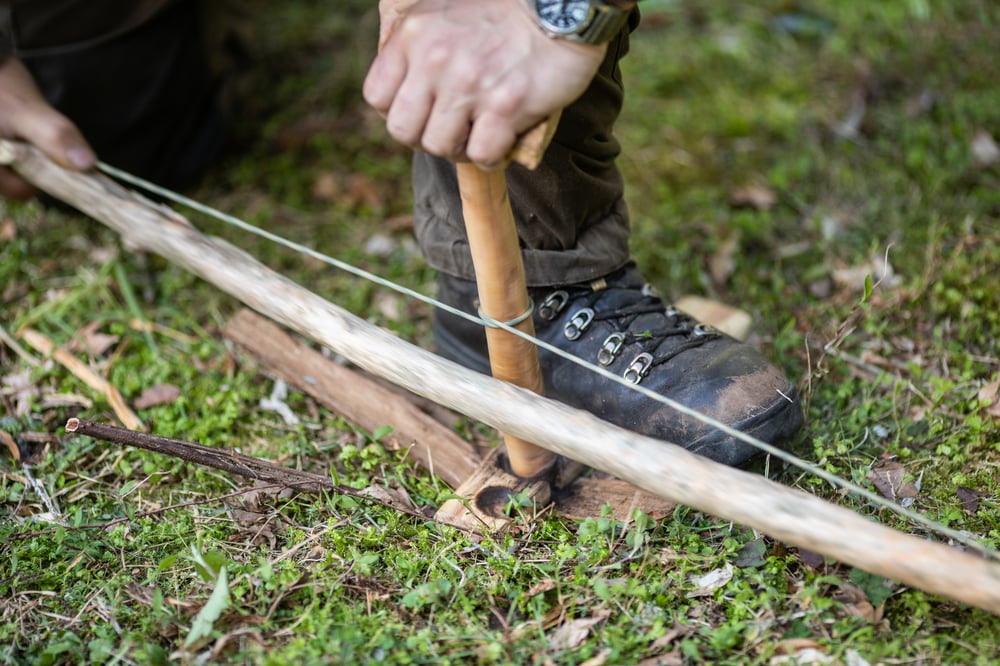
The bow should be held in the dominant hand and the bearing block in the non-dominant hand.
As the bow is cycled back and forth, the non-dominant forearm should be held against the shin to stabilize the bearing block so that the angle of the spindle is consistent and produces the maximum amount of friction and heat.
A leaf, thin piece of wood, a piece of leather or similar material may be placed under the notch to catch embers that are created.
The tendency of persons inexperienced in fire-starting is to rush to get the ember into the tinder, but in reality, it is better to gently push the excess wood dust to the ember to provide more fuel.
When the dust is ignited, it tends to clump together and is more durable than it appears. Gentle fanning or blowing on the ember will accelerate the ignition.
Gently place the ember into the tinder that had been formed into a “bird’s nest” and partially close the tinder around the ember. Blow on it until it flames up and then place it under the tiny twigs to ignite them and slowly add fuel as the flames grow.
High humidity is detrimental to any fire-starting method, but the bow drill technique is especially susceptible to the negative effects of high humidity.
Flint and Steel Technique
This is another method that has stood the test of time.
A “C” shaped striker is used to strike sparks by being struck against a piece of flint or other hard stone. The edge of the stone needs to be sharp to remove small fragments of metal from the striker. The sparks are actually pieces of superheated steel that are removed from the striker by the stone.
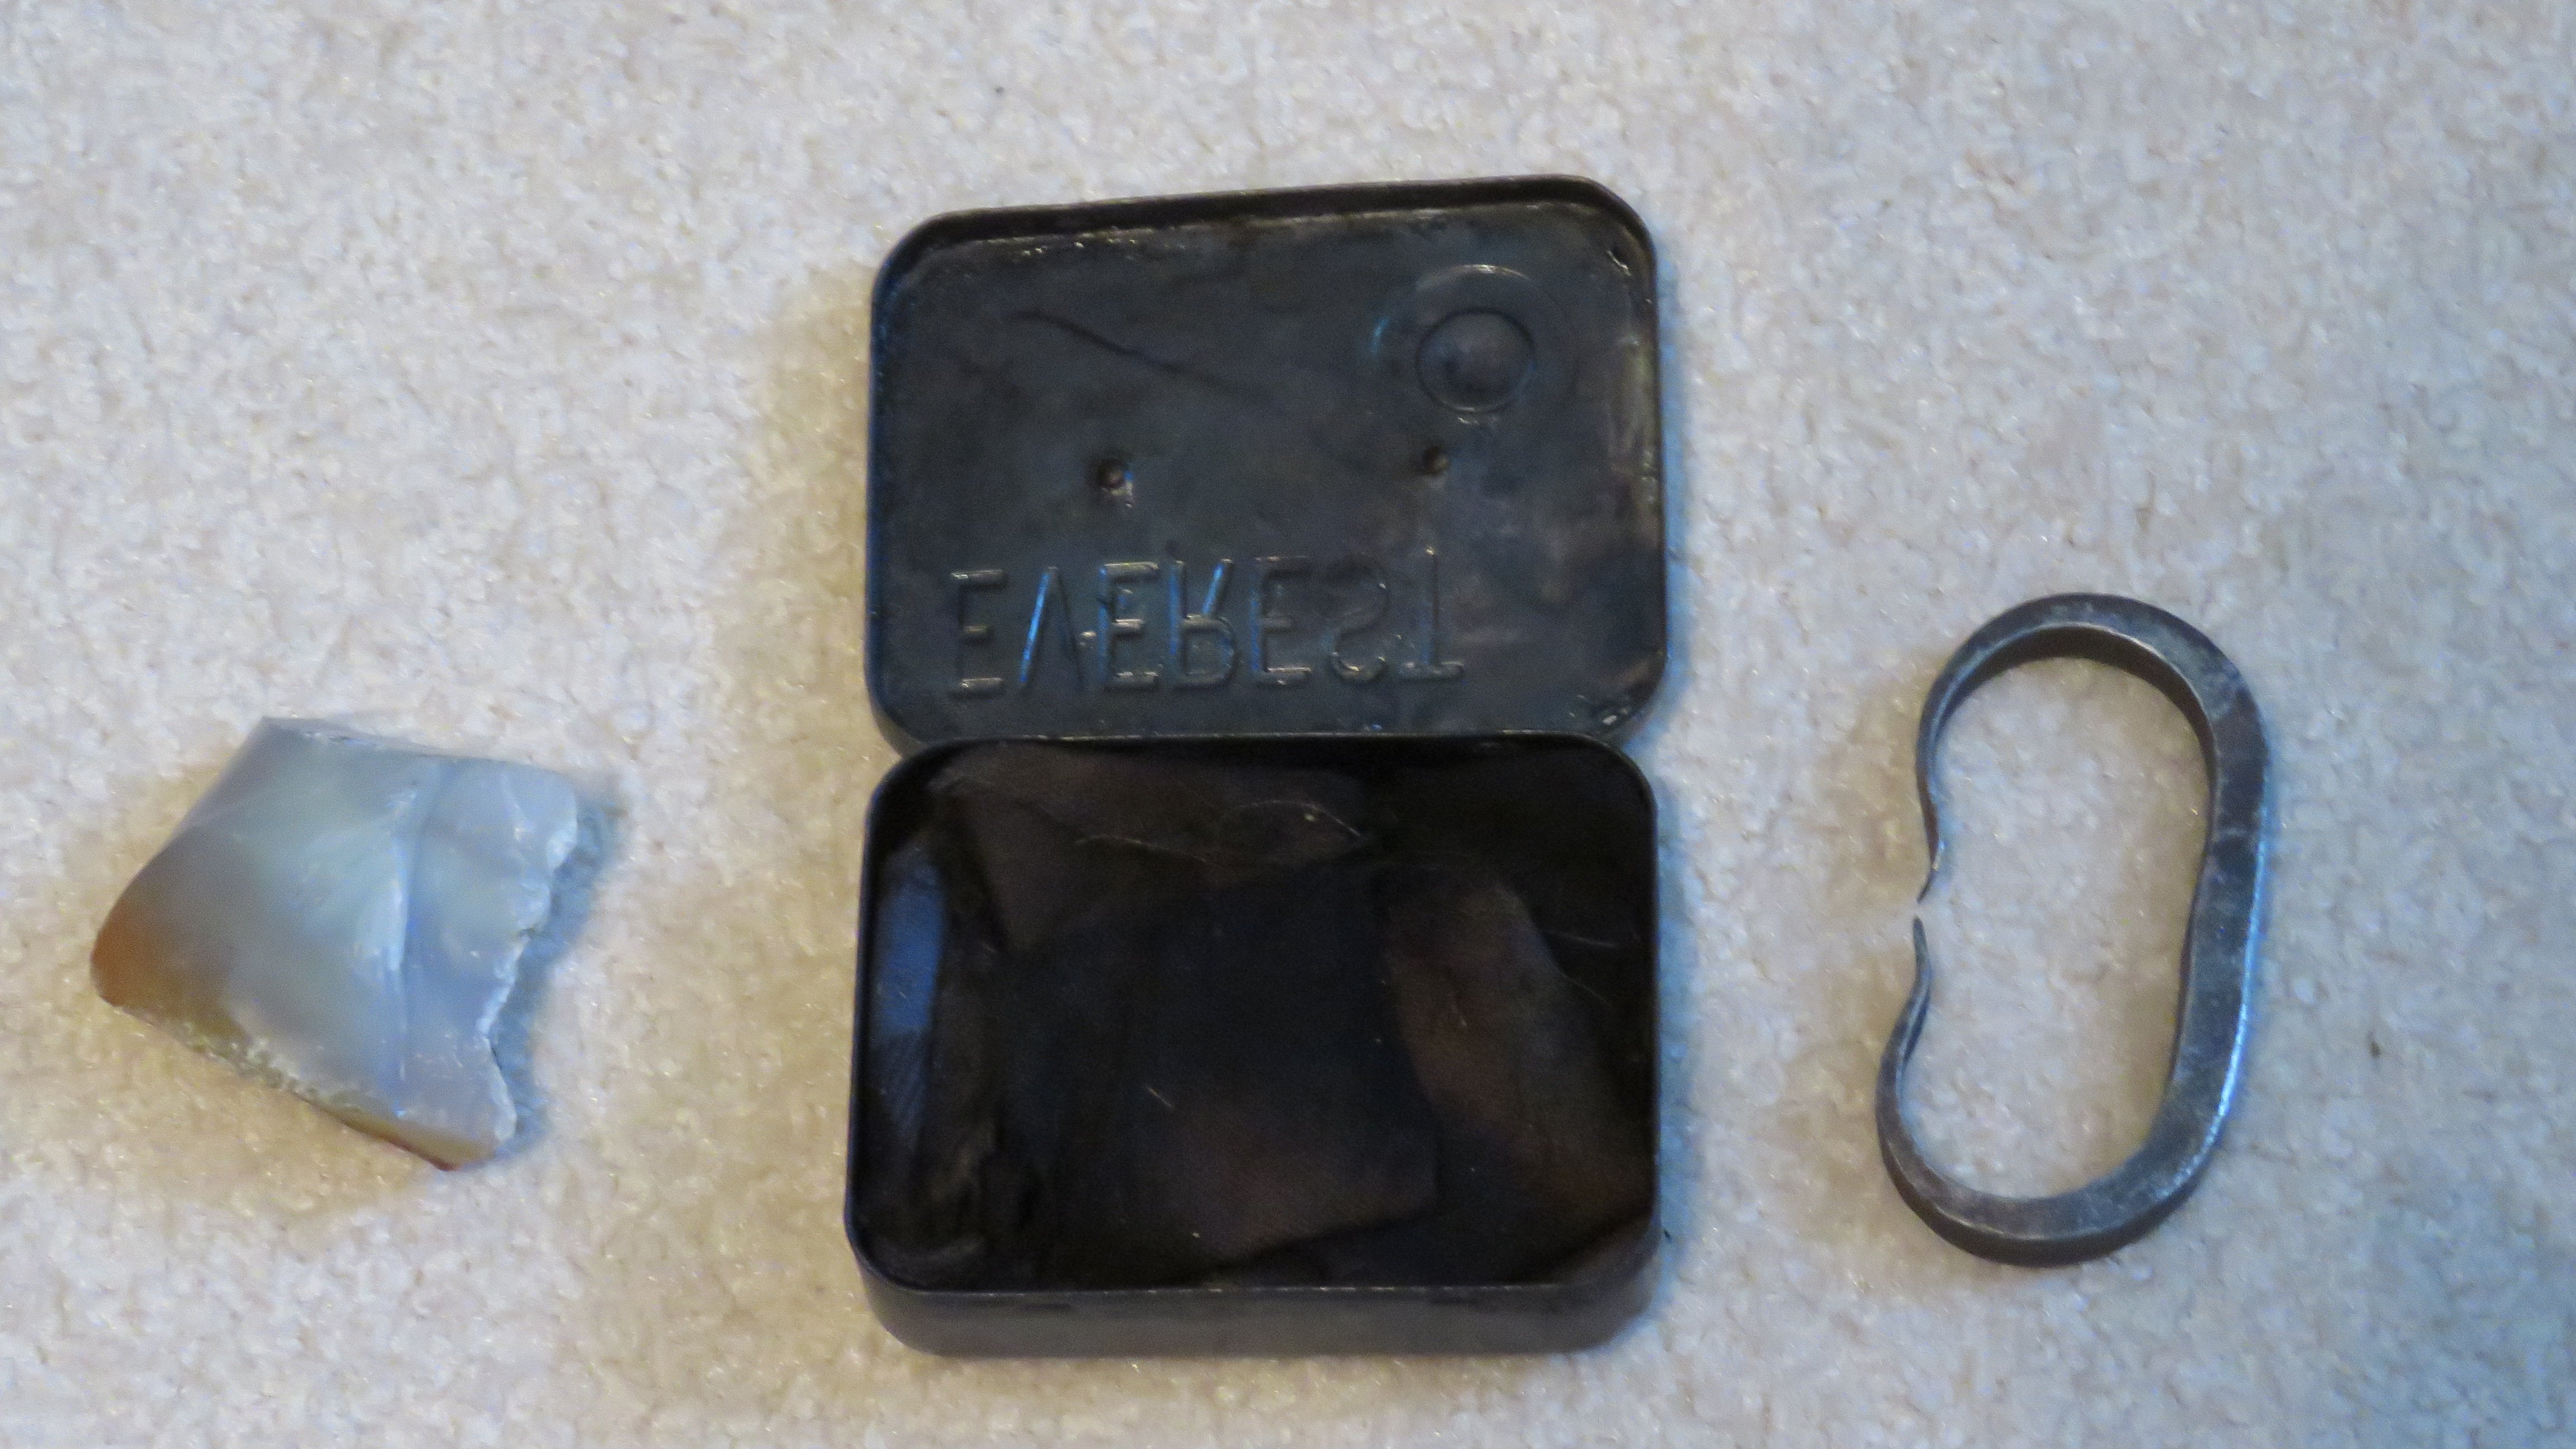
The best way to use this method is with the additional use of char cloth.
Char cloth may be created by cutting small strips of 100% cotton fabric, fold it tightly inside a small metal box (Sucrets® or similar box) and place it in a fire.
The fabric will smolder, but will not ignite. This will create char cloth that will catch and hold a spark well.
How to Start a Fire Using the Flint and Steel Technique
- Place a small piece of char cloth onto the top of the stone, near the edge to be struck with the metal striker.
- When the sticker hits the stone, sparks will shower onto the char cloth and ignite it and it will slowly spread across the cloth.
- This char cloth may then be placed in the tinder as noted above in the bow drill instructions and blown to create a flame.
Ferrocerium Rod Technique
Ferrocerium (also called ferro rods) are more modern developments created to allow easy creation of fires.
Baron Carl Auer von Welsbach discovered that when iron and cerium were mixed together, they would create sparks of extremely high temperatures.
A 70% cerium, 30% iron blend would produce temperatures in the range of 3,000 degrees Centigrade.
Today, ferro rods are available in a wide range of sizes and some are even available with blocks of magnesium. The magnesium may be shaved off and a small pile ignited by the attached ferro rod to create intense heat.
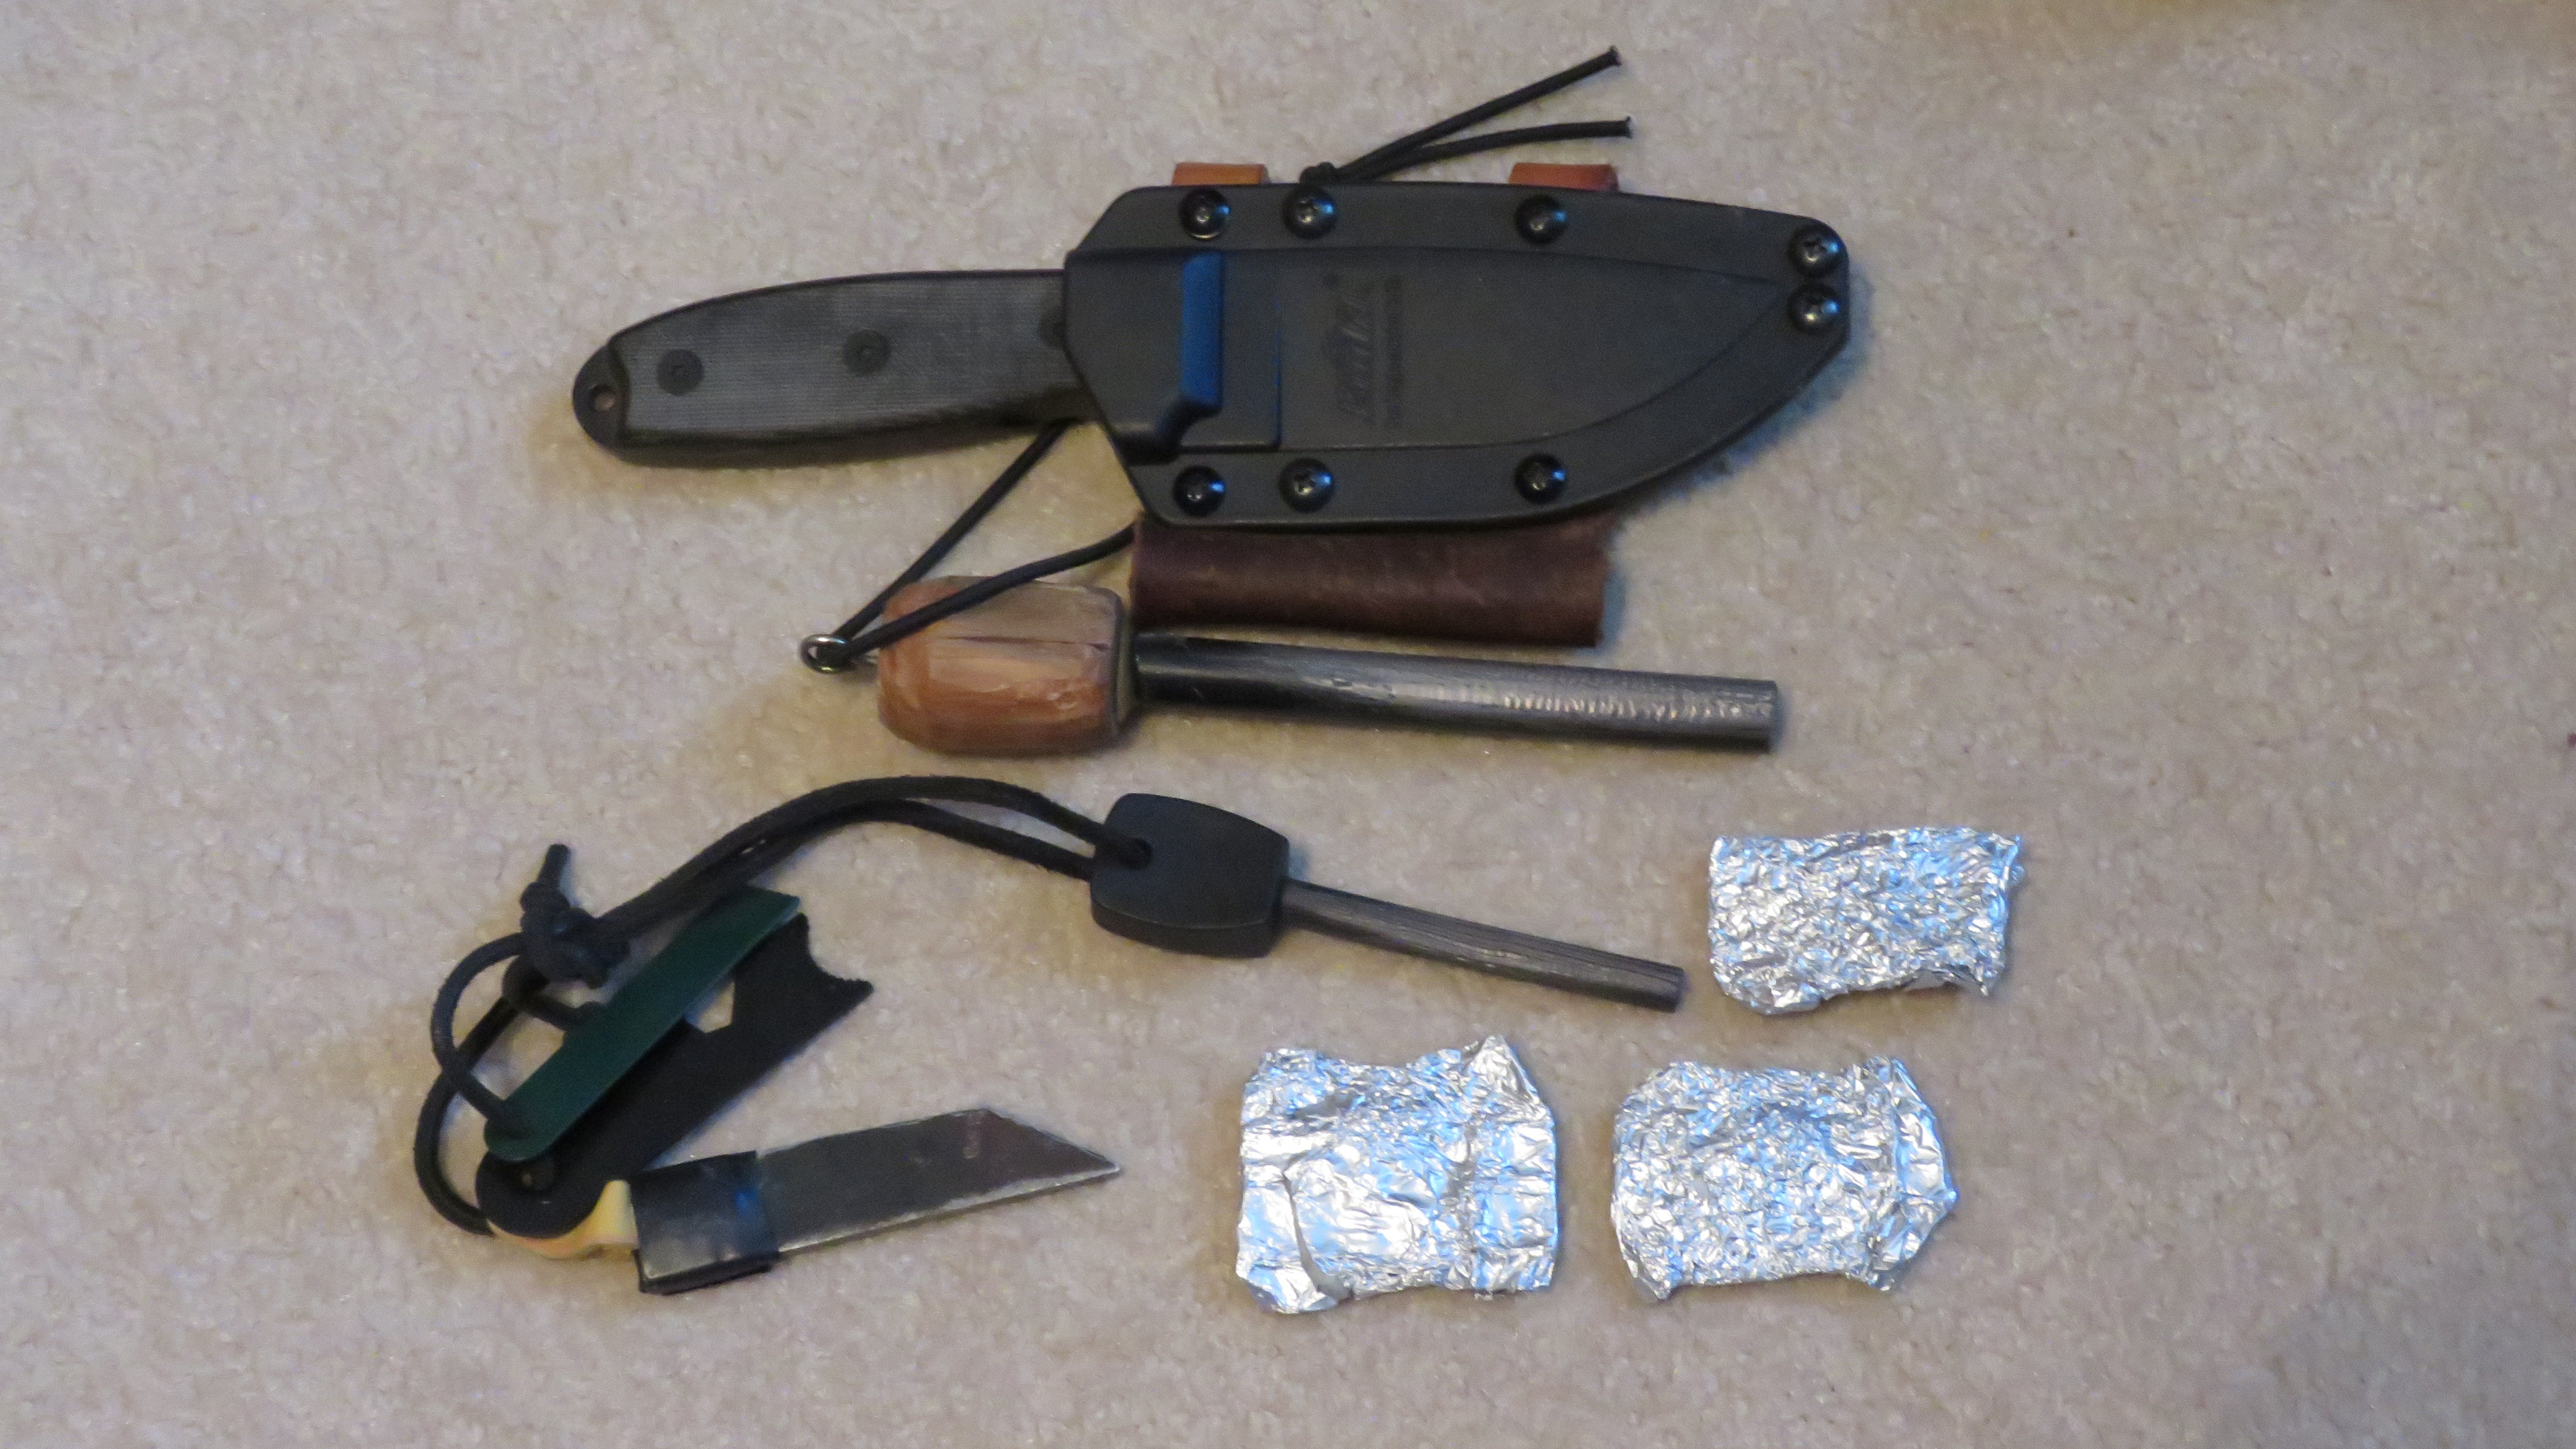
One advantage of ferro rods is that they are impervious to water. They may be dipped into water, wiped dry and they will immediately create intense sparks. These sparks may be directed toward tinder and will create flames quickly.
A small, metal striker of high carbon steel may be used to strike sparks from a ferro rod, or the spine of a knife may be used.
One mistake that many make in using a ferro rod is to hold the rod stationary and move the striker toward the tinder.
This often results in the striker hitting the tinder and snuffing the flame.
The better technique is to hold the striker stationary, near the tinder, and to draw the ferro rod away from the tinder. This will result is an unhindered shower of sparks falling onto the tinder.
An aid to fire starting may be prepared that works especially well with the ferro rod technique.
Rather than using traditional tinder, packets can be prepared by saturating cotton balls with petroleum jelly. The saturated cotton ball is placed on a small square of aluminum foil that is folded, flattened and crimped into a 2”x2” square.
When ready to use, cut a small ”X” into one side of the packet. Use the tip of a knife to pick out enough saturated cotton to create a wick. A spark from a ferro rod will easily ignite the packet. It will burn for an extended period, assuring rapid fire ignition.
Closing Thoughts on Fire Starting Techniques
These are but a few of the many ways of starting a fire without modern conveniences such as lighters and matches.
Some of the others are the fire plough, hand drill, pump drill (uses a flywheel for inertia), bamboo fire saw and more.
One of the more interesting techniques is called "the fire roll" and involves the use of ashes and cloth rolled together and compressed between a stationary board and a board that is moved back and forth until friction creates an ember in the cloth.
We don’t normally have to use these primitive methods to create fire today, but it is an interesting subject.
If you enjoy hiking, camping or visit remote places, it is comforting to know the basics of primitive fire-starting methods.
Some of the essentials may be carried in a small pouch, and you never know when they might be a life-saver.



.jpg)
