Celebrate the fall season on the homestead with a glass of homemade cider. Follow our easy step-by-step guide on how to press and make your own cider at home.
As sweater weather sets in, our taste buds collectively begin to crave the crisp, refreshing taste of homemade apple cider. There’s just nothing like it!
Making your own cider lets you experiment with different flavor profiles and fermentation techniques (if you’re into “hard” cider) and create lasting fall memories.
Follow our simple step-by-step guide below to learn how to press and make your own cider, turning fresh-picked (or bought) apples into this delicious fall beverage.
To Start, Gather Equipment, Ingredients & Tools
What you’ll need:
- Apples: Plan to use a variety (more on that below)
To help you plan: About 15 pounds of apples yields approximately 1 gallon of cider. - A large clean tub or bucket for washing apples
- Water
- Vinegar or Produce Wash (optional)
- Paring Knife & Cutting Board
- Apple press/grinder
- Mesh liner
- Large bucket, pot or basin for collecting the juice
- Funnel
- Clean bottles, milk cartons, etc. for storing cider
The following materials are needed for making hard cider:
- Sugar
- Yeast (optional and more on that below)
- Demijohns or glass jugs
the right apple
Crafting the perfect cider flavor profile takes a bit of science. It’s true when they say – cider-making is an art!
Where to source your apples
To make a large batch of cider, you’ll need several bushels of apples. The rule of thumb is 15 pounds of apples yields about 1 gallon of cider. Depending on how much room you have for storage, this math will help you plan accordingly.
To source your apples, you have several options:
- The grocery store: The most obvious and, well, the most expensive. We recommend checking other sources first.
- Orchard or farm stand: Support your local apple farmer! Buy apples by the bushel from local growers. You-pick orchards or roadside farm stands are great options (and tons of fun for the whole family!). You might be able to grab a good deal on misshapen, blemished, or irregular-sized apples from these sources.
- Buy bulk from your local wholesale price club like Sam's or Costco.
- Related reading: The Ultimate Guide to Buying Bulk Groceries in the Country
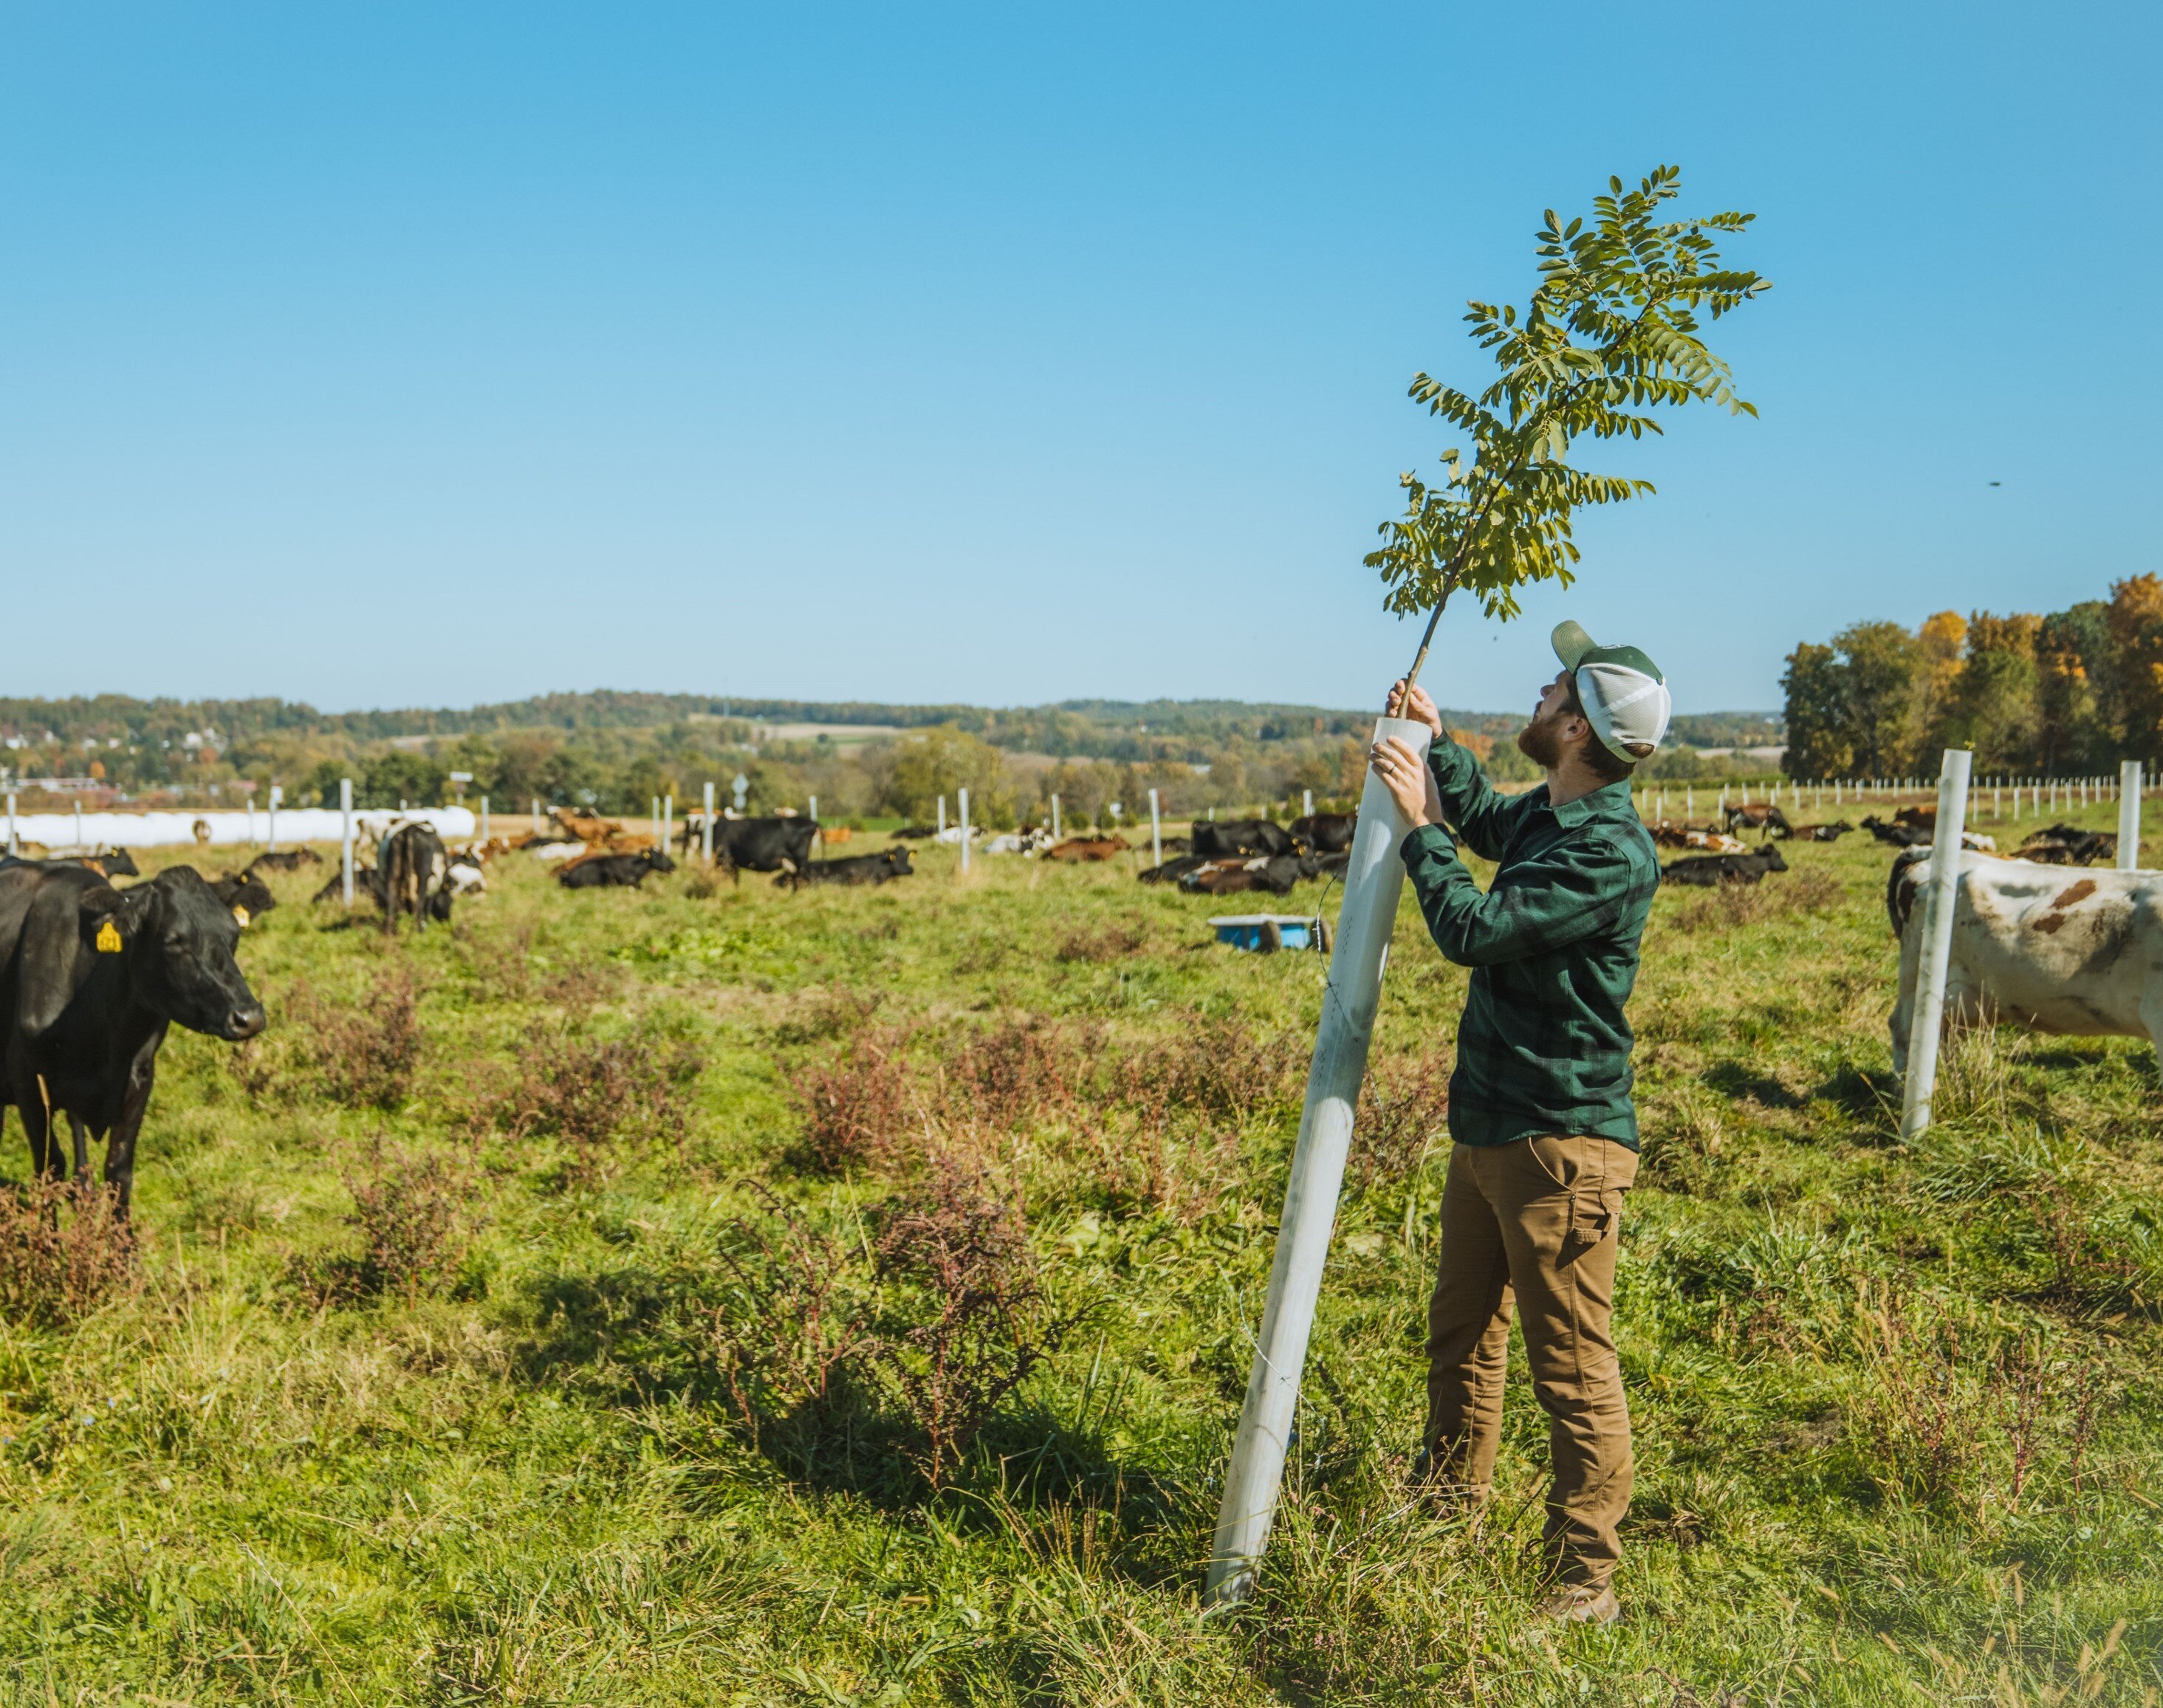
- Grow your own: Check your trees if you have an apple orchard or several trees. Or consider starting one on your property for future cider-making.
The best apple varieties for cider
The type of apples you use depends on the flavor you seek.
For a fruity cider, opt for sweet varieties, throwing in a few tart options. If you’re seeking a dry or tart flavor profile, use more tart apples, adding a few sweet varieties into the mix.
Blending different varieties is the recommended approach. Below are a few vetted options:
- Sweet apples: Fuji, Golden and Red Delicious, Gala and Cortland apples make for sweeter ciders.
- Tart apples: Mcintosh (the most popular), Pink Lady, Jonathan and Braeburn—add a touch of acidity and tartness to ciders.
- Crab apples: are great for hard ciders due to their high tannin content.
Now that you’ve gathered your apples, it’s time to start pressing and making cider. Here’s how:
step 1: Prep the apples
The first step is to wash and prepare your apples. Fill a large bucket or tub with clean water*. Add the apples and let sit for about 10 minutes.
Rinse the apples under cool running water, checking for and removing any dirt and debris.
Set aside.
*Note: For extra dirty apples, add a few tablespoons of vinegar or produce wash to the bucket or tub.
If you plan to make hard cider, do not wash in vinegar or a produce wash, as this will remove the apple’s natural yeast needed for fermentation.

step 2: cut the apples
Using a paring knife, cut the apples into quarters. You do not need to peel or core the apples.
step 3: Prepare the apples
Line the apple press bucket with a mesh liner (like this one, or this one). The mesh liner is important, as it acts as a strainer during the grinding and pressing. It keeps the apple pulp, skins, seeds, and core from getting into the cider.
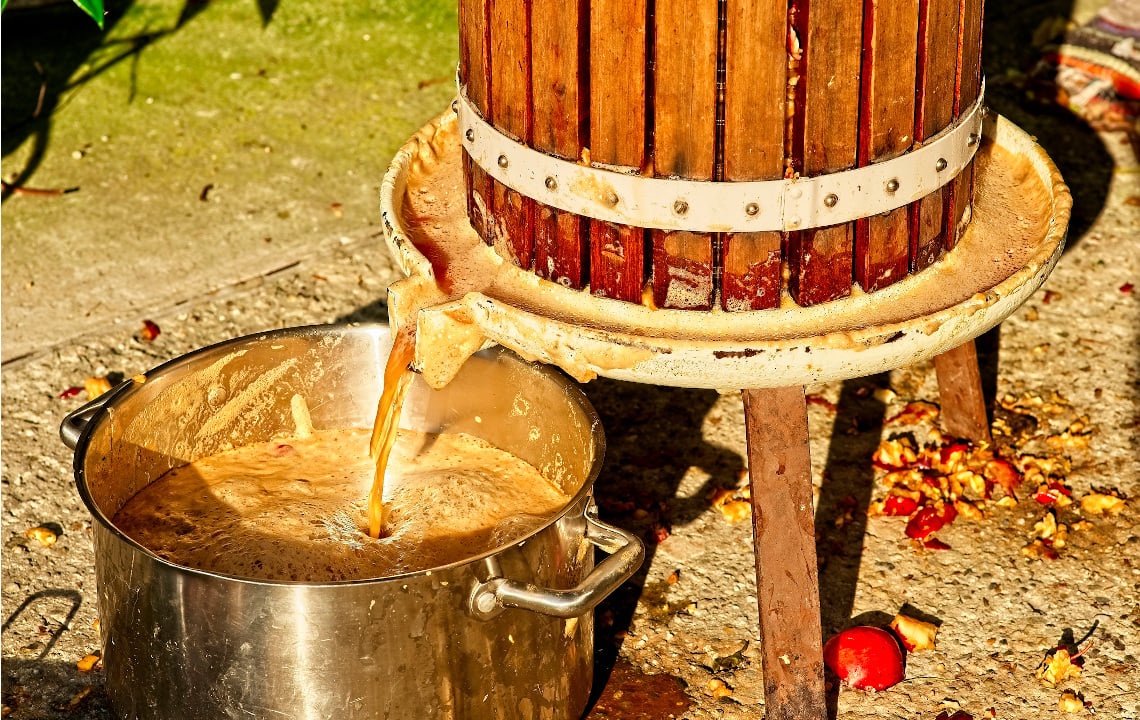
Next, add a large pot or bucket underneath the apple press to catch the juice.
step 4: grind the apples
Now you’re ready to make cider!
Add the quartered apples to the fruit grinder. Turn the hand crank to begin grinding. The grinder will mash the apples, dropping them into the mesh liner for pressing.
step 5: press the pomace
Add the pressing lid to the top of the apple pomace. Crank the press to push the pomace down into the bottom of the mesh liner. This will push the pomace down, draining the juice into the catch bucket.
Continue to press until the juice is no longer draining into the container.
step 6: store the cider
Using a funnel, divide the cider juice into containers for storing.
Glass gallon jugs and recycled soda bottles or milk cartons are great options for storing your homemade cider.
Note: If you’re concerned about bacteria, you can boil the cider before storing. Be sure to let the cider cool before dividing it into storage containers or bottles.
Another note: If storing cider in the freezer, only use freezer-safe containers. Leave a few inches at the top of the container, as cider will expand as it freezes.
Cider can be stored in the fridge for about 1 to 2 weeks before it begins to ferment. Store in the freezer for up to 6 months.
step 7: clean up & compost the pomace
All leftover pomace can be added to your compost pile (if you have one).
Once done, clean and sanitize the apple press, buckets, tools, and mesh liner (if it is reusable).
If you have more apples, repeat the process to make more cider! Or, try your hand at some hard cider. More on that below.

How to Make Homemade Hard Cider
Looking to “spice” up your cider? Try this natural fermenting process to give your homemade cider a kick.
To make hard cider, follow the same steps as above with a few modifications:
- After juicing, add about 1 cup of sugar to 1 gallon of cider juice. Taste to your liking.
Note: Don’t overdo the sugar! You can always add more later. - Disperse the juice into glass gallon jugs, or you can use a demijohn for the fermentation process. During fermentation, the natural yeasts will eat the sugars and turn them into alcohol.
- Ferment - Set the glass jugs or demijohns in a warm place for a day. You’ll notice the cider begin to bubble as the yeast activates. The cider will split into layers with foam on top. After this happens, move on to step 4.
- If you’re using a demijohn, put the rubber stopper on top and let it sit for a week. If you’re using a glass jug, add the top and screw it on as tight as you can get it!
Note: The amount of fermenting time will depend on your taste buds. For a sweeter hard cider, a week of fermenting should be sufficient. For a dry, more tart-like taste, let the fermentation process extend to three weeks or more. - After the fermentation process is complete, siphon the cider into another sterilized jug or demijohn. Leave the yeast-like sediment in the original jug to discard. Taste the cider. If it is too dry, add more sugar.
- Store.
For inspiration, read how this cider farm started an organic farm business focused on traditional hard apple cider and brandy in the country.
A Few Extra Tips
If you want to ramp up your cider-making skills, here are a few extra tips:
- “Ugly” fruit is ok to use in cider. Most ciders are made from “ugly” fruits, such as deformed and bruised apples. As long as the fruit is mostly firm and in good condition, it’s a great option for cider-making.
- Give apples time to ripen before making cider. The riper the apple, the sweeter and aromatic the cider will be. Typically, the best time to make cider is late fall.
- Add a few pears to the mix. Pears contain sorbitol, a natural sugar that does not ferment. Throw in a few pears to increase the cider’s sweet aroma and flavor.
- Add a pectic enzyme to your cider to give off a sweet aroma. This also gives a clearer, more flavorful cider.
- For a sweet and fruity hard cider, use a wine or champagne yeast. Try this one or this one.
- If you want to add sugar to your cider but are worried about prompting the fermentation process, opt for a non-fermentable sweetener. Xylitol and stevia are great options, giving a sweet flavor without starting or restarting the fermentation process.

Enjoy Homemade Cider All Season Long
After a full day of cider-making, kick back with a glass of delicious homemade cider (you deserve it!).
For more rural homemade baking and making this fall, check out:


