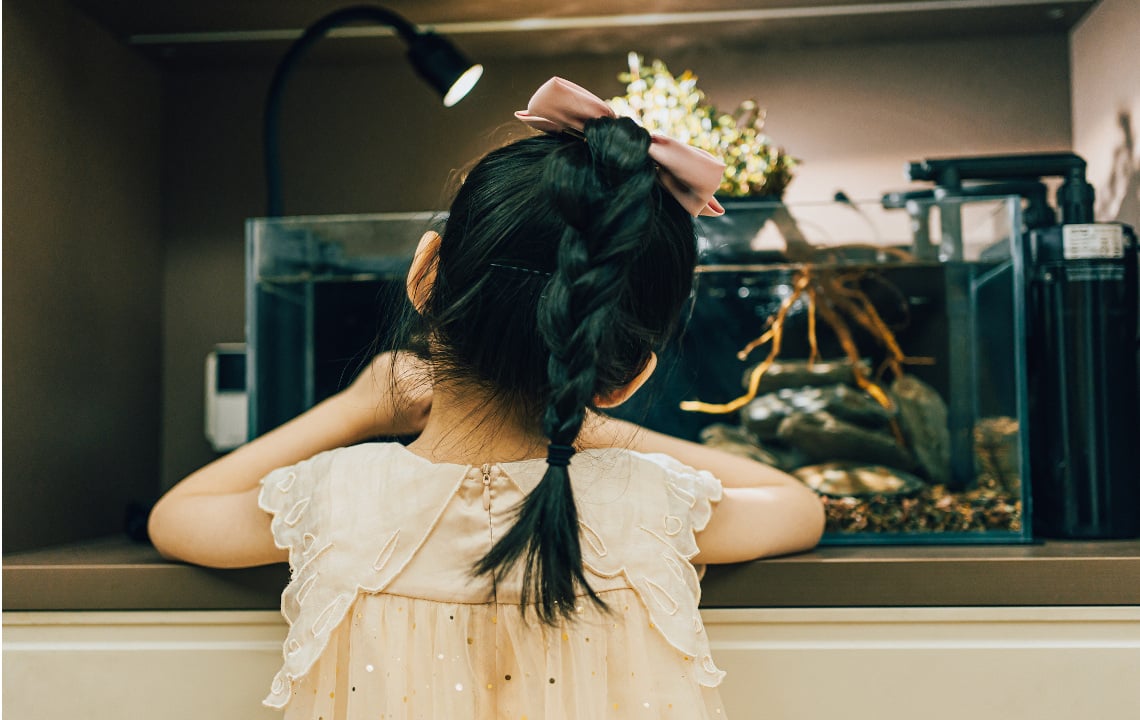
Got kids at home this summer? Then you'll love this summertime science series by outdoor mom, Corey Hunt. In this first article, she shares how to make a freshwater aquarium to observe the wonders of aquatic life in your area.
Every summer, our family takes evening strolls to the creek behind our house. This creek is just deep enough to hold several pockets of bream along its banks.
When the weather warms up, the water level drops just enough that when we stand very still we can see the bream rise to the surface to look for food and then dip back down to wait for more to pass.
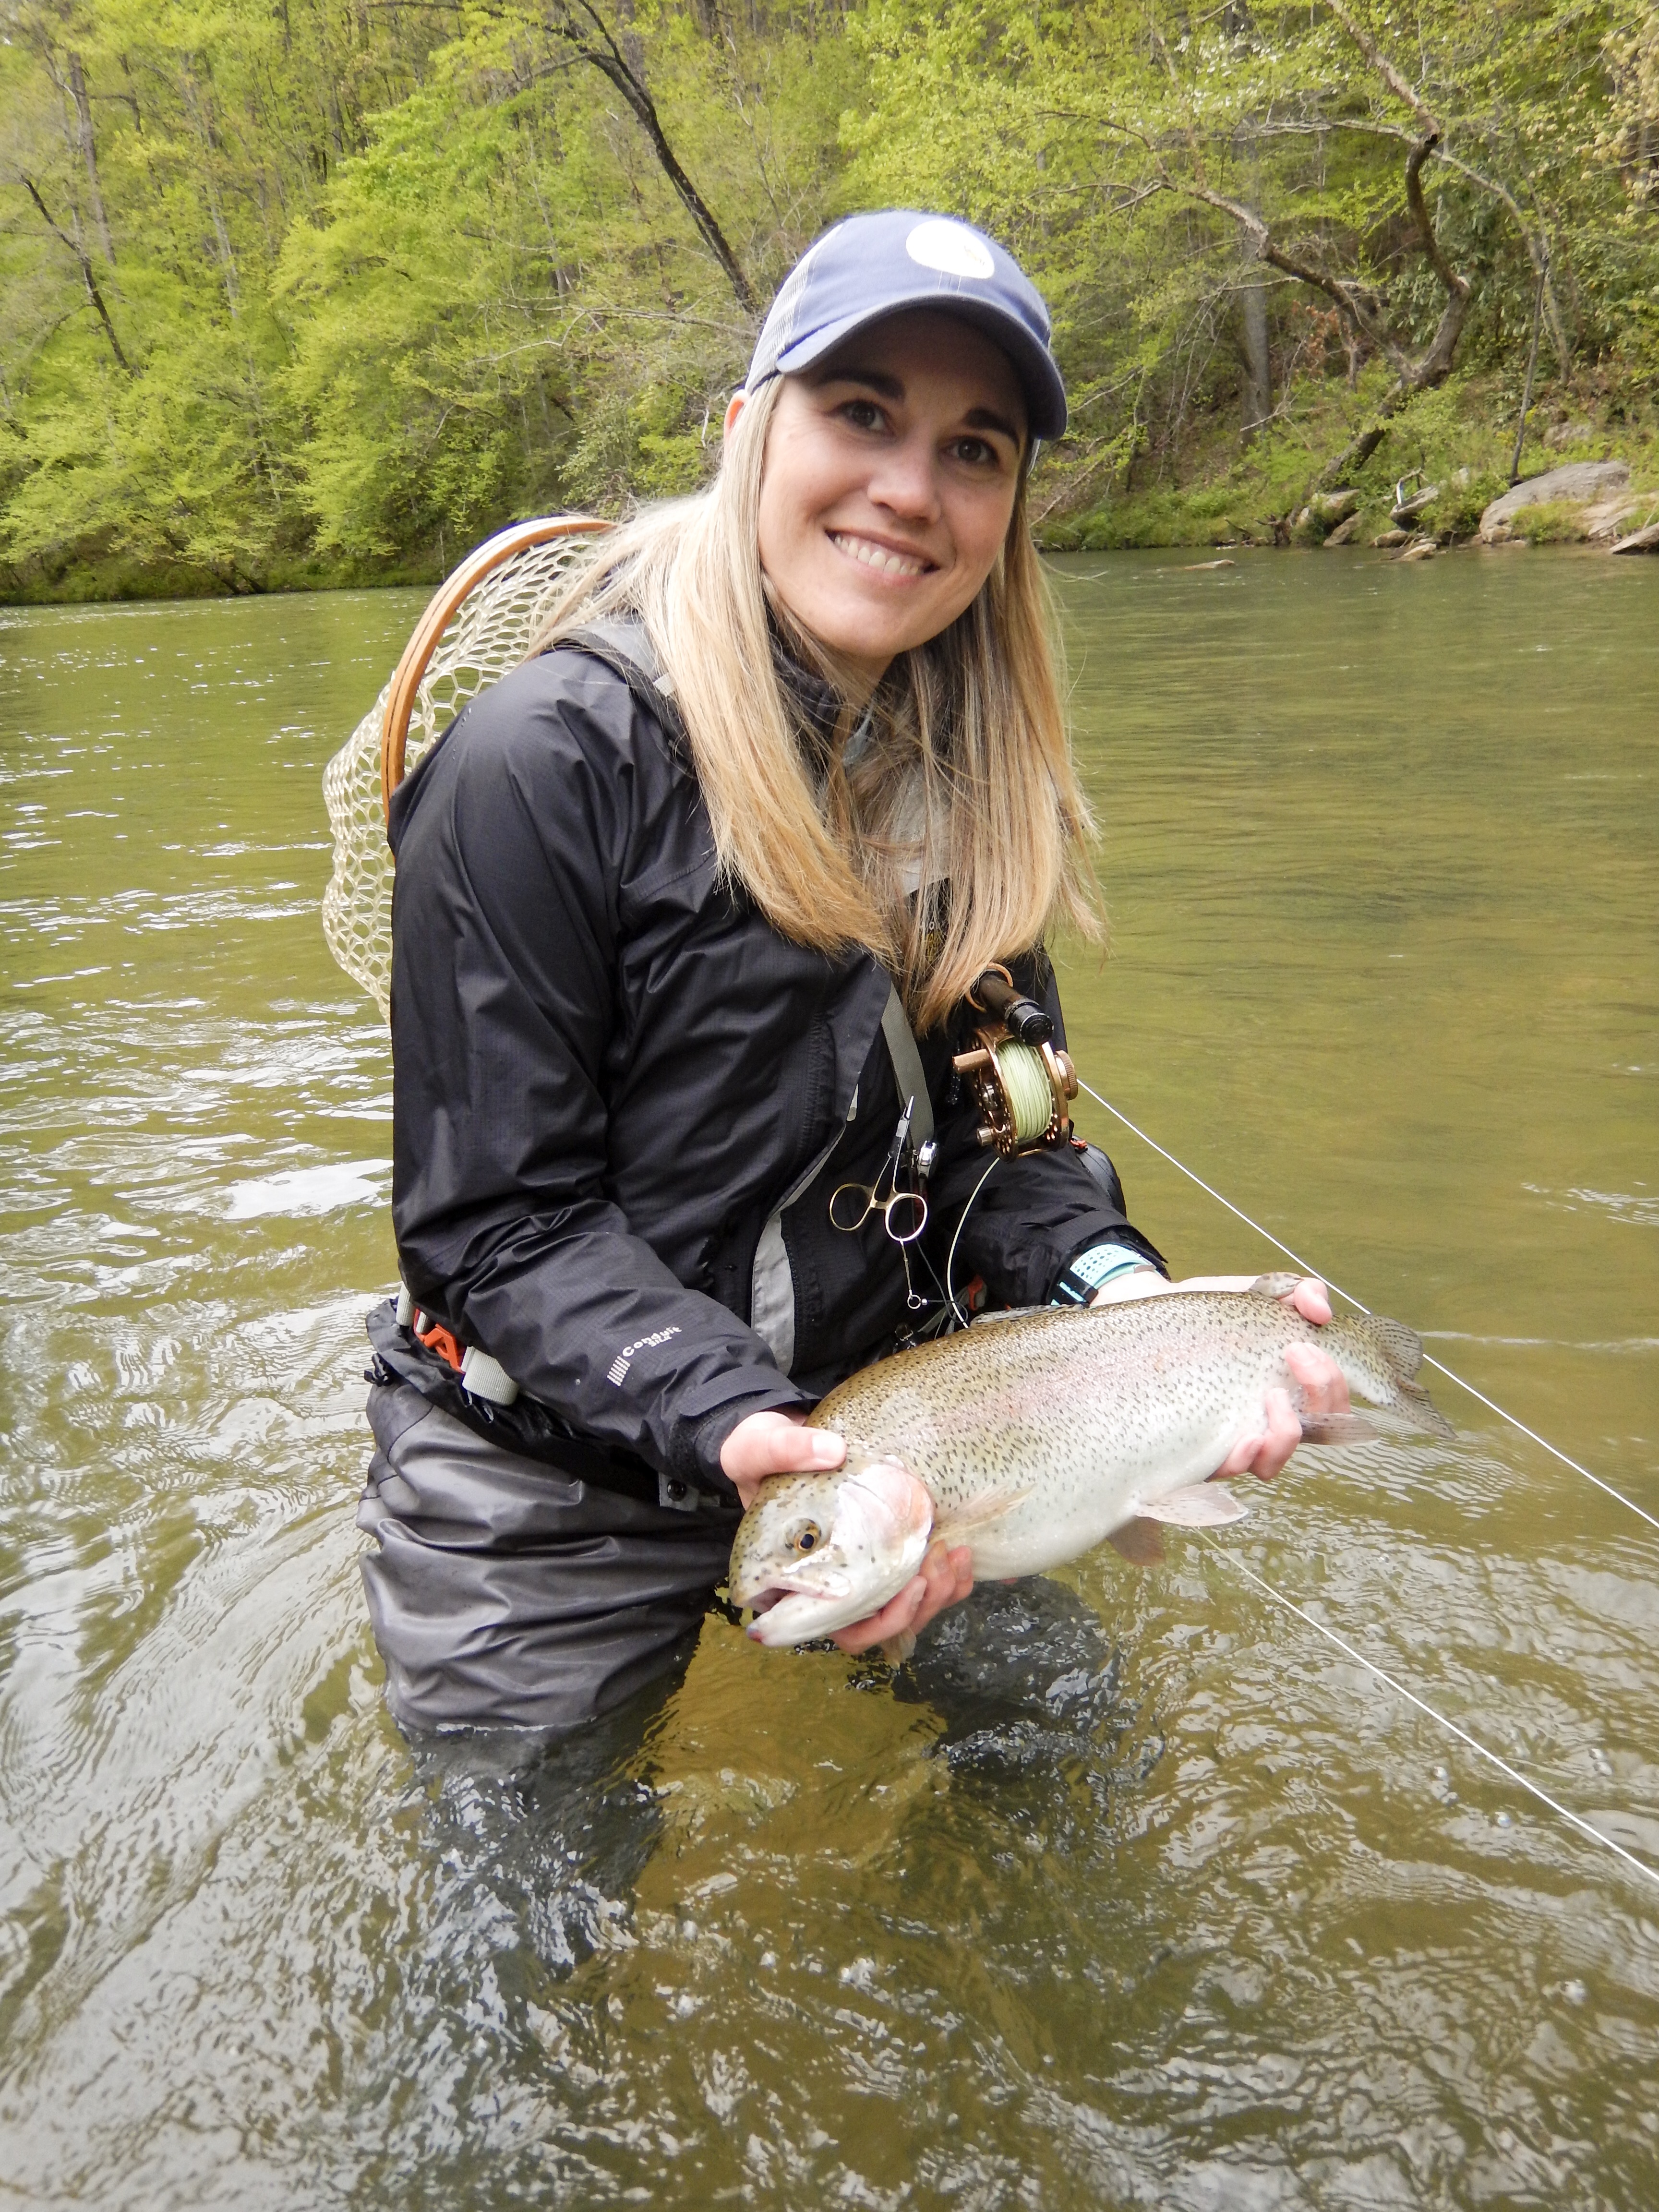
Occasionally in the evenings, we are successful and will catch some of these bream with our fly rods.
On one of these trips, my kids talked me into keeping one of these bream as a summertime pet. Before we brought any fish into our home, we needed to put together a habitat that mimicked our creek.

Here is a step-by-step guide on how to set up a freshwater aquarium in your home if you bring a critter home with you.
1. Know the rules
Each state has different rules for keeping fish and other aquatic species. Before taking anything out of a body of water, check your state’s Department of Natural Resources page to determine if it’s legal.
2. Decide on a species
Small fish require less oxygen and do better being transported from one environment to the next. If your fish tank is small, the creatures you house will also have to be small.
Crayfish, lizards and minnows do better in tanks that are 10-20 gallons in size. We decided on a twenty-gallon tank based on the size of the bluegill in our creek.
3. Create a habitat
First, make sure the aquarium is in a spot that will be shaded during the day, summer temperatures are too hot for fish in the sun.
Next, fill the bottom of the aquarium with sand and small pebbles. Place larger rocks around the tank so the fish feels safe and has a place to hide.
If you are keeping lizards or amphibians, make sure they have a dry rock and can get out of the water from time to time. A ramp, made with pebbles or rocks, is helpful for accomplishing this.

4. Water source
Next, ideally fill the aquarium using the water source where you found your creature.
For our bluegill, we took several gallon buckets back and forth to the creek until we had filled the tank.
If there isn’t enough water at the source, you can use tap water but make sure to treat it with a water conditioner from a pet store to ensure no harmful chemicals like chlorine or chloramine are present.
5. Oxygen
Fish absorb oxygen from the water through their gills. For a freshwater aquarium to function properly, you will need to purchase an aerator from a local pet store.
We placed ours under one of the large rocks on the bottom of the tank.
6. Catch a fish
Since we had been taking regular walks, we knew where the small fish were lurking. Small fish can be trickier to catch, so make sure the hook size is small (small enough to fit in their mouth and get back out easily) and clip the barbs off so it doesn’t hurt them.
Our bream love crickets, so we caught our summer pet on a dry fly hopper pattern and plopped him in a sand castle bucket filled with creek water for easy transport.

7. Food
If your fish is the size of a minnow or goldfish, you may be able to feed it fish food from a local pet store. Our bluegill, which the kids named Spike, was about the size of the palm of our hand.
Luckily, we had a homemade worm farm that provided all the food Spike could possibly want. We started off feeding Spike one worm twice a day, which was too frequent.
The cage got dirty and we were forced to search the internet for remedies. After purchasing a filter for the aquarium and cutting Spike back to once-a-day feedings, the water cleared up and Spike endured.
I wish we had measured Spike before we started feeding him at the house, but it seemed like he grew a lot in the two months he stayed with us.
Freshwater aquariums are a fun way to bring science home during the summer and are also a good way to teach children about different creatures and their environments.


