We all have projects that seem to linger on our “to do” list. They may be nagging items that we never have the time allocated to complete, or they seem to be unnecessary in the grand scheme of things. Whatever our reasons, now is the time to tackle them before the hot weather becomes a factor.
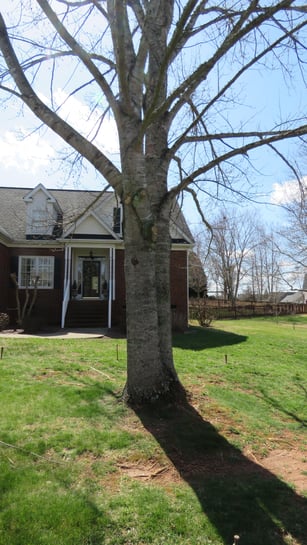
One of my lingering projects has been to improve the appearance of an area around a tulip poplar in our front yard. The problem is that the grass does not do well in the shade and the roots of the tree are exposed and it is unsightly (as pictured below). In addition, the lower limbs had drooped and were nearing the street, requiring pruning.
The pruning was completed in early January, but the balance of the project was in limbo. Finally, it was “put up or shut up”, so a plan was put into action.
 After the pruning, the other requirements were for landscape edging, ground cover (weed barrier) and mulch. That, plus sweat equity, would accomplish the task.
Research of several online suppliers of landscape materials revealed the best choice for supplies needed to do the job. Landscape edging was available in rolls of 5”x40’ for $19.99 per roll. Weed barrier was available in heavy weight polypropylene in a roll of 48”x300’ at a cost of $75.99. The total for these items came to $145.48 with tax and free shipping.
In less than a week, all materials except mulch was on hand. The first step was to lay out the perimeter of the area to be covered. A few stakes and some nylon cord accomplished that task in short order. Then the fun began!
Each roll of edging was forty feet long and included ten pegs to secure the edging to the ground and keep it reasonably vertical. This required unrolling it and placing it around the stakes and pegging it in place with the included pegs. They were ingenious in that they had molded clips to snap onto the top edge of the edging to keep it in position. The location where the rolls ended had to be overlapped to keep mulch from spilling out onto the grass, but the provided pegs made this relatively easy to accomplish.
This task and the next one of rolling out the weed barrier, cutting it and pinning it in place was one that required a lot of “knee” work. Thank goodness for comfortable knee pads! As a tall person, I find it easier to kneel for such tasks than to bend over for long periods.
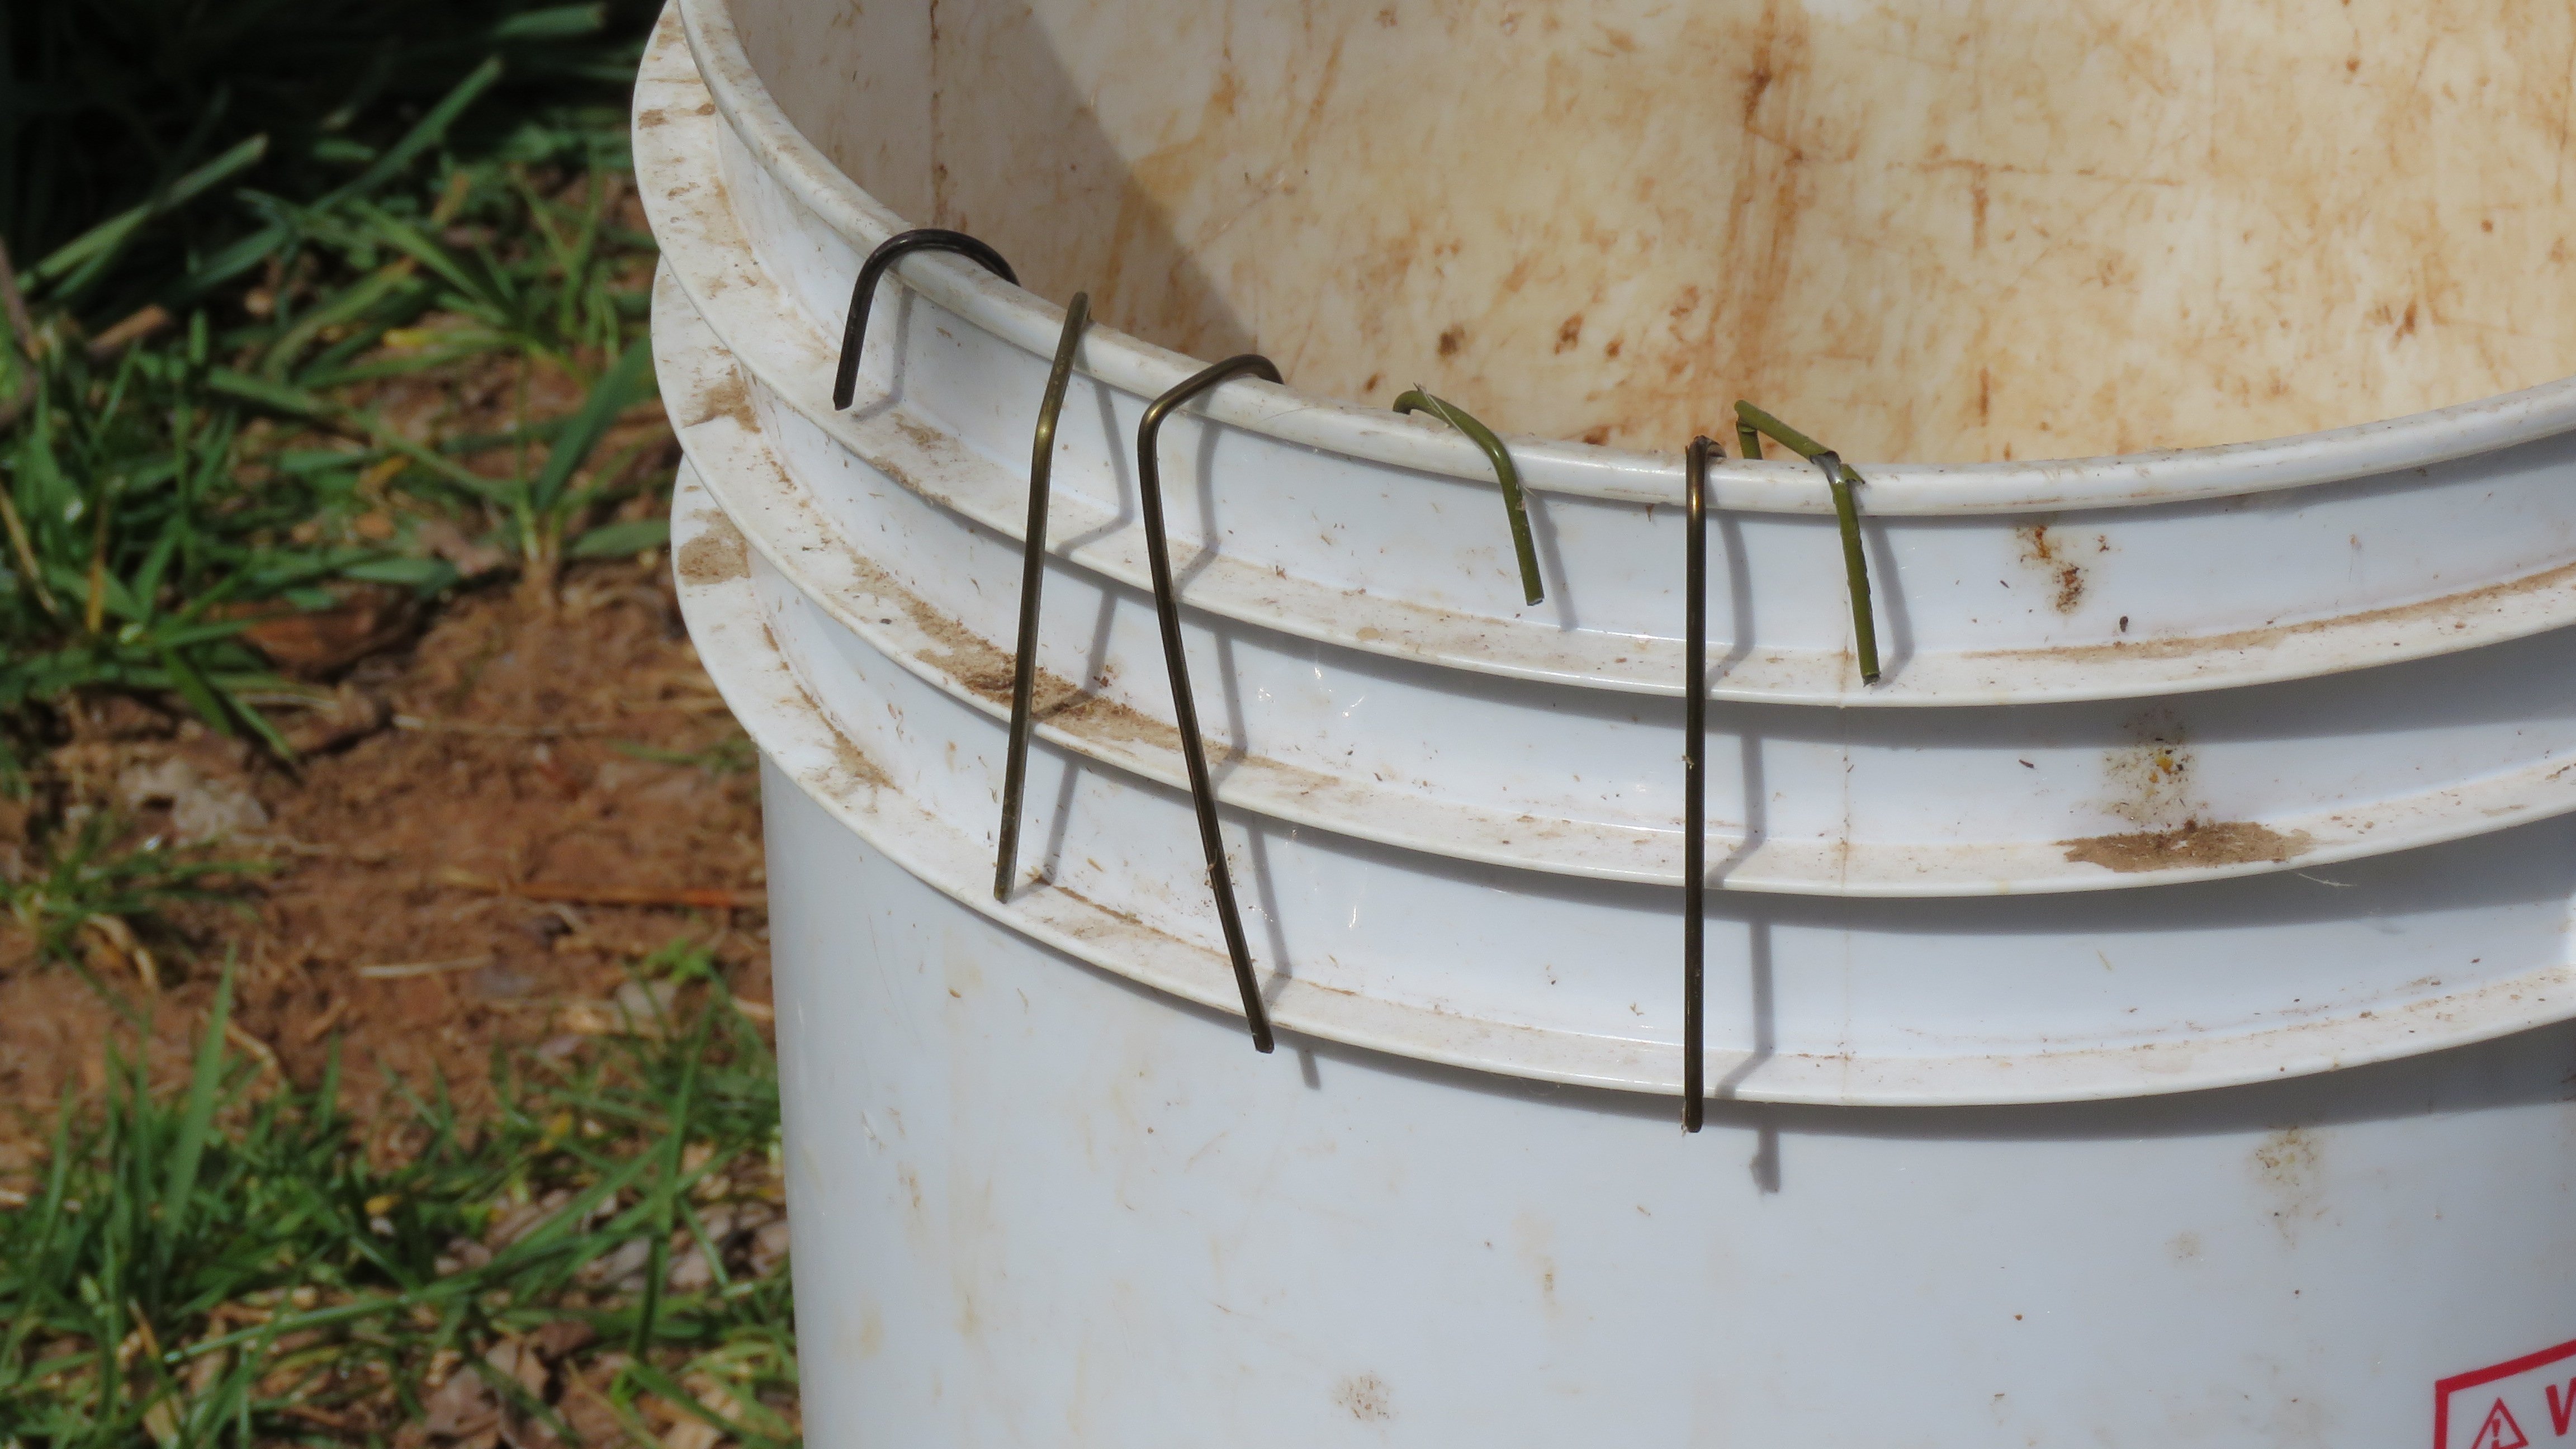
The online supplier had packages of “U shaped” pins to secure the weed barrier to the ground to keep it in place until mulch could be spread over it. I chose to use old coat hangers and cut them in approximately 6” lengths and bent the top into the required “U shape” (pictured below). They worked well and kept the barrier in place overnight until the mulch was available.
The next morning was overcast with an occasional sprinkling of rain. I called a landscaping supplier of mulch, stone, etc., and priced a delivery of mulch. It would require at least four yards of mulch to cover the area, so it would have required four trips with my pickup to secure the mulch. Four yards delivered in a dump truck was $181.26 (price included delivery), and fortunately a truck was available for delivery within an hour from the time of the call.
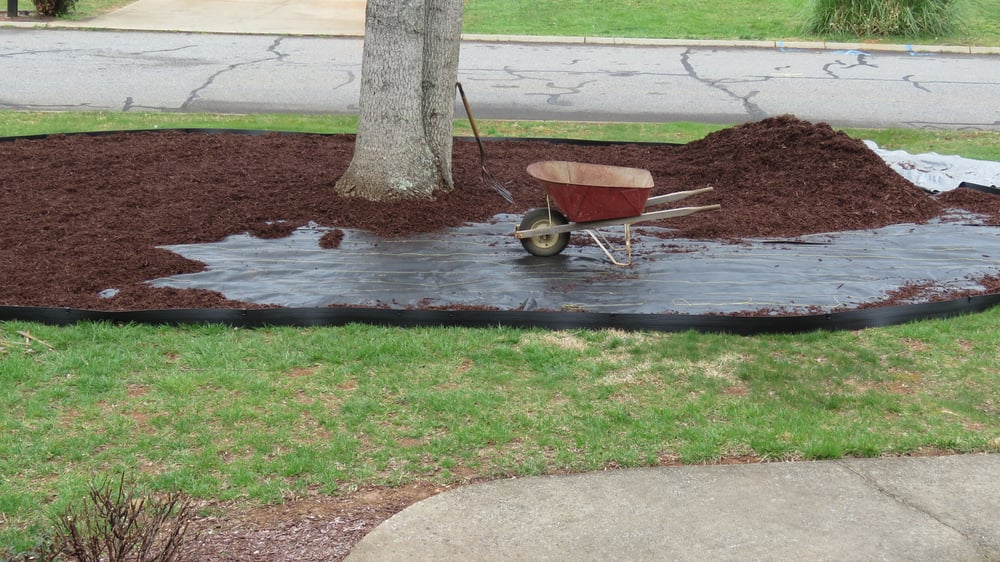
A tarp was spread near the perimeter of the edging and when the truck arrived, the driver backed up to the edge of the bed and was able to dump almost all of the mulch inside the edging. There was probably less that 5 gallons spilled onto the tarp.
Due to the 110 foot circumference of the bed, spreading of the mulch required the use of a wheelbarrow, a large pitchfork and a rake to smooth it out. Within two hours, it was complete and the tools were stored away.
The materials worked out well with only about 10 feet of edging and 15 feet of weed barrier left over. The total cost of the project to date is $326.74.
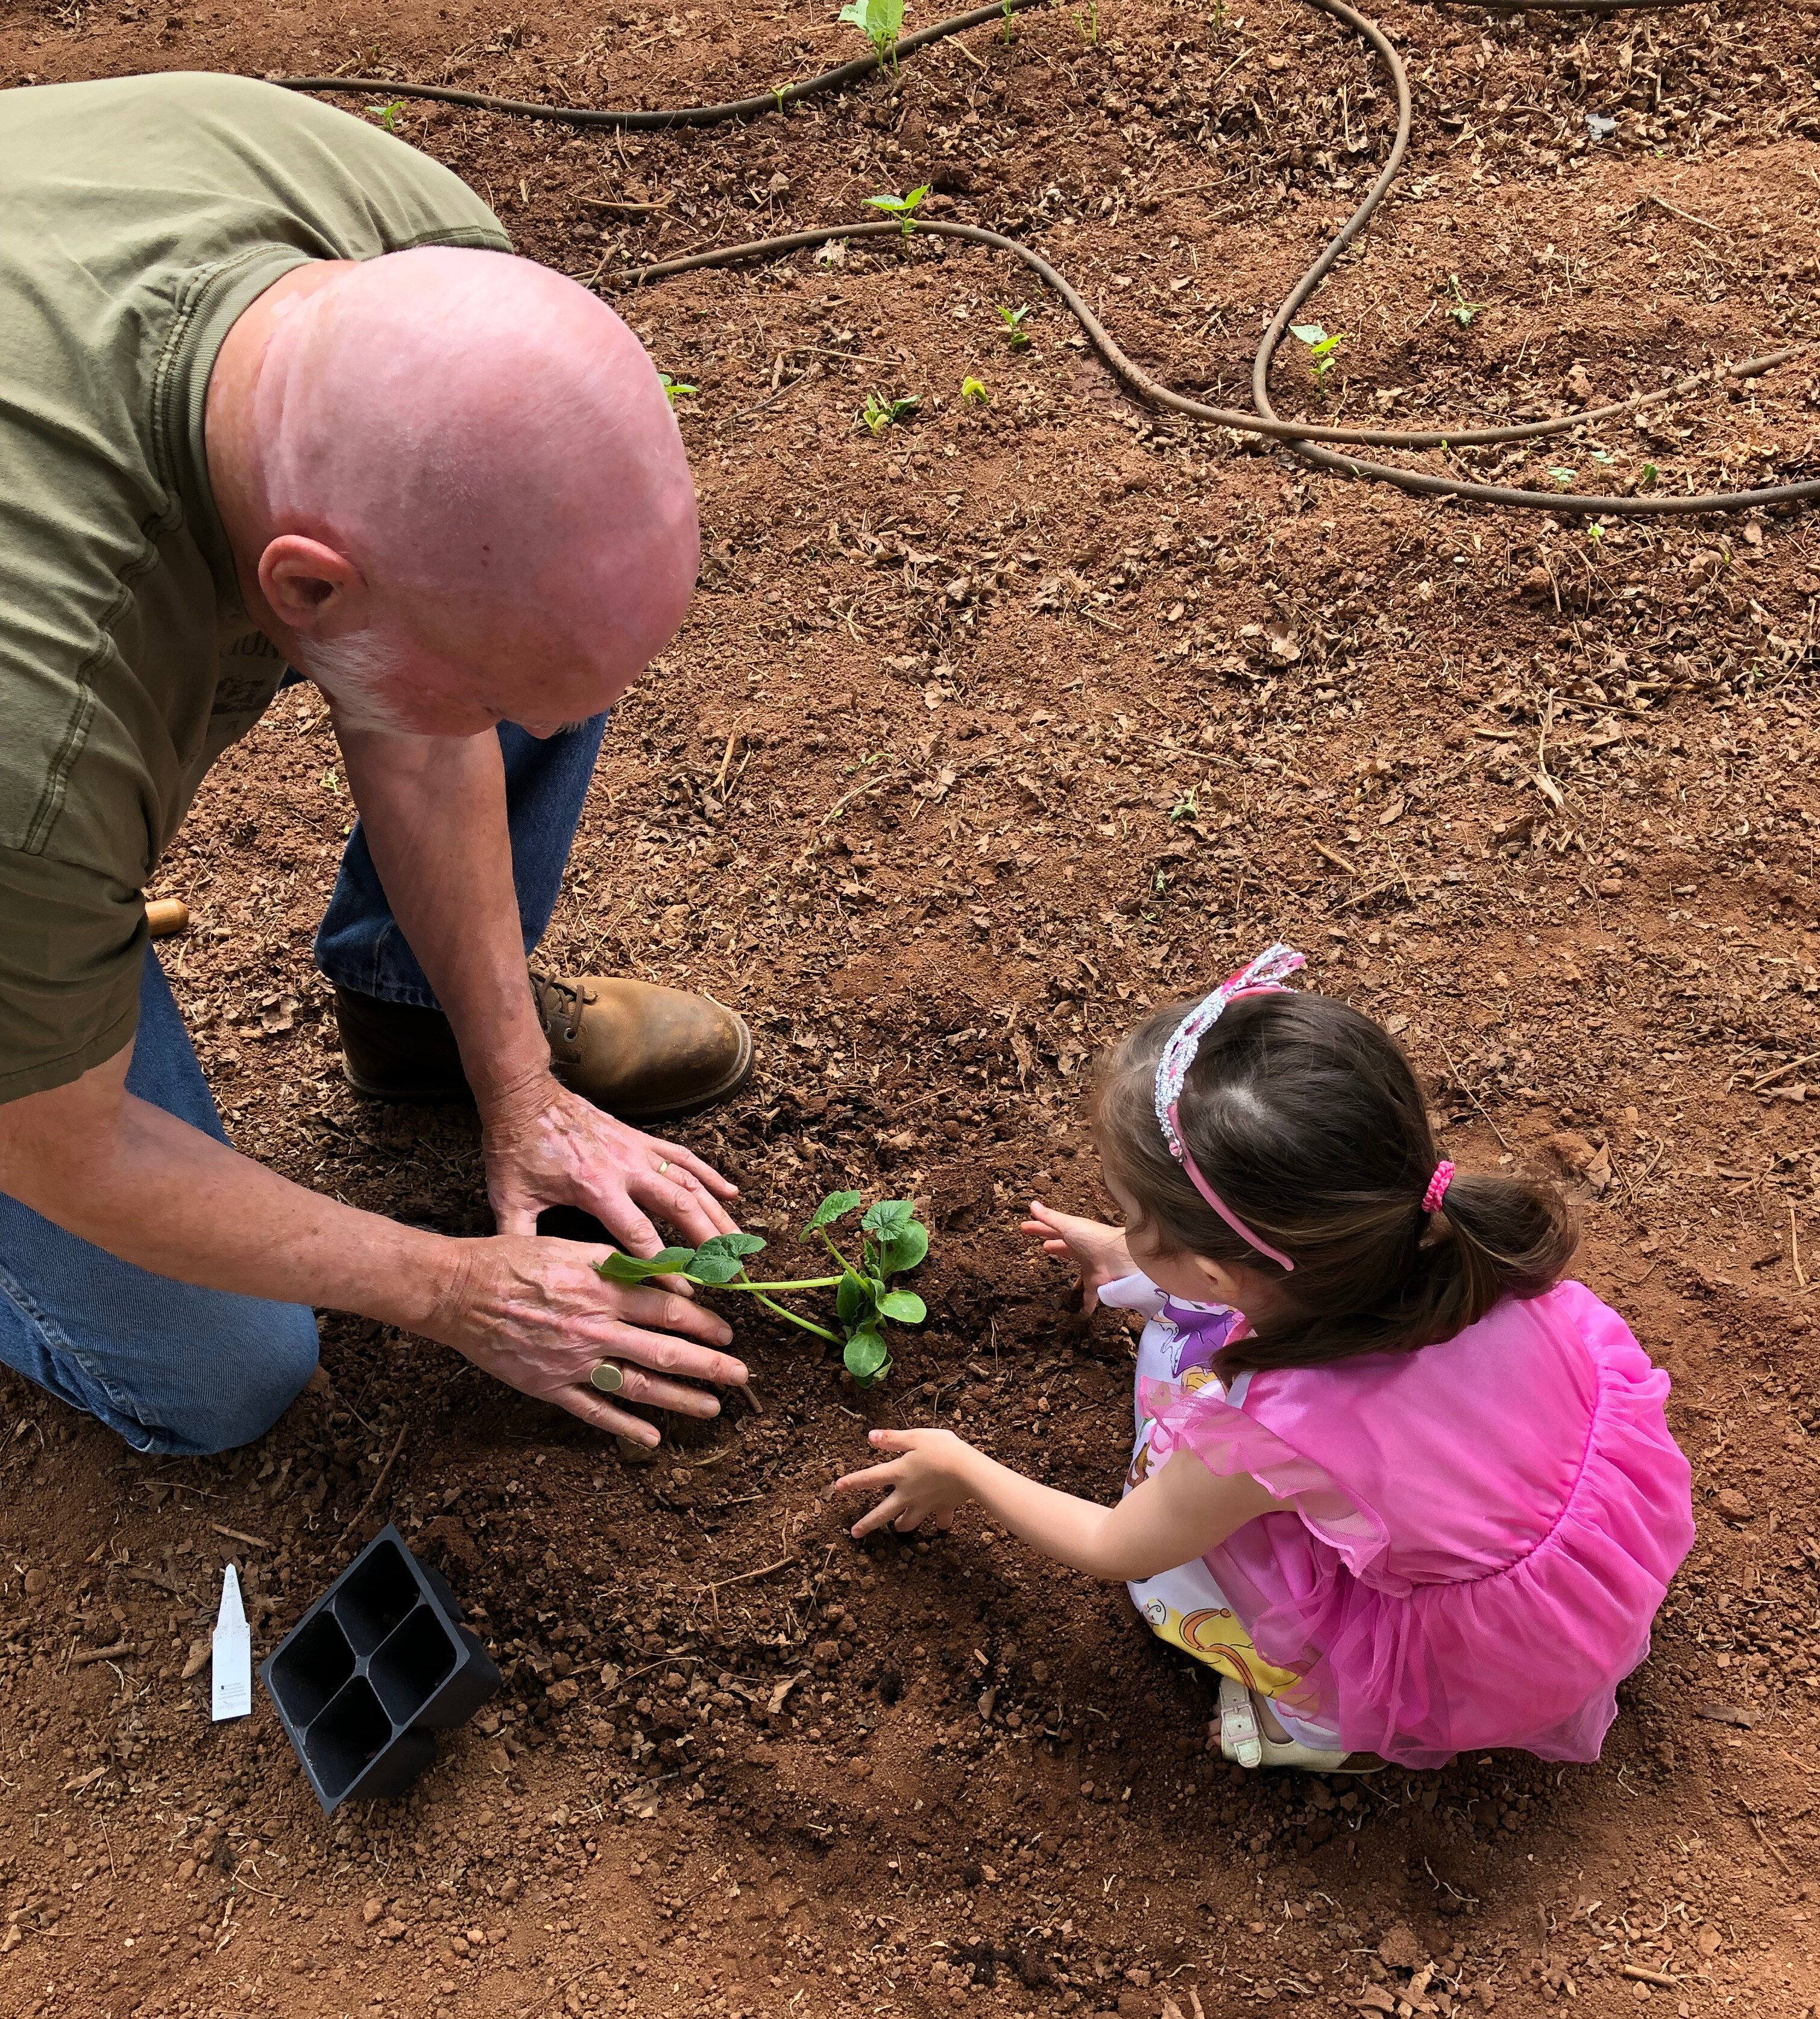
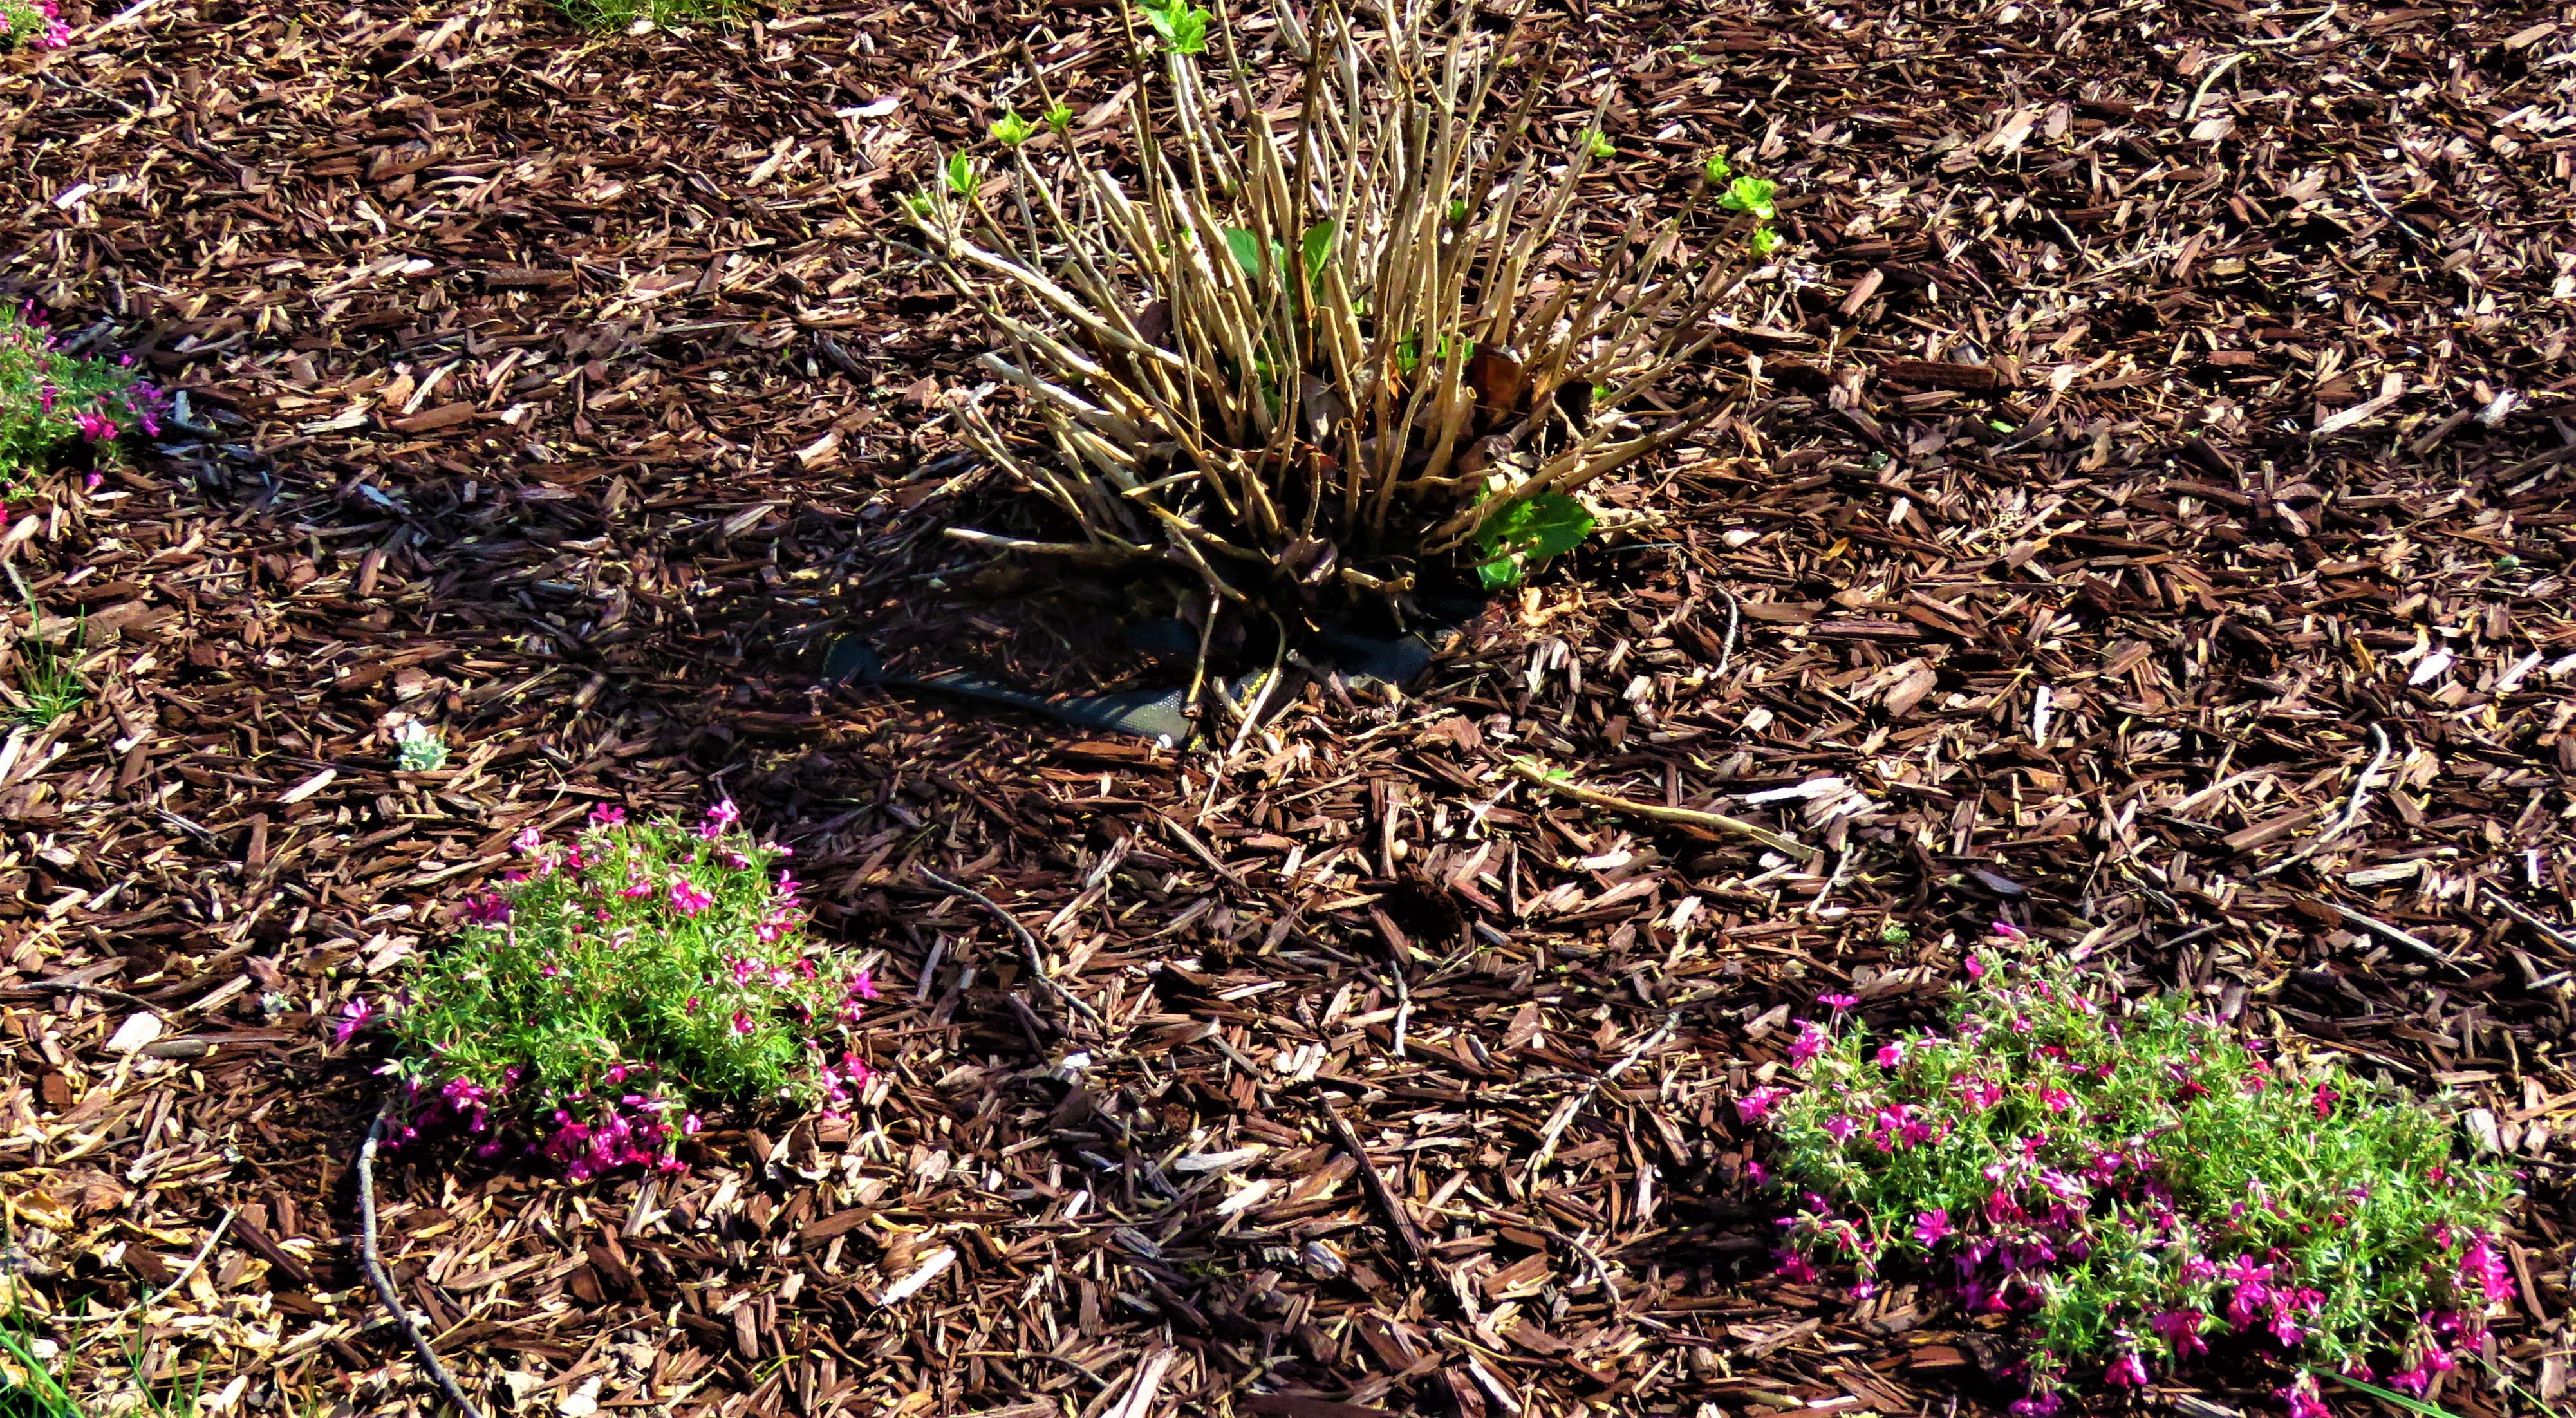
The only thing left to do is to add some plants to the expansive bed so that it will not look so barren. That will be an enjoyable spring project I look forward to.
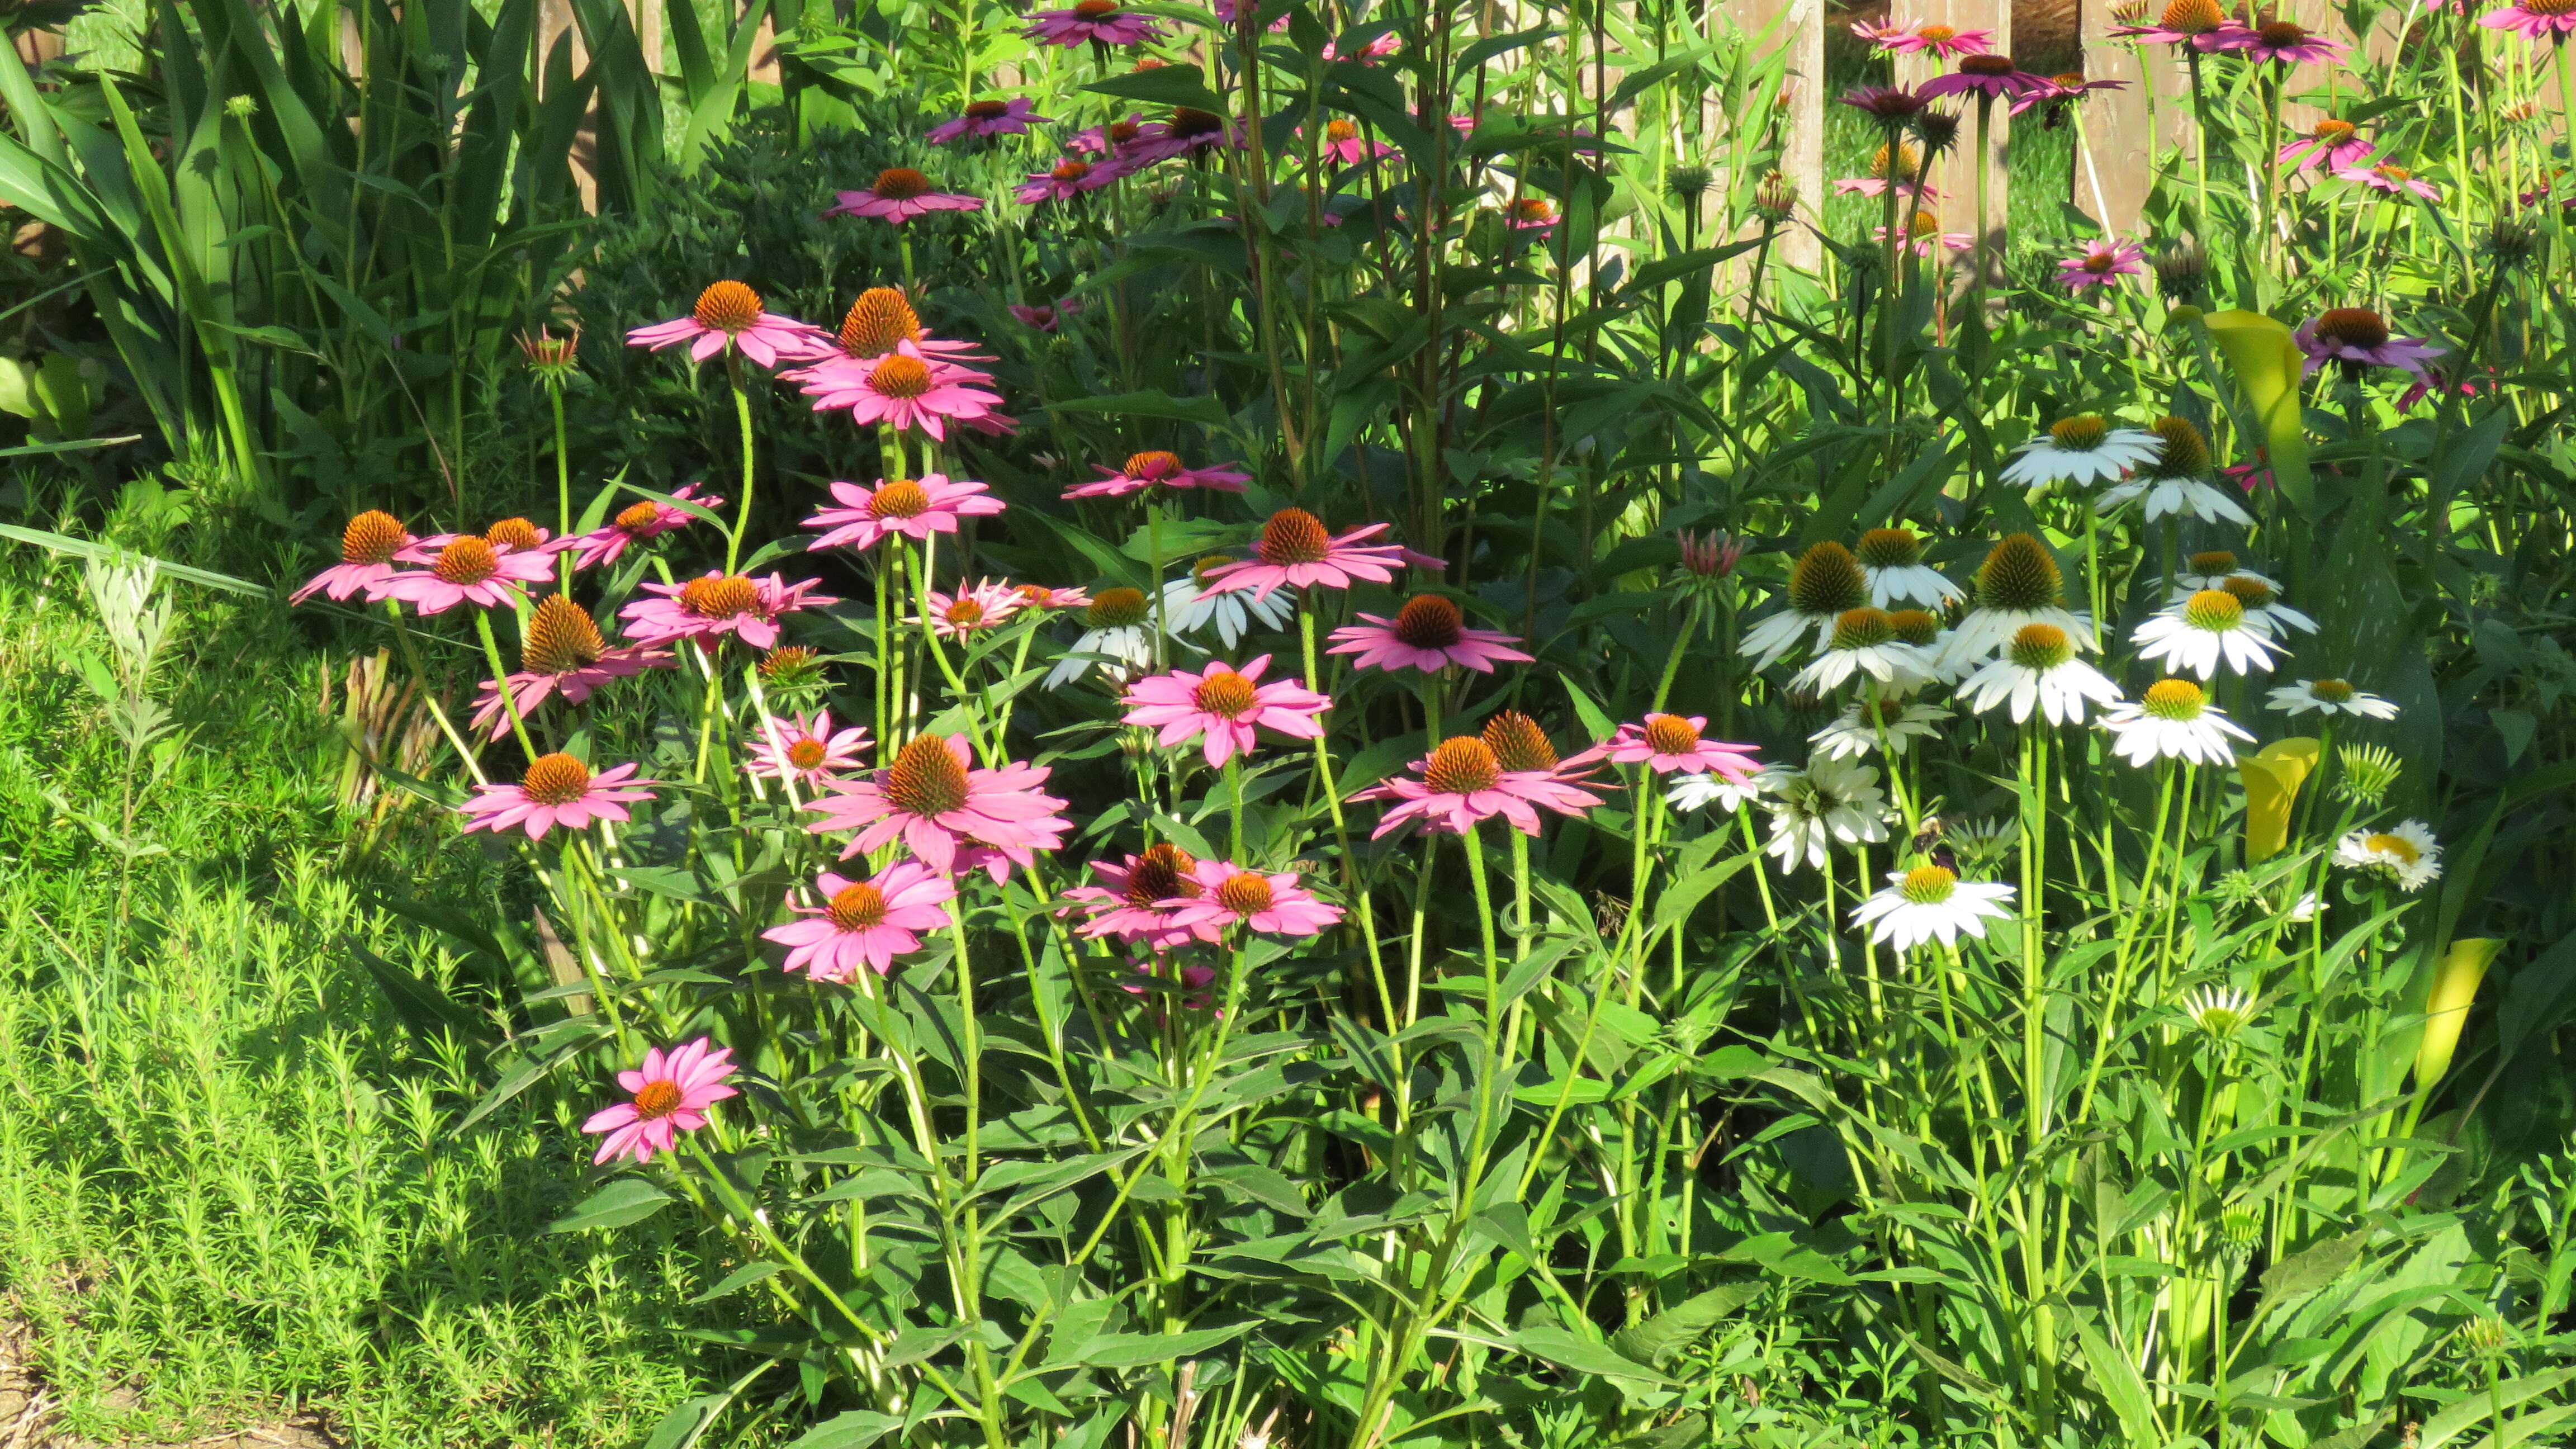
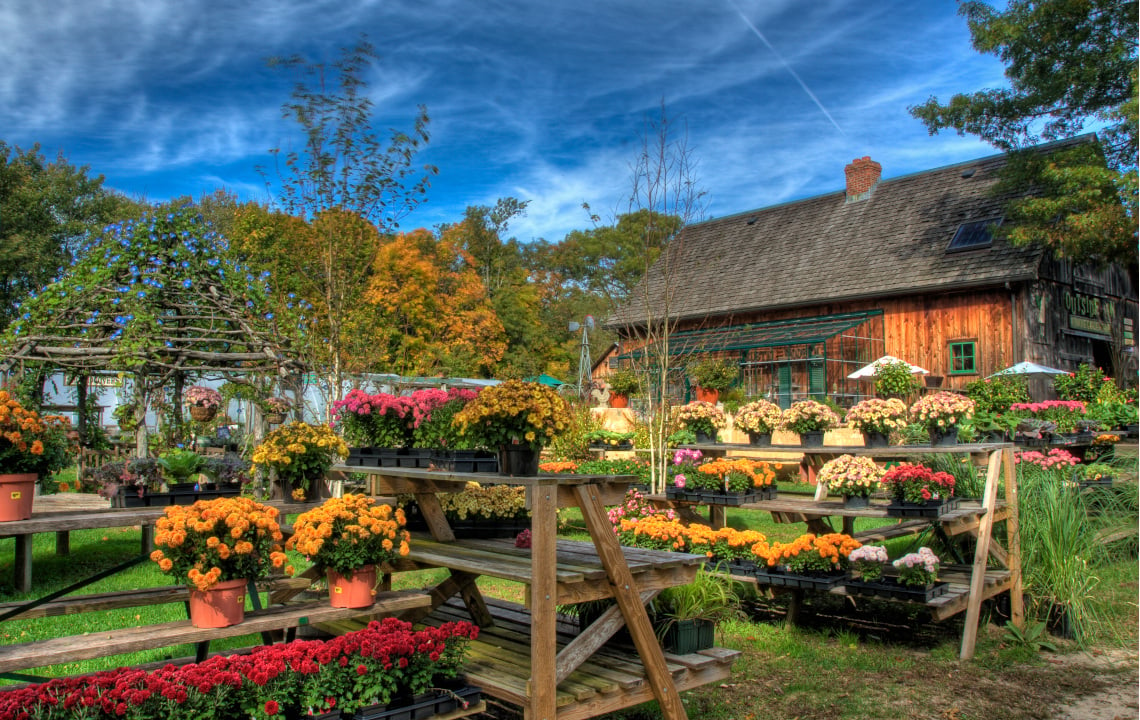
Some flowering perennials taken from other beds will provide some color and accent to the bed for future enjoyment. Possibly a hydrangea at each end and a couple of small boxwoods will complete the project. The only thing after that will probably be the addition of some randomly spaced bulbs added in the fall, and we’ll have a beautifully landscaped tree space.
I hope this will inspire you to improve the esthetics around trees on your rural land, they really provide the perfect focal point for color, texture and beauty.
.jpg "L. Woodrow Ross")