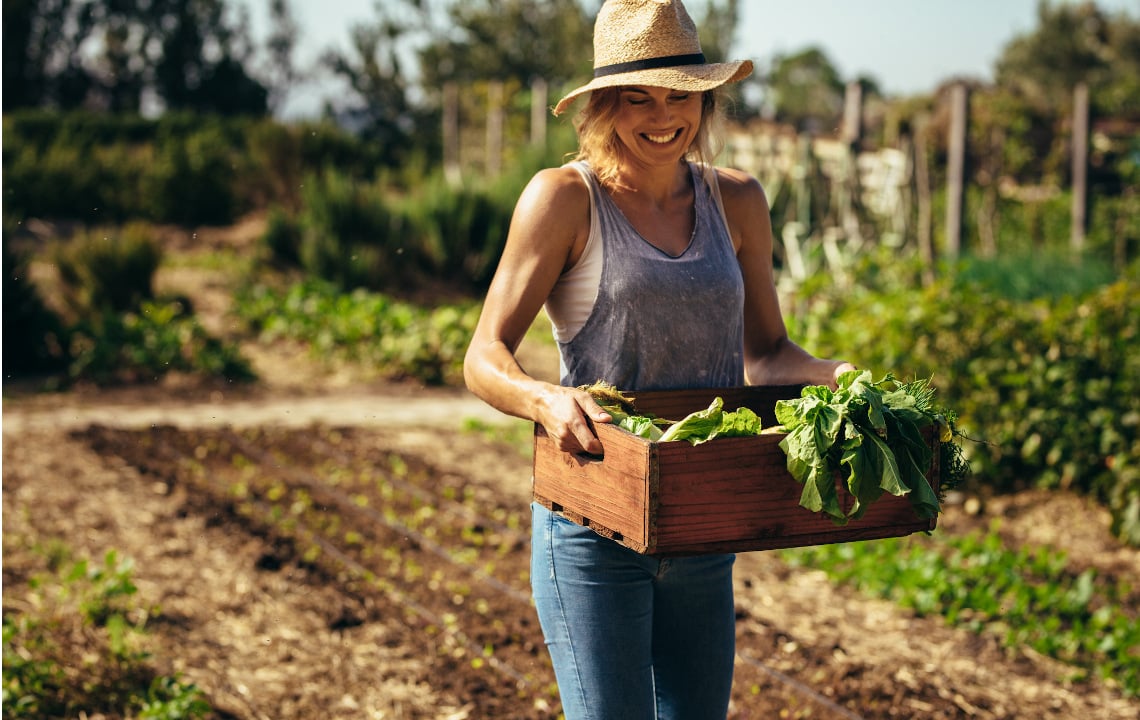
Did you know the beginning of the new year is a great time to prepare your property for spring? Here are a few tasks to get you started.
Believe it or not, just after the holiday season is the perfect time to start your yard work as you get ready for spring. Checking off these tasks now will contribute to your property’s well-manicured appearance later and make your yard the envy of your neighbors.
Step 1: Make a Master Project List
Before you begin, make a master list of all the projects for the upcoming year. It’s fine if some tasks can’t be addressed immediately. By adding those tasks to the list now, it’s more likely you will complete the project in a reasonable time frame.
Your list may include pruning, raking, starting a compost heap, prepping the garden prior to spring planting, or planning for new trees, bushes or other ornamentals to be added to the landscape.

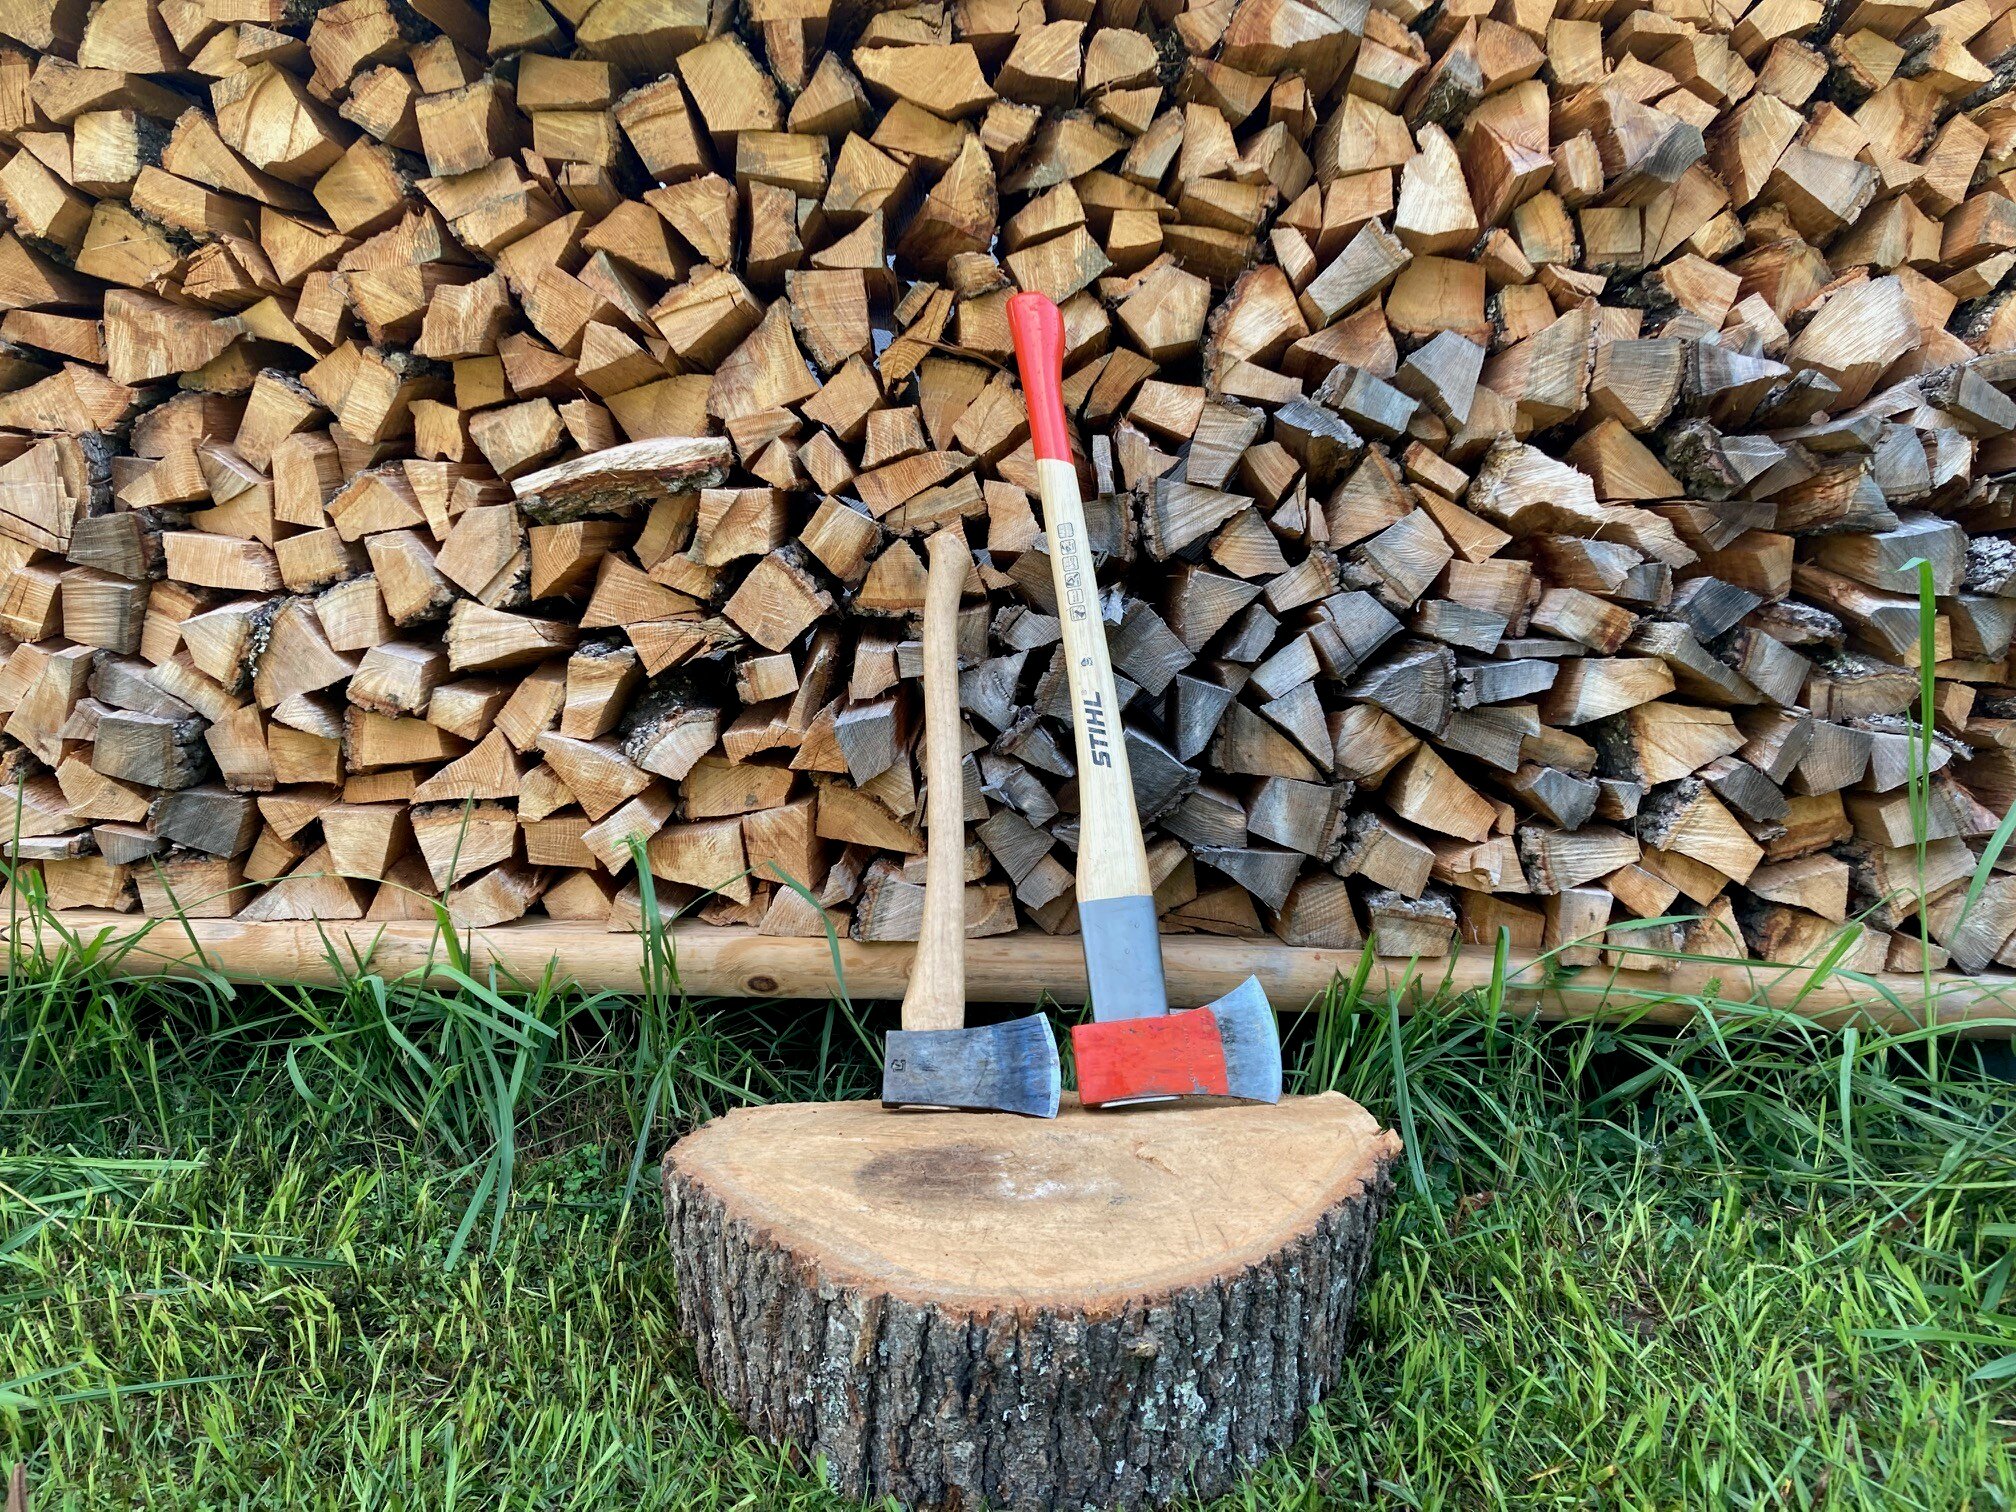
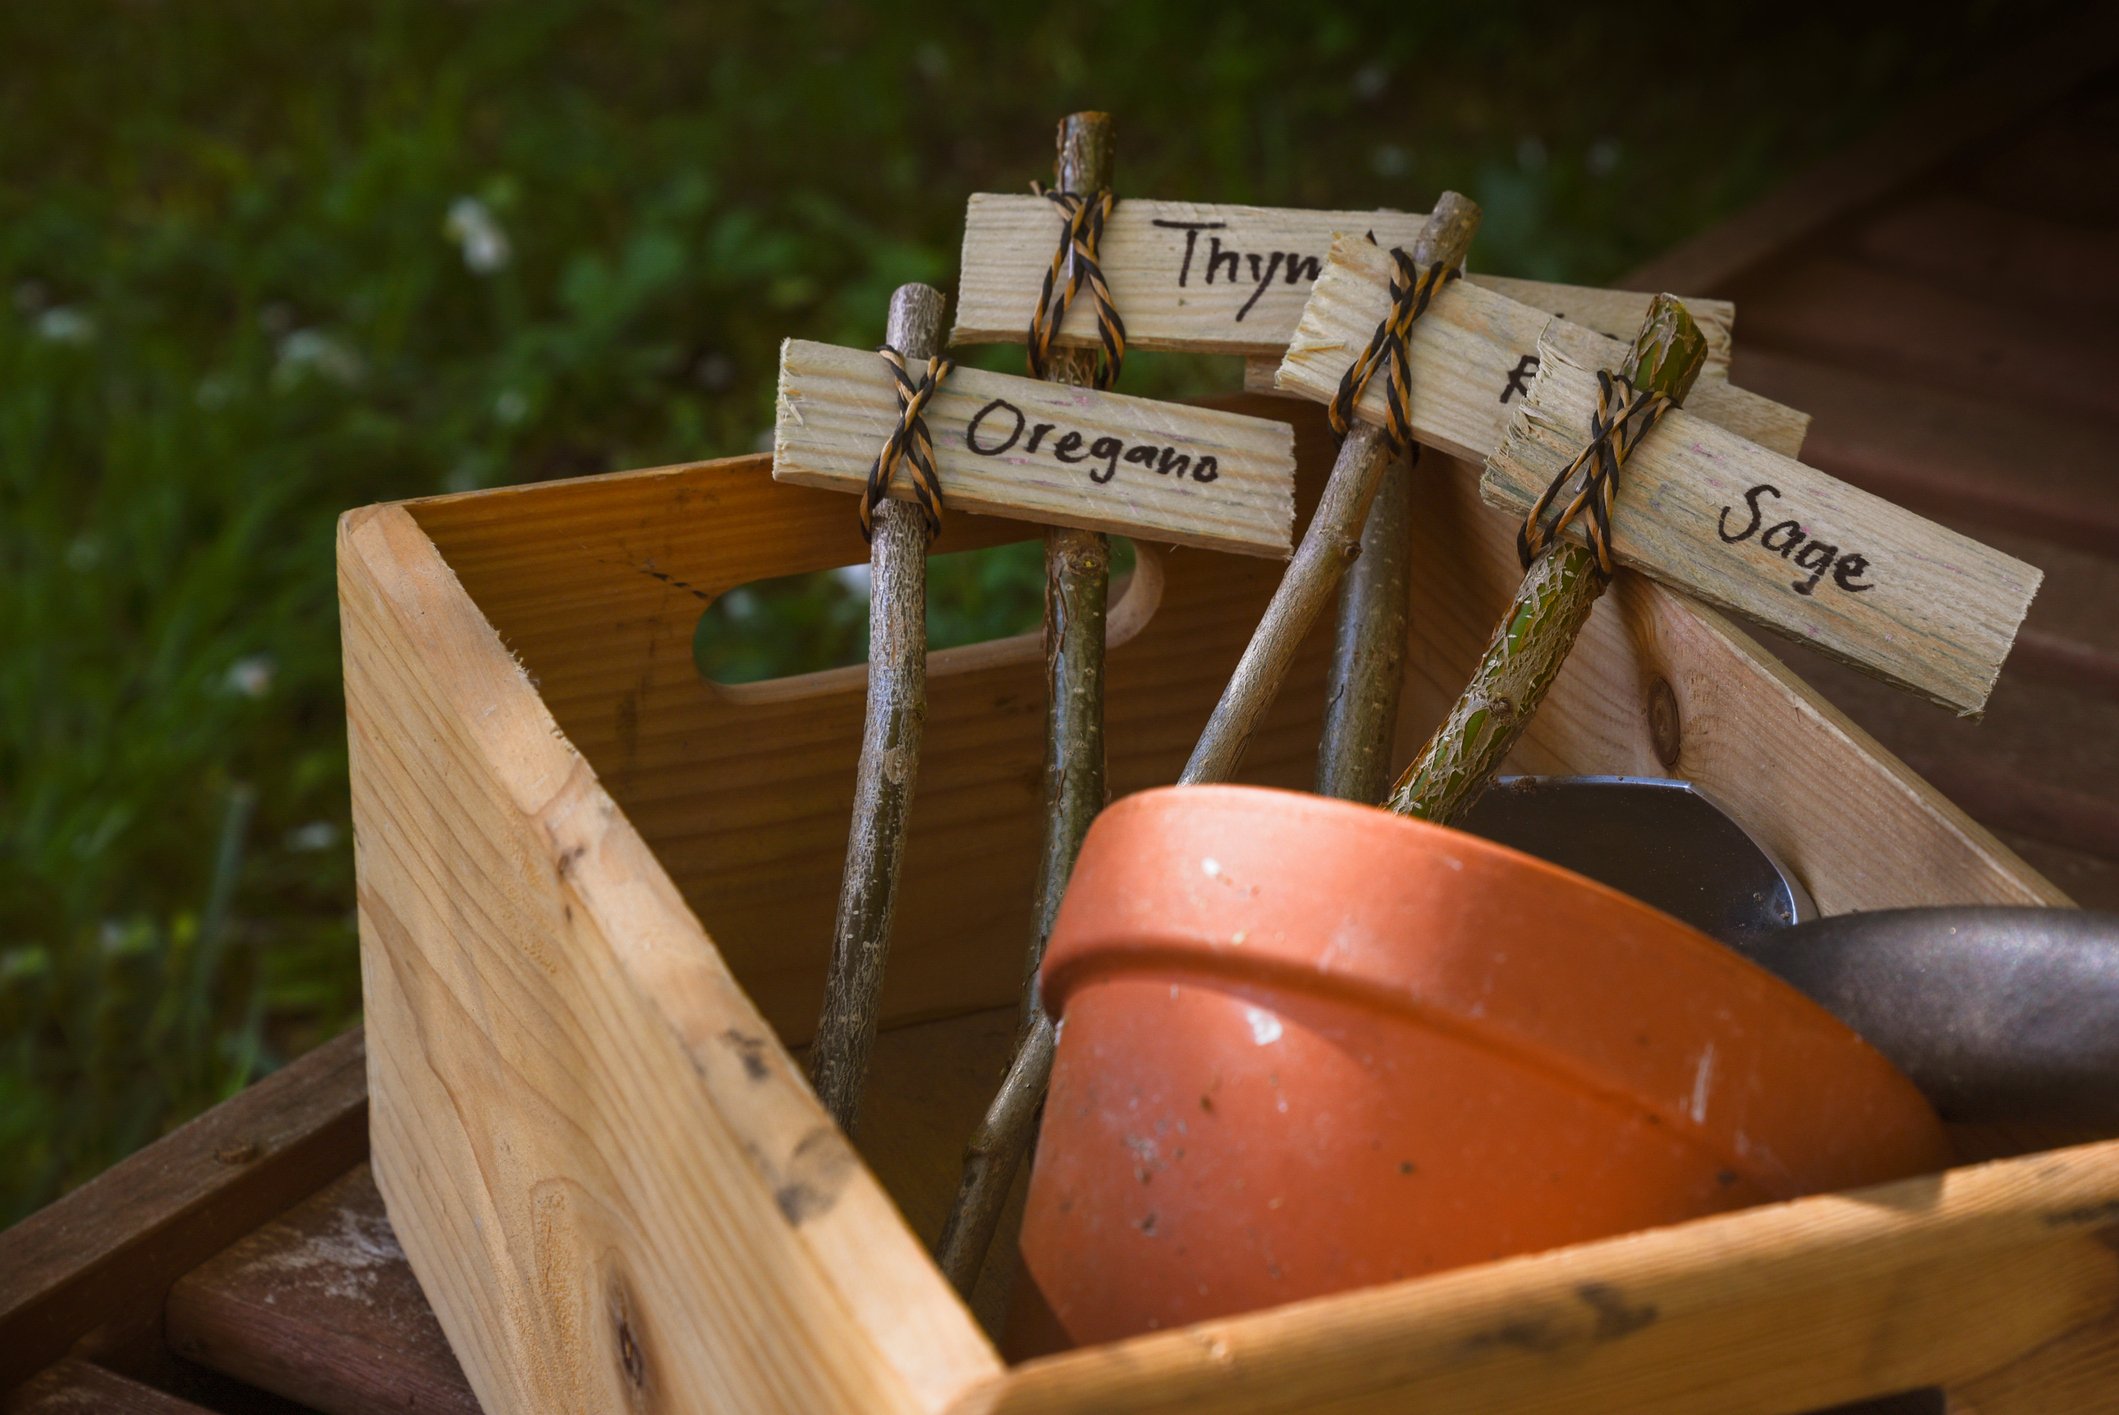
Step 2: Check Your Garden Tool Inventory
Create an inventory of garden tools you need to do the job and take note of any required maintenance, such as sharpening. Pruning tools could include shears, loppers, extension pole pruners, chainsaw, hand saws and an assortment of files for sharpening. You may even sharpen some of these items with an electric grinder or belt sander.
Garden tools could include tillers, shovels, rakes and hoes. Check to see if the tiller needs an oil change or new spark plug. If it is an older machine, at some point the tines may need replacing. Make sure the handles of your hand tools aren’t cracked, broken or loose-fitting. You may also need to touch up the cutting edge of hoes and shovels with a file.

Step 3: Start Composting
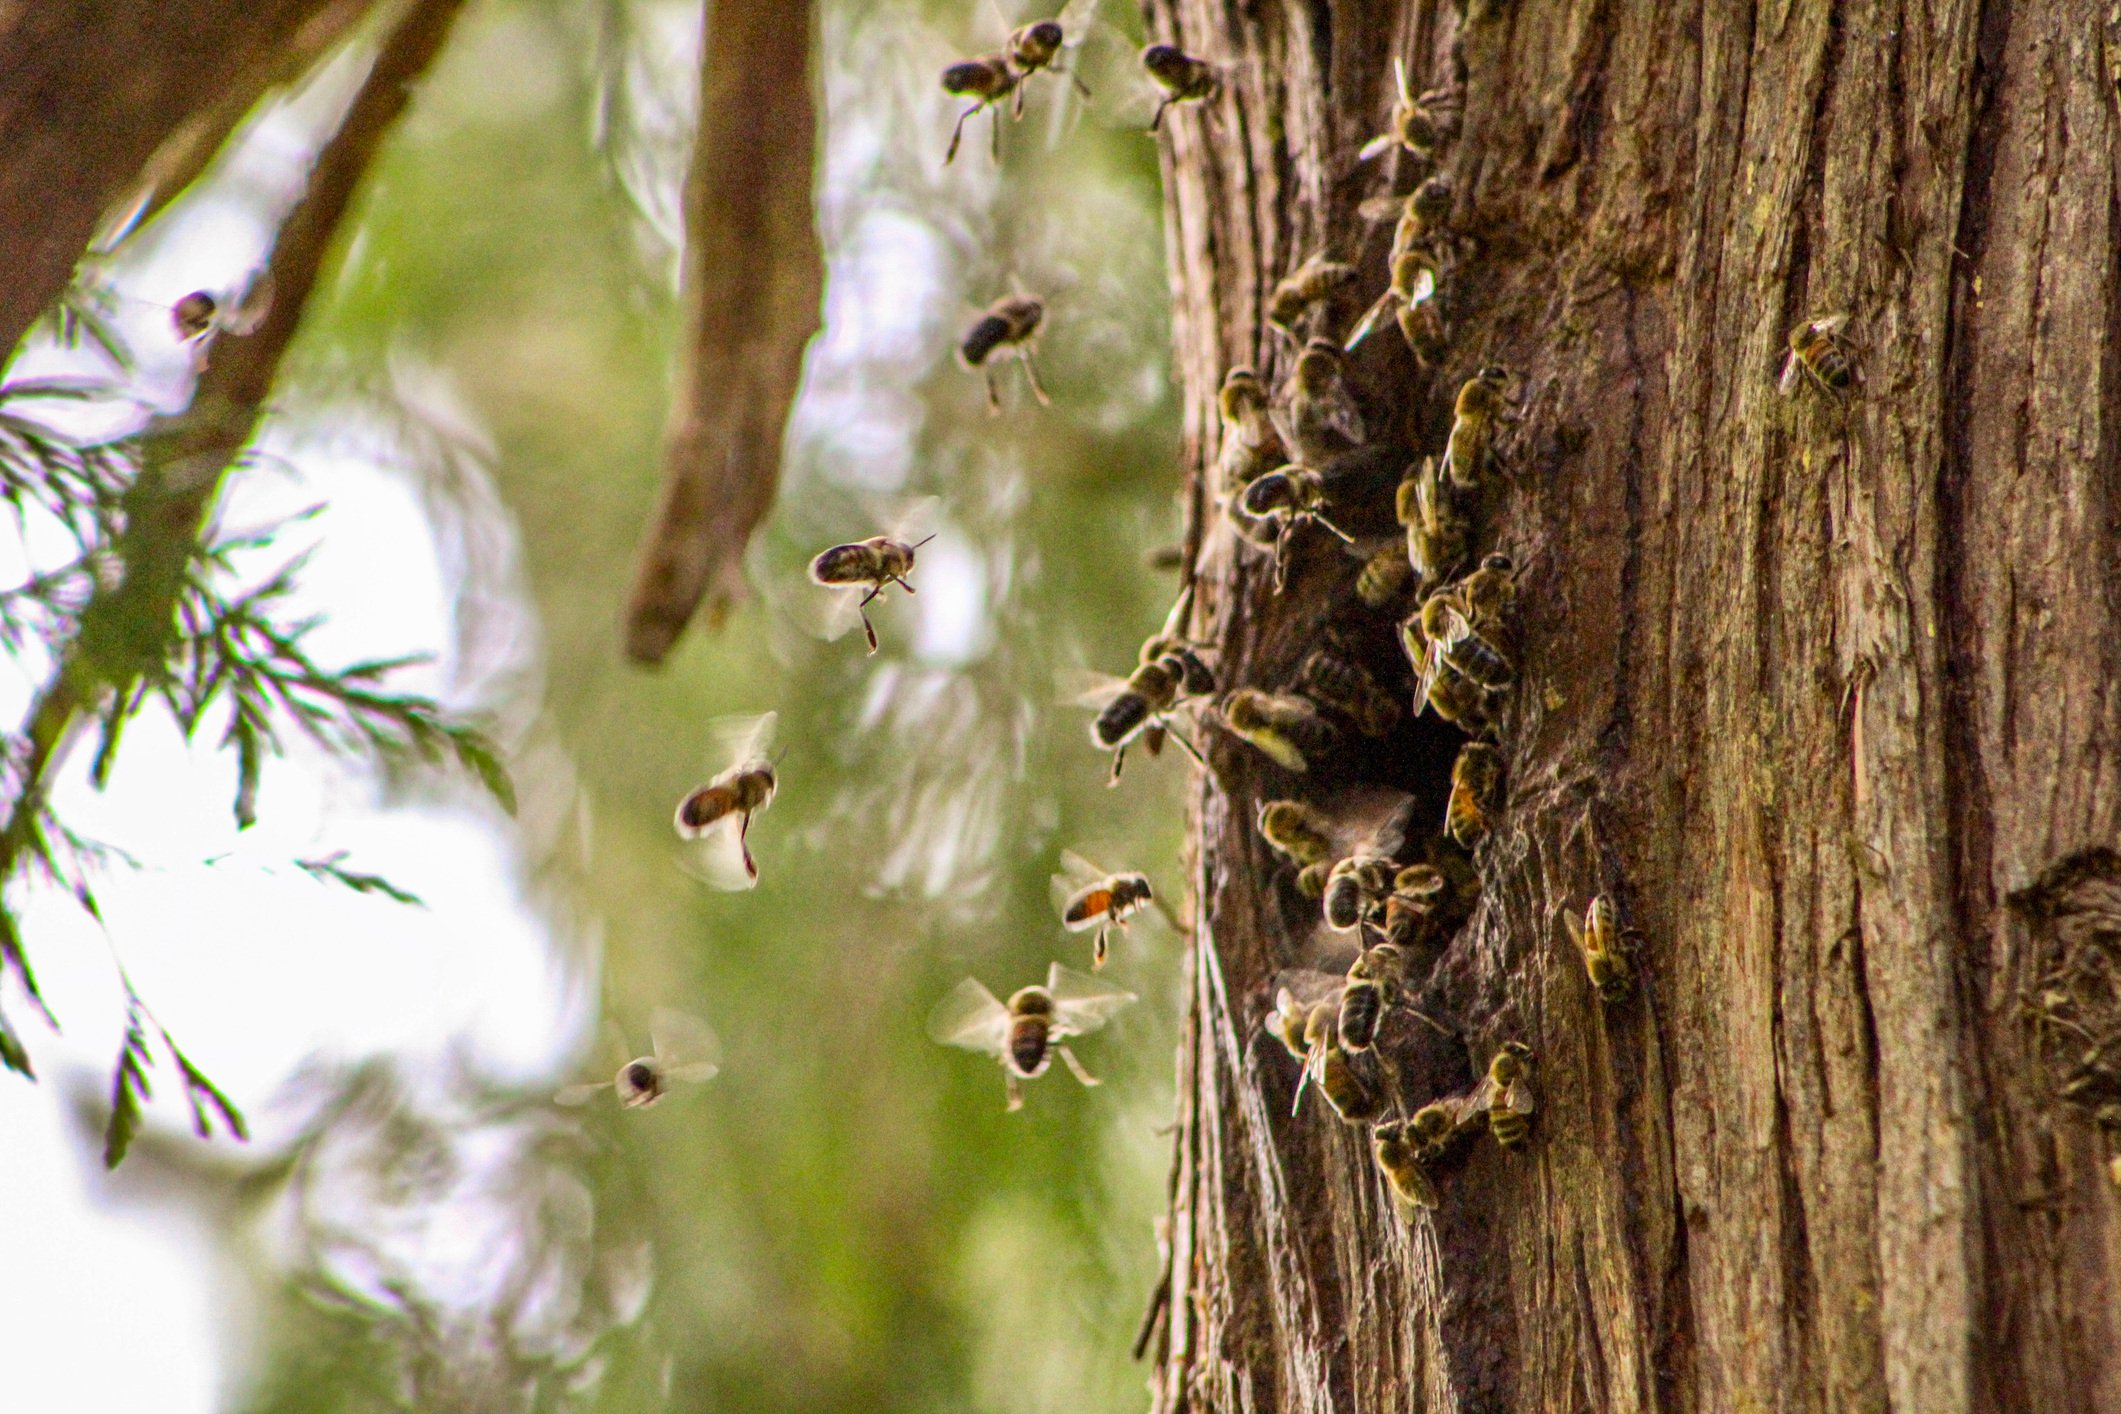
For gardeners or those using numerous landscape plants, establishing a compost heap or compost bin is a great project. Add fruit peels, cabbage leaves, tea leaves, coffee grounds and other kitchen by-products along with leaves from yard raking to establish the base. The addition of a little commercial fertilizer, garden soil and occasional watering accelerates the decomposition and in short order, you will have a wonderful medium to use for amending the soil for new plantings or enriching your garden.
Composting can be as simple as creating a bin from scrap wood or plywood directly on the ground or purchasing a more sophisticated barrel type you can rotate occasionally to mix the components. The primitive ground bin requires occasional mixing with a pitchfork to keep it active, allowing oxygen and water to reach the materials and speed decomposition.
One added benefit of composting is the feeling you have knowing you’re creating rich amendments for the soil using what you would otherwise throw away in the garbage.
Step 4: Prune Plants
Pruning trees and shrubs is healthy for a number of reasons. It gives the plants a pleasing and graceful form while removing any dead or unhealthy branches. In the case of fruit trees, pruning helps fruit grow larger and healthier.
There are some general guidelines for pruning to observe. If you plan on pruning, invest in some guidebooks or at least research online the proper techniques for the species you are planning to prune. For example, apple trees should have a main "leader" or trunk and be pyramid-shaped. Peach and plum trees should be flat-topped to allow more light to reach the fruit. Grape vines require heavy removal of growth each season to yield desirable fruit.
When pruning trees or shrubs and removing entire limbs, do not leave "stubs" protruding from the trunk. These stubs decay over time and damage the trunk of the tree or bush. If you observe closely, you will see a "collar" at the base of the limb. Cut the limb off flush with the collar and it will heal with minimal damage to the tree.
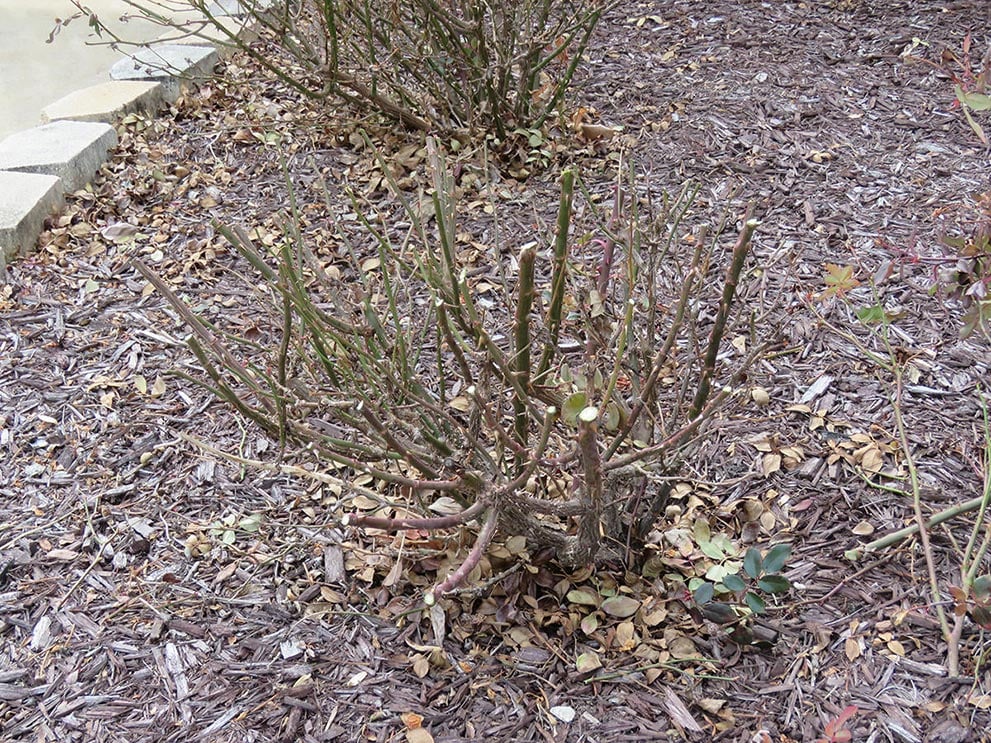
Rose varieties such as Knock Out can grow very large and may require some vigorous pruning each winter. As is the case with most pruning, the plants should be dormant and may require removal of as much as 2/3 of the growth each season. Our Knock Out roses reach as much as 6' in height each season and require serious pruning to control the growth.
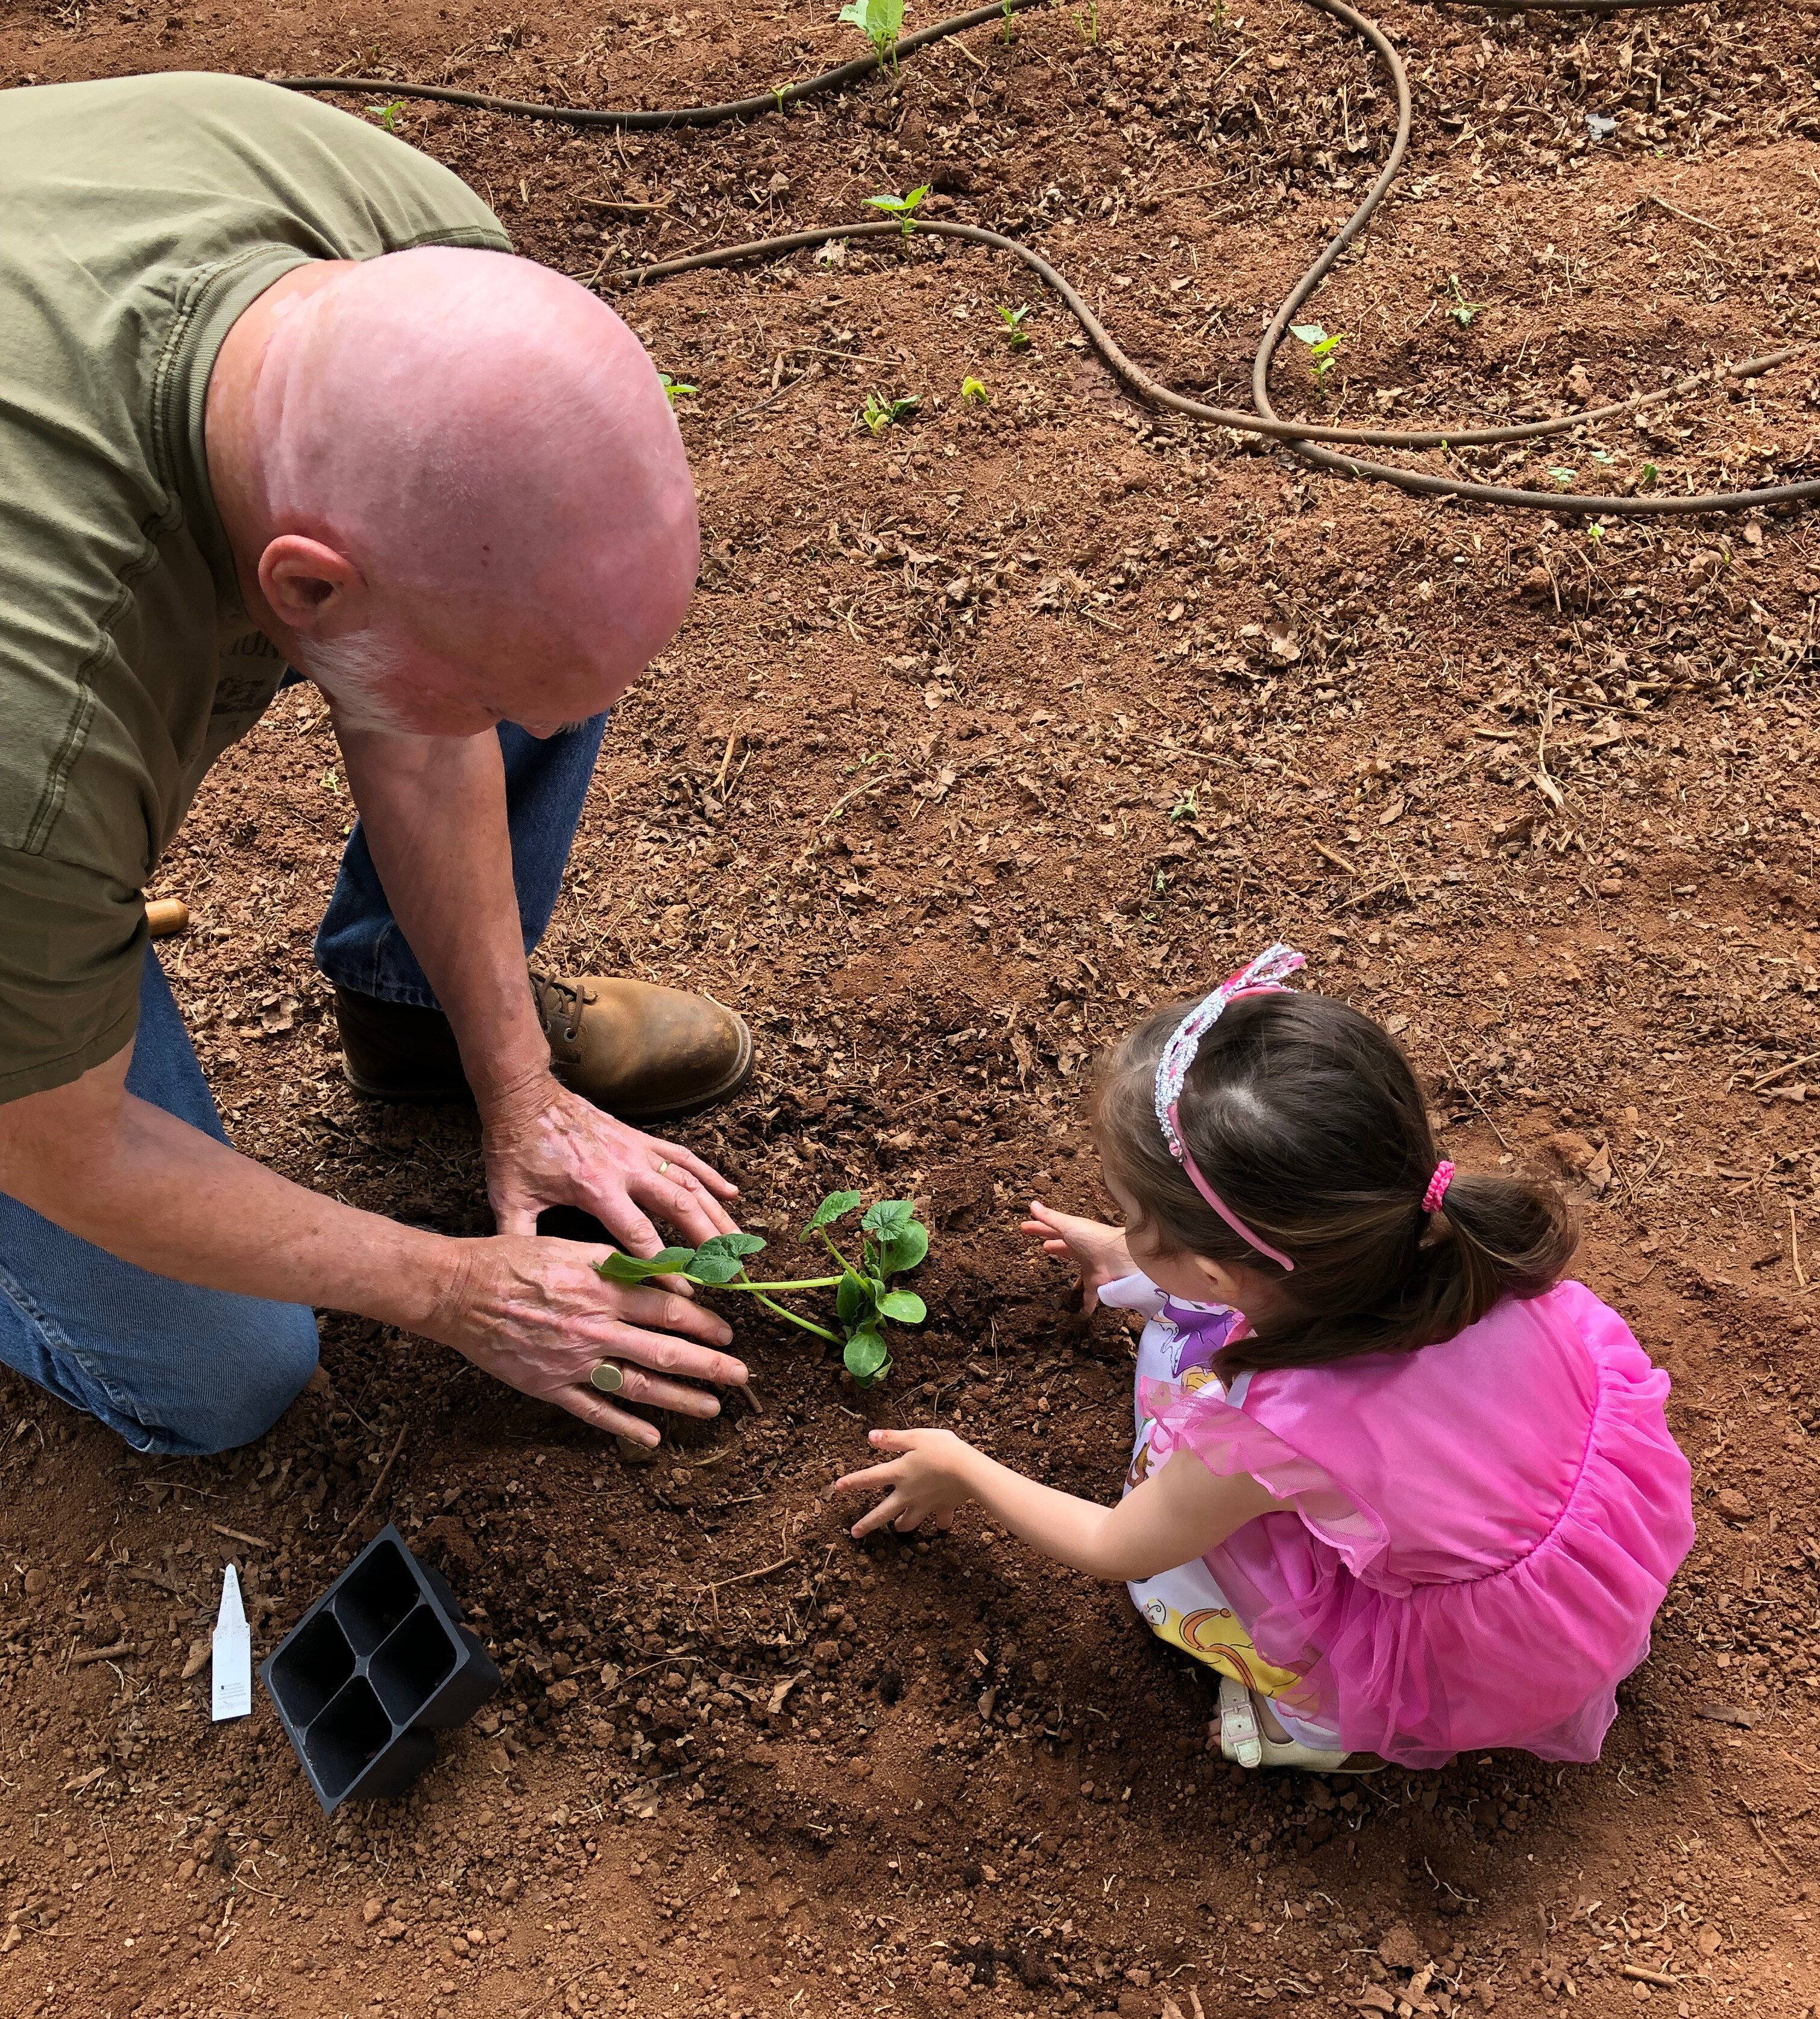
Step 5: Plan for New Plantings
If you plan to add new trees, bushes or other ornamentals this year, it is wise to plan ahead and select the planting area. Be sure to select the size needed for the area involved. It is disappointing when a tree or bush becomes too large for the area and has to be removed. Many fruit trees and ornamentals are available in various sizes (dwarf, semi-dwarf and full-size).
Remember, the best time to plant trees and bushes is when they are dormant. Also, the hole should be deeper than the size of the root base and about twice as wide as the root base. Be sure the top of the root system is near the top of the soil when planting. This is especially true if the plant is grafted onto a more-hardy root system. If this is placed below soil level, it may sprout and revert to the origin of the root system. Keep any sprouts that occur at ground level trimmed away. Water the plant and stake it if necessary. Prevailing wind may blow the tree or bush over if it is not staked due to the soft soil around the roots.
Newly-planted trees or bushes need mulch placed around the base to conserve moisture that will help the plant develop a strong root system. Many trees do not require fertilization during the first season after planting. This allows the roots to develop properly before the energy is diverted to the growth of foliage and fruit.
Step 6: Test Your Soil
If you are planning a vegetable garden, start with a soil test. Most agricultural colleges or county agents can advise where you can send samples. Your soil may require lime or fertilizer to provide the proper balance for growing healthy vegetables. At the time of planting, place a handful of topsoil or potting soil with slow-release fertilizer under seedlings such as tomatoes, cabbage, peppers or similar items. This technique helps produce a steady supply of nutrients to assure strong, healthy plants. In the case of tomatoes, plant them deep to assure their survival during dry weather. Sometimes small plants may even be planted below the level of surrounding soil and as they grow, soil may be added to the hole. They will develop roots where the soil covers the stem. Stick to the varieties you like and plan the row configuration before you start to plant. Guides are available to tell you the yield to expect and how much to plant per person. It is a good idea to plan ahead and not have an over-abundance of some varieties and not enough of others.
Step 7: Assess Your Water Needs
If you live in an arid area, you might need a watering system, such as soaker hoses, in case of drought. The water expended is well-worth the delight of having your own fresh vegetables and fruit.
As in most walks of life, a little planning ahead will yield great benefits and the time spent will be rewarded. Few things are as fulfilling as growing and preserving food from your own property.
.jpg "L. Woodrow Ross")