Want a waste-free way to start seeds? Soil blocks are the answer. A farmer and soil consultant shares his tips for how to make your own soil blocks from start to finish, including what tools to use, the best mix of potting soils, and how to avoid common beginner mistakes.
There are few things more satisfying, health-giving and environmentally friendly than growing your own food. However, the seed starting part isn’t exactly eco-friendly. Sure, you can re-use those plastic seed trays, but the plastic is so flimsy they typically wear out after a season or two. Plus, who wants to store all that dirty, used plastic over and over again?
Fortunately, there is a zero-waste way to start seeds at home (or professionally). It’s called soil blocking, and all you need is the right mix of potting soil, some water, reusable trays, soil block forms, and a willingness to invest a little time to get your technique down.
In this article we will briefly review soil blocks, look at the pros and cons, discuss what you need to get started, and share a basic soil block recipe to grow the healthiest starts you can.
What are soil blocks?
One of the biggest proponents of soil blocks is market farmer and author, Elliot Coleman. In his classic book “The New Organic Grower” he describes soil blocks as, “pretty much what the name implies-a block made out of lightly compressed potting soil.” He goes on to say, “It serves as both a container and the growing medium for a transplant seedling.” [1]
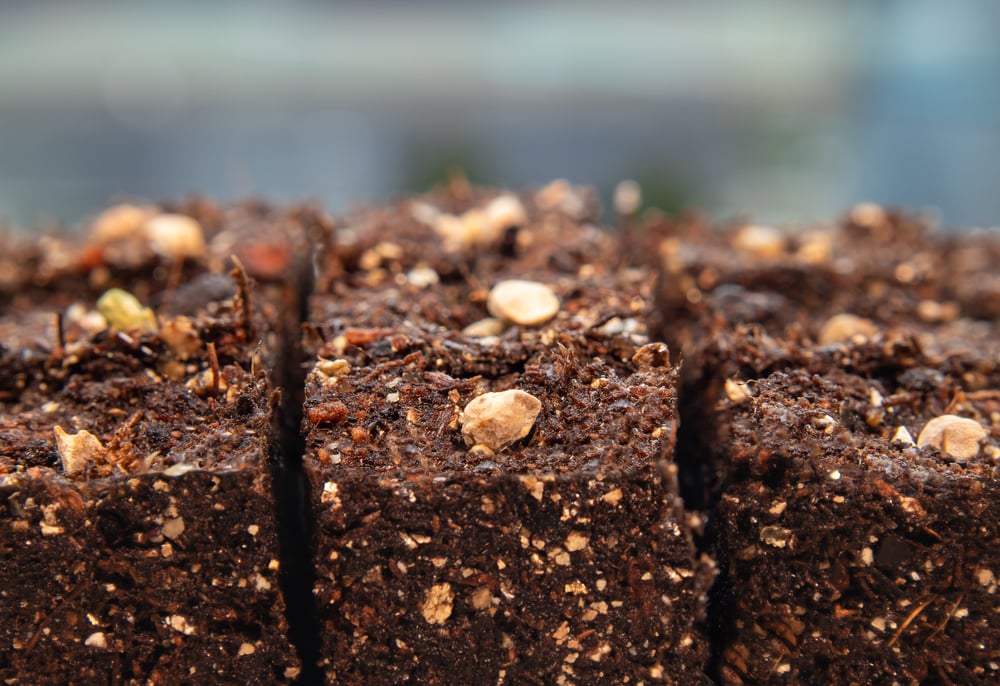
In essence, these blocks are 100% potting soil and are made using a form that cuts out brownie looking cubes, like a cookie cutter, where you can start any number of vegetable seeds.
The Pros of Soil Blocks
One of the main benefits of using soil blocks is they reduce your use of plastic in the way of cell plug trays. Cell plug trays come in many different sizes, but typically they are made of very flimsy plastic.
If you are a regular gardener constantly filling these, watering them, moving them and accidentally leaving them in the sun too long, even with the best of care, they break after a few seasons and end up in the trash or recycle bin. Plus, there are potential issues with microplastics leaching into the soil, especially if the cell trays have been reused and the plastic begins to break down.
The second benefit is that soil blocking has the potential to grow healthier and heartier plants. When growing transplants in the plug trays, as the root system grows and they reach the edge of the cell, they have nowhere to go but in a circle. This can be avoided with perfect timing, but it creates a situation where the seedling becomes “root bound”, and the mere act of popping that plant out of the cell at transplant can cause transplant shock. This puts a large amount of stress on the seedling and can set back its growth and vigor once in the ground.
The beauty of the soil block is there is no cell tray, and the space between the blocks “air prunes” the roots.
This means the roots grow to the edge, but because there is no additional soil to grow into, the roots go no further. This puts the plant growth on hold for a time, but the pruning also sends a message back to the plant to grow additional roots thus creating a stronger seedling. More roots amount to better water and nutrient uptake from the soil, thus raising hardier plants.
It also gives a little more flexibility to the grower. This isn’t 100% full-proof because if you let them sit too long the roots may find their way into the next block, but it gives you a larger window of flexibility to transplant when outdoor conditions are best.
The other not so obvious benefit is when the seedling becomes root bound, the plant gets an environmental “signal” that this is the extent to which the plant has to grow. Then when it's transplanted outside with more space, the plant must change course a second time, which can stunt growth dramatically.
The Cons of Soil Blocks
A potential downside to using soil blocks is that the process is more time consuming than using cell trays.
If you have a 50 cell tray, all you need to do is fill with your favorite potting soil, plant the seed and water. With soil blocks, you need a little extra equipment, which we will discuss later, and the act of using the soil blocker tool to make the blocks takes more time. However, given that soil blocks often produce healthier plants, your time spent making them could very well be made up by less time spent trouble-shooting issues with your full-grown plants.
The other con is that you will likely not completely eliminate the need for plastic. Once you form these blocks you need to put them in some kind of tray so that the soil blocks can be watered to grow your seedlings. But the benefit is that if you invest in some very sturdy trays like these, you will do it once and never need to repurchase or throw them out.
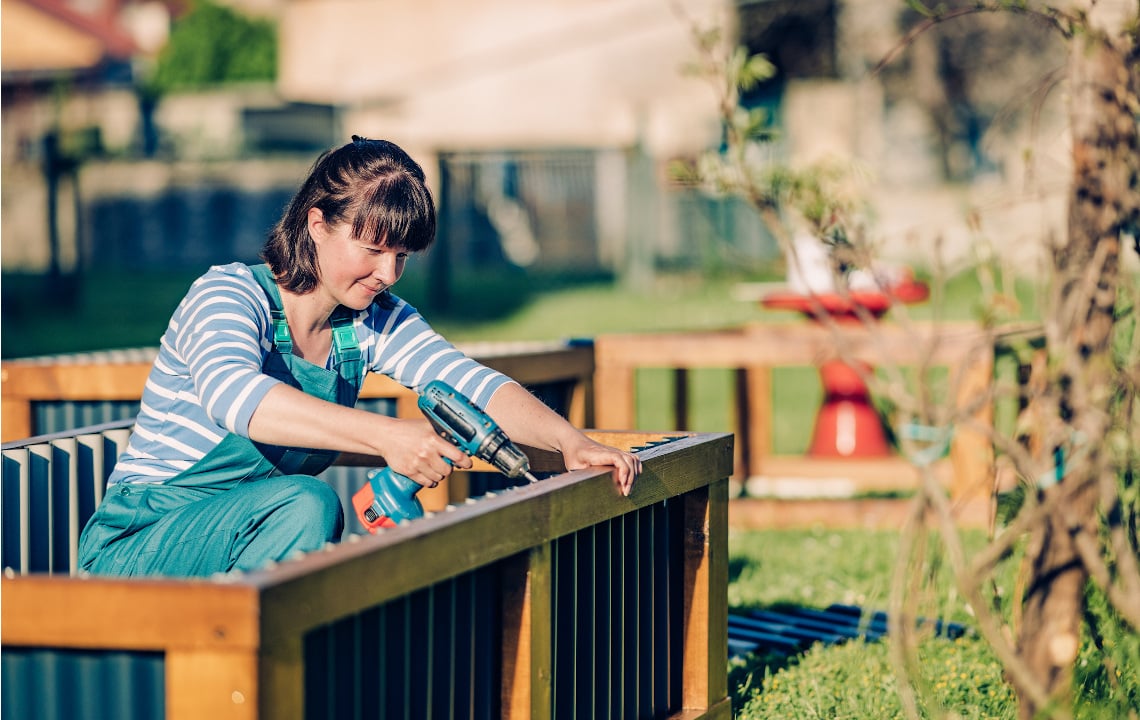
Many people eliminate their plastic use by making trays out of wood. To go this route, all you need to do is make a tray that is deep enough to fit the block and enclosed on three sides.
The Tools and Supplies You'll Need to Make Soil Blocks
Now onto the good part: how to make your own soil blocks.
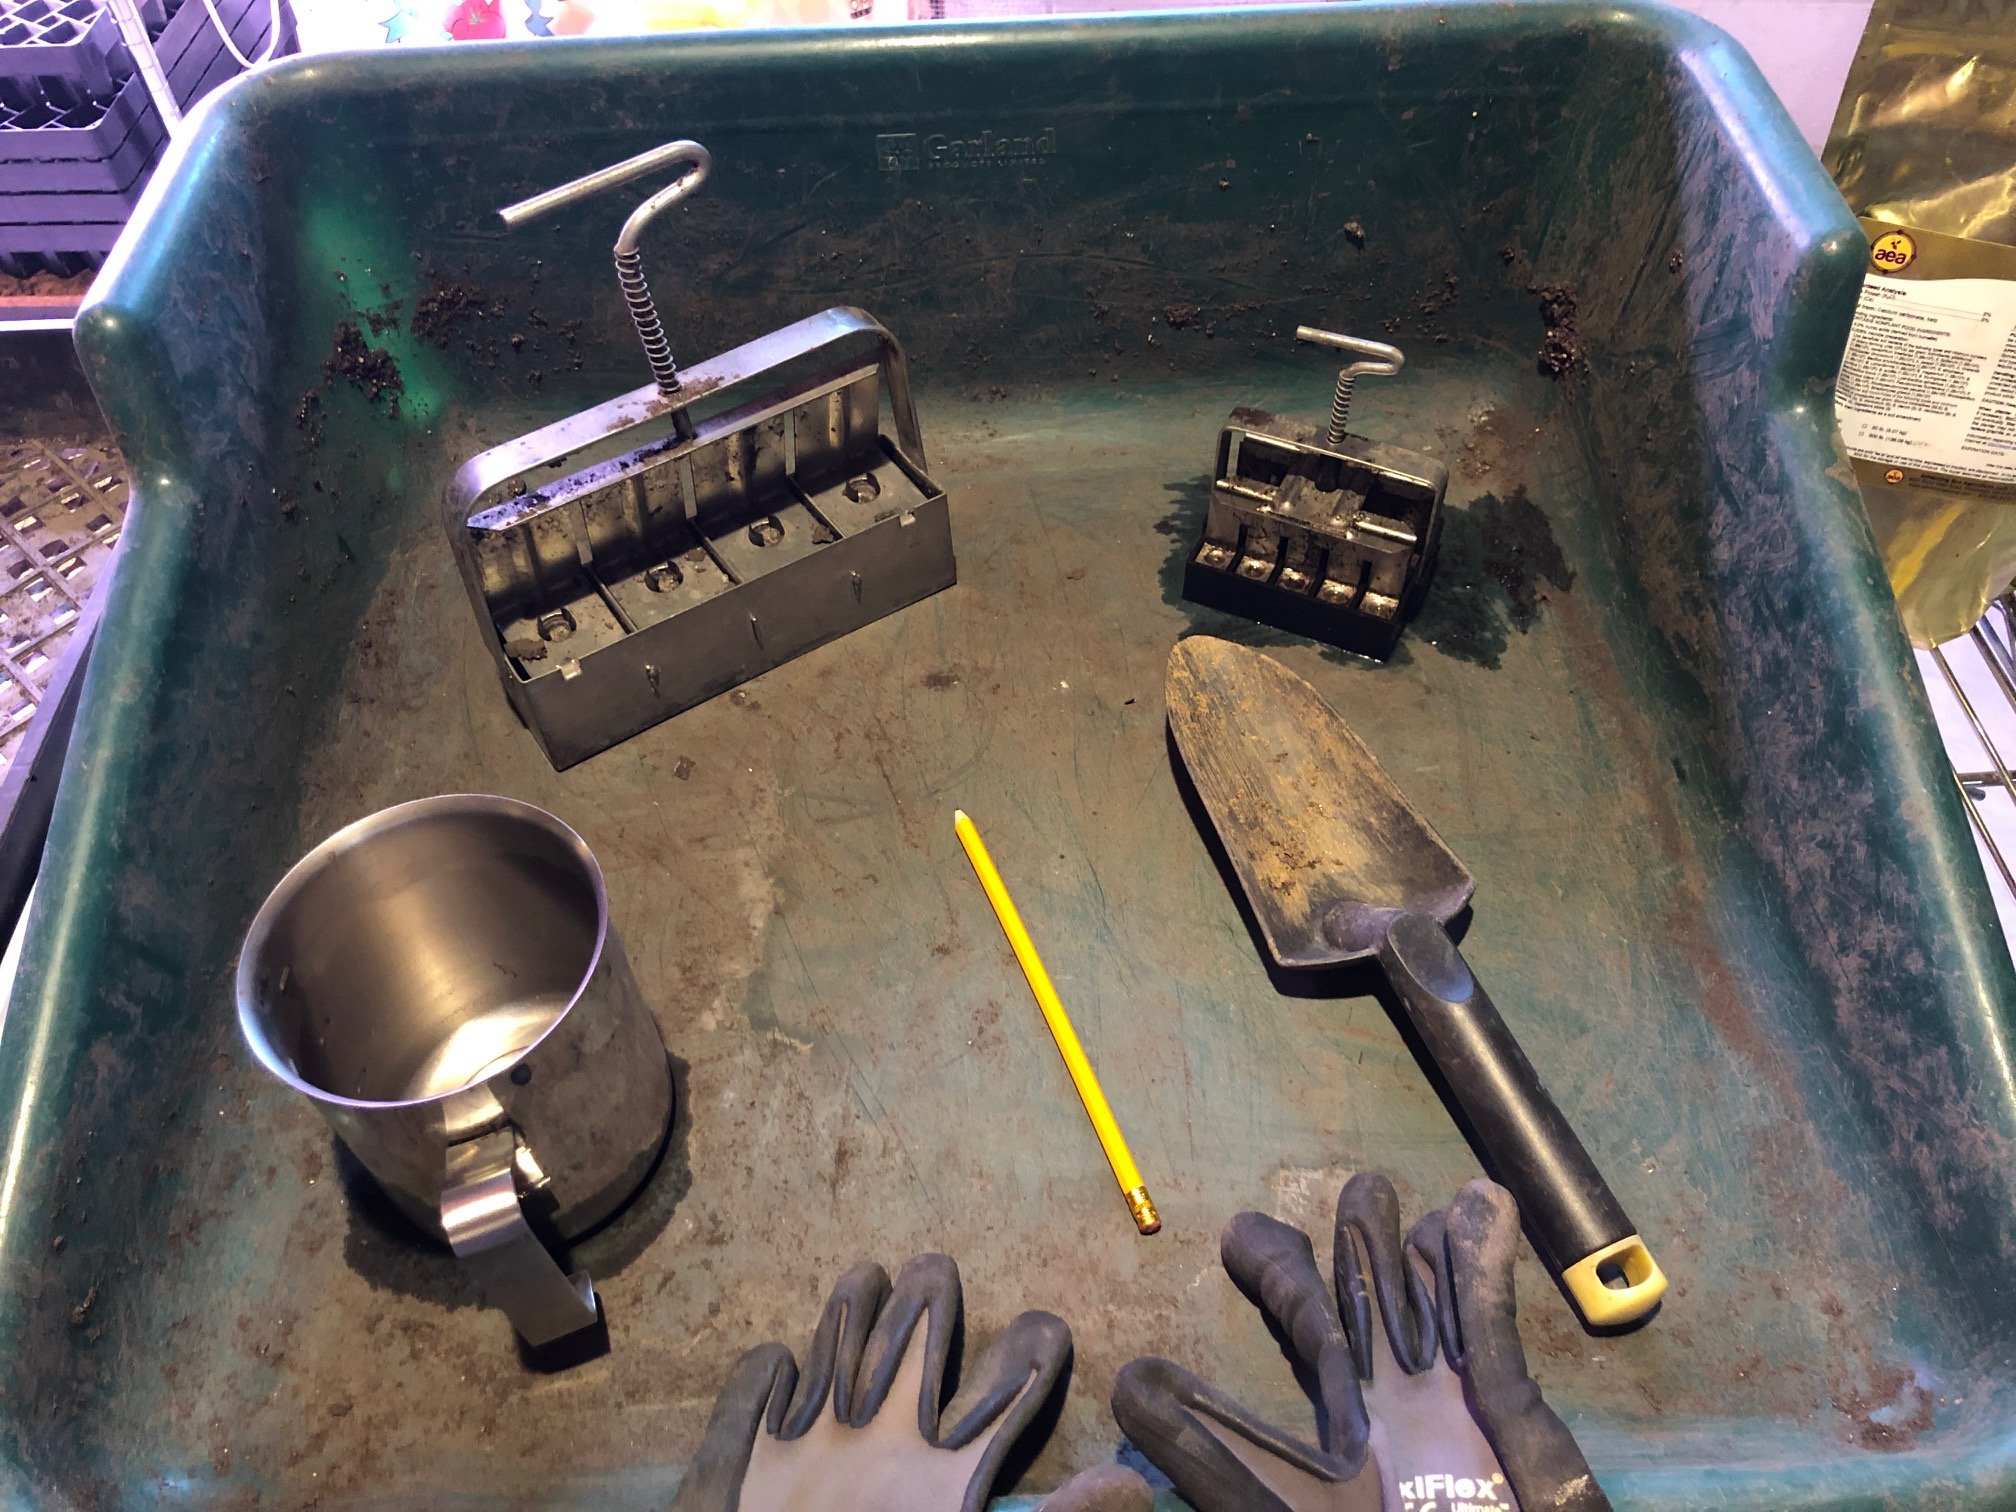
You can find blocking supplies in many places, like Johnny’s Seeds. They have been selling soil blocking supplies, some of the best seeds and great tools for decades. Here are the basic tools and supplies you need to get started:
A Soil Blocker
The most important tool is the soil blocker. There are a wide variety of sizes, but the main thing you want to focus on is the seed size and the quantity of transplants you need for your size garden.
At the most basic level, starting with a hand-held 20 mini-blocker and the hand-held 4 soil-blocker (2” cubes) is best for the home gardener. These two sizes will give you the widest range of flexibility to start your soil blocking for the widest variety of seeds. These soil-blockers can be found on Amazon or Johnny’s Seeds.
If you are getting into larger scale production in a nursery setting or market garden platform, Johnny’s Seeds offer a wide variety of stand-up models that make up to 35 blocks in one step. For a full list of soil blocking options, check out this selection of hand-held and stand-up blockers.
The reason you would use the mini-blocker vs. the 4 soil-blocker depends on the space you have and seed size. The mini blocker is great for starting more seeds in a small space and getting very fast germination. The fast germination can only come from using a heat mat with a humidity dome. If you have these items, germination happens more quickly because the smaller blocks heat up much faster, setting the perfect conditions for what you want to grow.
Note: the smaller blocks dry out quicker and once you get a set of true leaves or see the roots popping out, it is best to block up to the 2” block ( 4 soil-blocker). The 4 soil-blocker has a set of dibbles in the shape and size of the mini block, so you “block-them-up” to that larger size.
If that seems like too much work, you can always start with the 2 soil-blocker right from the get go as they hold much more moisture. You just won’t get as quick of a germination rate.
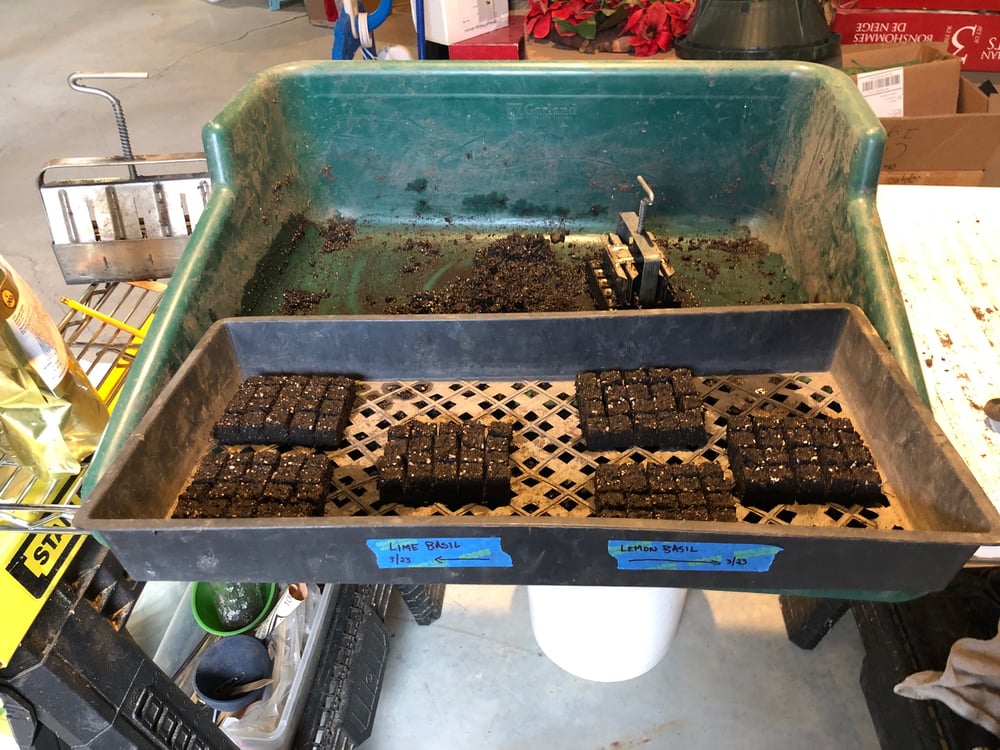
Sturdy Trays
These can be purchased or made out of wood. Of course purchasing sturdy plastic trays does use plastic, but so long as you don’t leave them out in the sun and keep them clean when not in use, this one-time purchase should last your whole gardening life.
Here is a great example of a solid plastic tray from Johnny’s Seeds. The reason I like these, is that the mesh on the bottom allows for better air circulation thus enabling better air pruning. Wooden trays can also be made by hand and you can find dozens of instructional videos and tutorials online.
No matter what type of tray you decide on, make sure it’s very sturdy. A full tray of the larger soil blocks ready to transplant can get heavy and will stress the tray when you handle them in the field while transplanting. So don’t skimp on sturdiness!
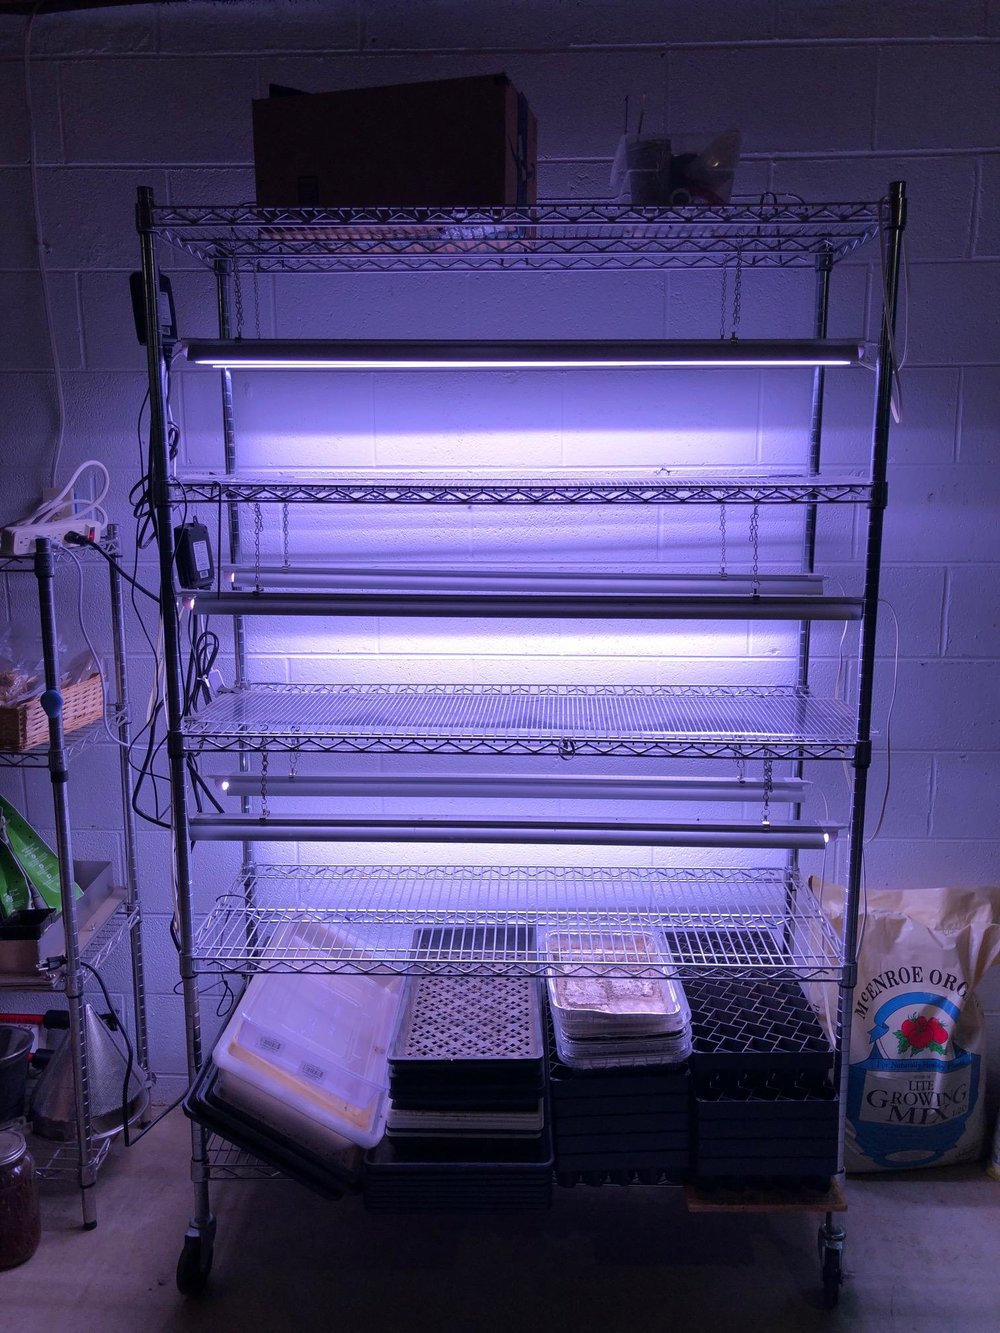
Grow (Heat) Mats, Humidity Domes & Grow Lights (optional)
Investing in these is not necessary, but you will find they are worth the money. Yes, you can start seeds without them, but they allow you to get a jump start indoors before the last frost, and help provide the perfect conditions for quicker more consistent germination. Good seed suppliers will always give detailed specifications about the perfect temperatures to germinate your most common veggie and flower seeds.
Most grow mats only go to one temperature, but I suggest you purchase a temperature controller like this to dial in the perfect conditions.
Dull Pencil and water dish
Using a dull pencil or bamboo skewer is very handy to help transfer small seeds that are difficult to handle by hand into the soil block. 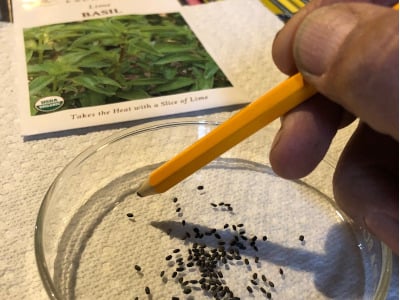
To do this all you need is to dip the tip of a dull pencil in water, touch the small seed with the damp pencil tip and transfer it to the soil block. The water provides enough static to adhere the seed to the pencil and once you tap the seed to the soil block it sticks to the block. It is an easy, fast and efficient way to handle smaller seeds.
One other quick tip is to buy pelleted seed when you can. These are much easier to handle with your fingers and drop right into the block. Keep in mind that pelleted seed can’t be used with the mini-blocker because they are too big.
Potting Tray
This is the container that holds your blocking soil while you mix in the water to wet the soil, and then start forming your blocks. I recommend this tray because the front and sides are lower for better ergonomics for blocking, but any type of shallow tote will do the job.
Potting Soil
The right kind of potting soil will either make or break your soil blocking endeavor. Most well made potting soil will work, but the most important factor is that it holds its form when wet.
The primary ingredient in good blocking mixes is either peat moss or coconut coir. These have an exceptional ability to hold onto water and thus help the block hold its form. The best mixes have a minimum of about 25% peat or coconut coir and about 20% compost. Having the addition of perlite of approximately another 20% helps the block drain and so they don’t get over-saturated.
One helpful tip when it comes to making mini blocks. If you notice any large woody pieces from the compost used in your purchased potting soil, it is critical to screen the potting soil through a ¼ inch mesh to eliminate large pieces that will not allow the small blocks to form.
Lastly, if you are big on saving money and plan to use large amounts of your own potting soil that can also be used for making blocks, you can make your own.
I have used the following recipe successfully from Elliot Colemans “The New Organic Farmer” referenced earlier using a 10-quart bucket as the unit to measure with:
- 3 buckets brown peat moss (or coconut coir)
- ½ cup of lime. Mix.
- 2 buckets of coarse sand or perlite.
- 1 cup each of the following: blood meal, colloidal phosphate & greensand. Mix.
- 1 bucket of soil
- 2 buckets of compost
If you want to make a smaller amount use a smaller unit of measure, like a 1-quart yogurt container or similar, and keep the same ratios.
How to Make Soil Blocks (and avoid Beginner mistakes)
Now that you have all the basic supplies, it’s time to start blocking. Here’s what you need to know for a successful experience:
1: Wet your Mix
Adding the right amount of water can be tricky at first because if you don’t add enough water the block form will not hold up (or they will dry out too quickly). If you add too much water the blocks will not pop out of the blocker very well.
You may have to play with this a little to get things just right, but the best place to start is for every 3 parts of your blocking soil add 1 part water. This usually provides the perfect amount of moisture.
To proceed, add your soil mix to the potting tray or tote using whatever container you have as your unit of measure. This can be a clean yogurt container or large measuring cup. Add blocking/potting soil in the ratio stated above and mix thoroughly by hand or with a trowel. Peat or Coconut Coir need thorough mixing as they repel water to a certain degree, but once saturated they stay wet and hold the block form well.
If you have trouble ejecting the block from the blocker, it is typically too wet. You can always adjust by adding small amounts of potting soil to get it just right.
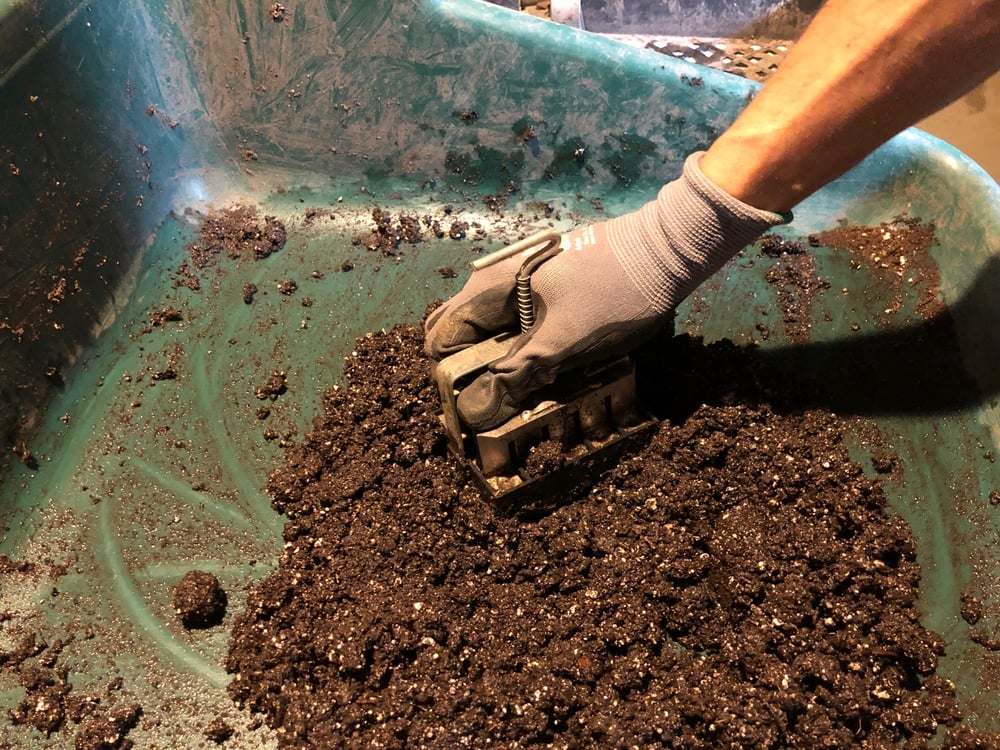
2: Make the blocks
Start by making a mound in the middle of your tray at least the depth of the block, but the higher the better. Then take your block form and press firmly into place. Repeat this a few times to make sure you are compressing enough of the soil to hold the form.
Once you feel you can’t mash any more soil into the blocker, scrape off the bottom excess with a trowel, place over the seedling tray and pop them out.
A tip: once you eject the block, have a bucket of water close by and rinse the blocker before you make the next one. This will clean off any additional soil that didn't come off and the next blocks will eject much more smoothly (just like scooping muffin or cookie batter).
3: Seed your soil blocks
Drop in your seeds and cover with loose potting soil. As mentioned previously, using the pencil trick for small seeds will make this process much easier.
4: Watering your soil blocks
My favorite way to water soil blocks is bottom watering. This method cuts down on any potential diseases like damping-off that can occur with top watering and you know that the blocks are fully watered.
To accomplish this, you need an additional shallower tray to place underneath the mesh tray, or if your tray is solid on the bottom there is no need for the additional tray. Then it is as simple as carefully pouring water down one side of the tray and filling that tray until about ¼ of the block is in the water. From here, capillary action pulls the water up and saturates the block.
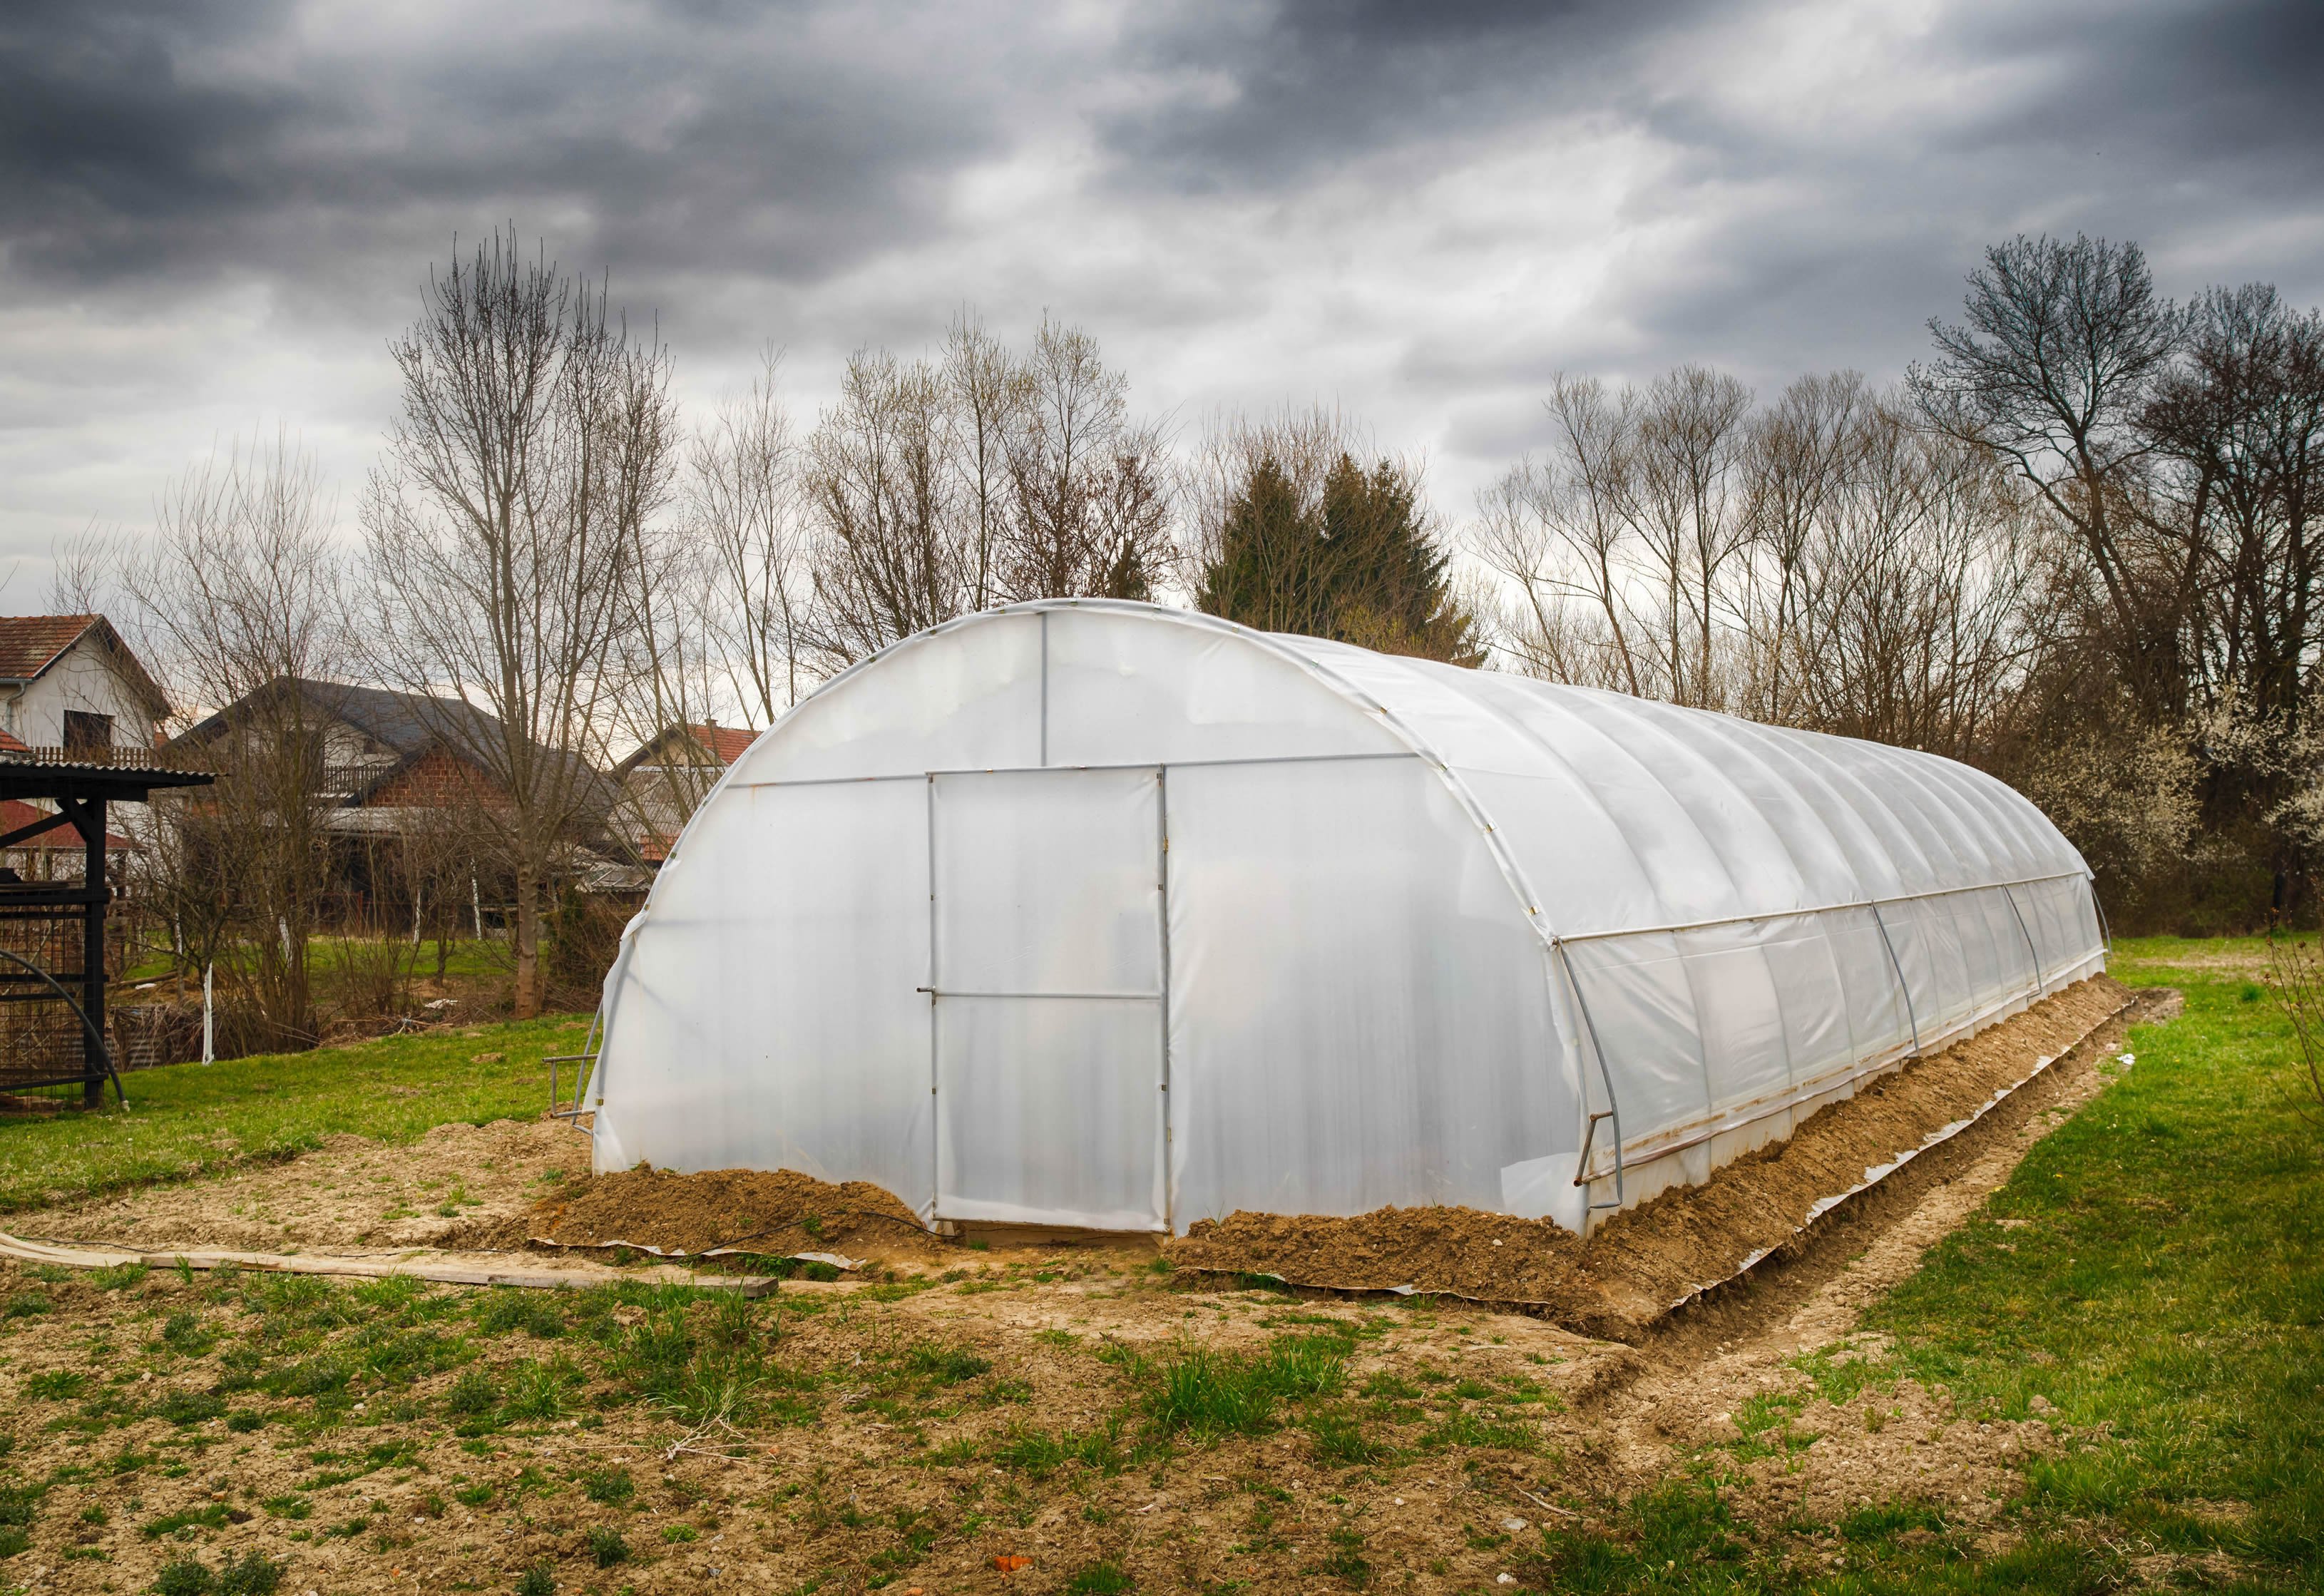
If you are doing these in an outside space, like a high tunnel or greenhouse, you can water from above, but be sure you have a nozzle on your watering wand that creates a fine mist like this one. This will ensure the water pressure doesn’t blow apart the block you so carefully crafted.
Now you know everything you need to start soil blocking
Yes, soil blocking takes a little practice and upfront investment. But it is an enjoyable and meditative experience. Plus, you’ll have the satisfaction of eliminating a good majority of the plastic used in your garden and growing more healthier plants and food.
These transplants will grow much stronger and yield so much better, and you’ll never have to think about soil trays again! That in and of itself makes up for a little extra effort.
Happy Blocking!
Reference:
[1] Coleman, E. (1995). The new organic grower: a master’s manual of tools and techniques for the home and market gardener. White River Junction, Vermont: Chelsea Green Publishing.

-1.jpg "Rolando Boye")