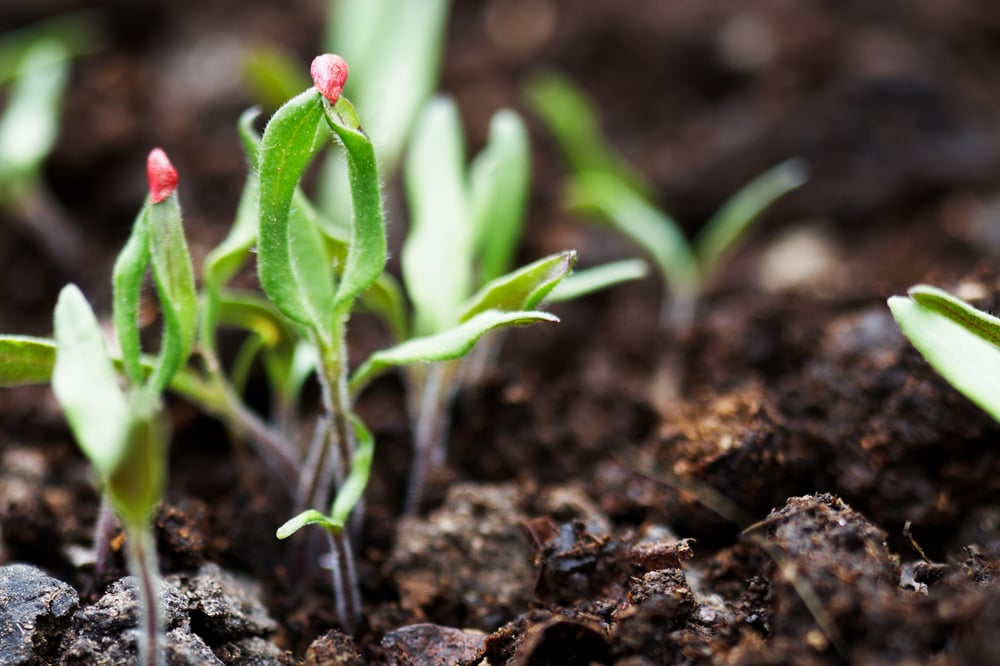
Seed saving is a fun, easy, and valuable skill for homesteaders and gardeners alike. We talk with the founder of a seed company to learn more about how to get started with seed saving.
For hundreds of generations, humankind has practiced seed saving as a means of preserving the integrity of the food grown on their land.
Modern-day gardeners and farmers are turning back to this ancestral practice of saving heirloom seeds.
Astrid Hoffman, co-founder of The Living Seed Company, a family-owned heirloom seed business located in Weaverville, North Carolina, got started in the seed industry in 2011 while living in California.
“We had started our business with the intention of wanting to provide organic seeds during the resurgence of small seed companies,” she explains. “There is a vast range in the world of seeds. The quality varies from company to company. Growing practices can range from heirloom to hybrid to genetically modified seeds. We wanted to offer true and pure heirloom seeds, those which you can save year after year.”
Every gardener has his or her reasons for saving seeds from the garden. Whether it's to save money, as a means of food security or to pass along a family heirloom seed to younger generations, saving seeds is a worthwhile practice.
The Importance of Saving Heirloom Seeds
In the 1940s, hybrid seeds were introduced to the market.
Not to be confused with genetically modified seeds, hybrids are a cross between heirloom seeds to create different varieties for various reasons — disease resistance, taste and appearance, to name a few.
Because of the purposeful cross-pollination, hybrid seeds are not desirable for seed-saving practices. This is because hybrid seeds typically do not come back true to the parent seed. They tend to look and taste completely different each growing season.
This is why it is extremely important to only save heirloom, open-pollinated seeds. Heirloom seeds always produce the same fruit every year, without fail.
According to Hoffman, saving heirloom seeds builds seed resiliancy.
“When you save heirloom seeds year after year from your garden and plant from your personal seed bank, the seeds begin to build resilience and adapt to your specific region,” she explains. “It’s a sustainability practice. Every year the seeds become acclimated to your climate, soils, droughts or excess rain. Seeds are tiny miracles.”
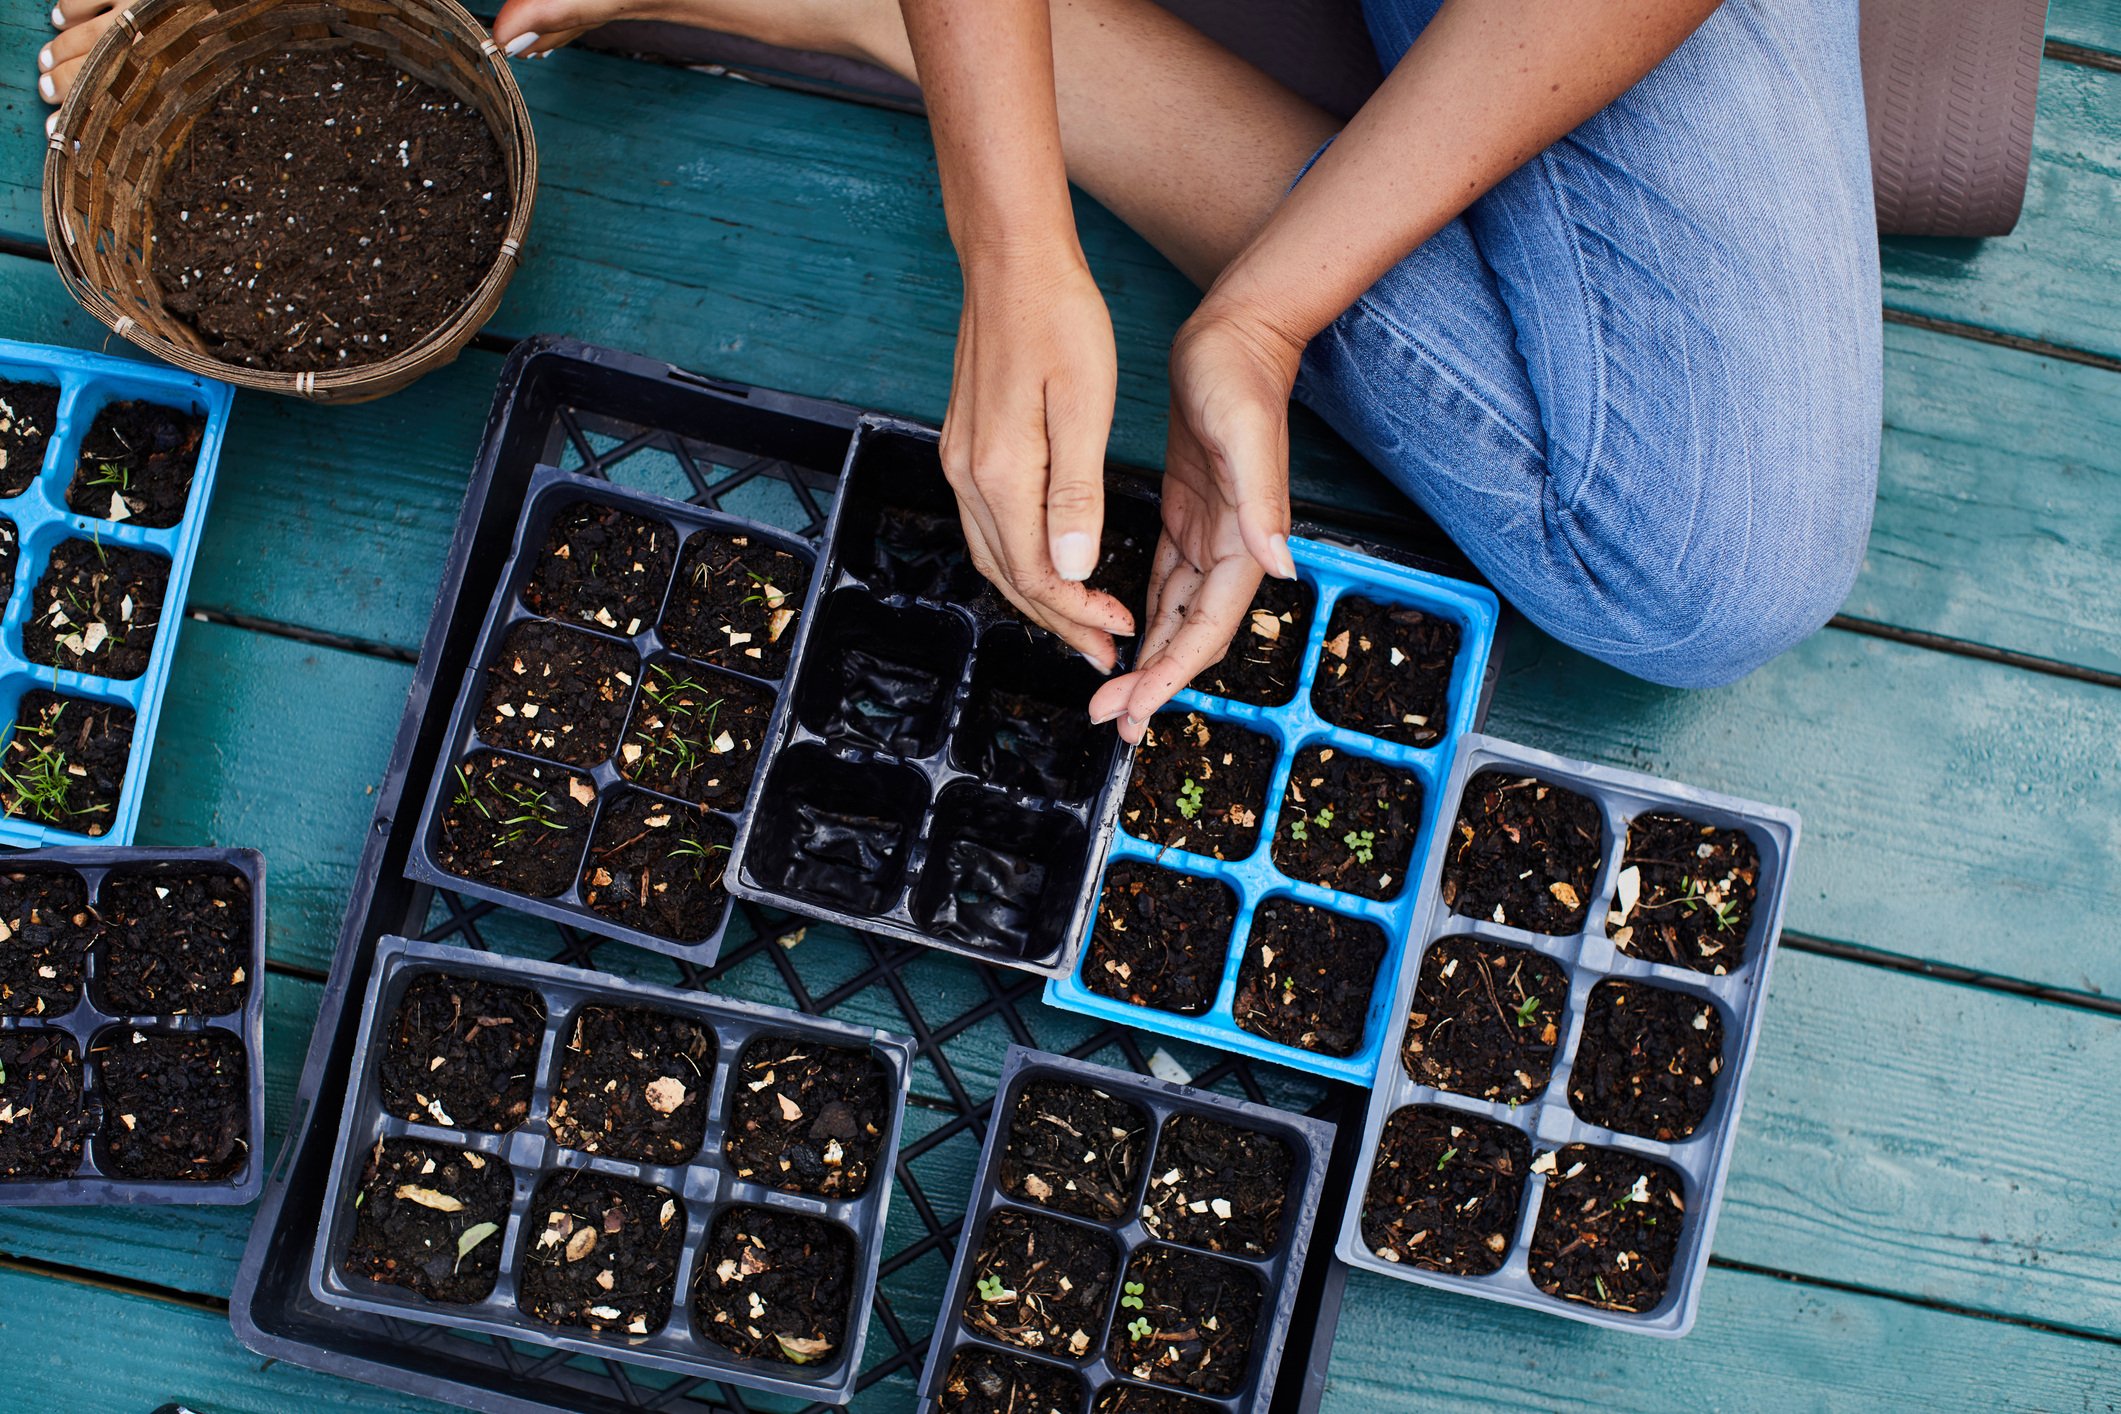
The Two Processes of Seed Saving
Depending upon the plant species, the process of seed saving will vary.
According to Hoffman, there are two different methods to saving seeds from your garden. She advises always to select seeds from healthy and vigorous plants.
Method 1: The Wet Process
Known as ‘wet seeded crops,’ these plants have seeds embedded in the fruit’s flesh. A few examples include tomato, watermelon, cucumber and squash.
“Wet-seeded crops involve liquid for the seed-saving process,” explains Hoffman. “Each plant is different from the next. For this particular process, I recommend starting with an heirloom tomato. Know the source of the seed from the fruit in which you plan on saving. Heirloom tomatoes found in a farmers market can be hybrids and therefore unable to produce seed that is true to type.”
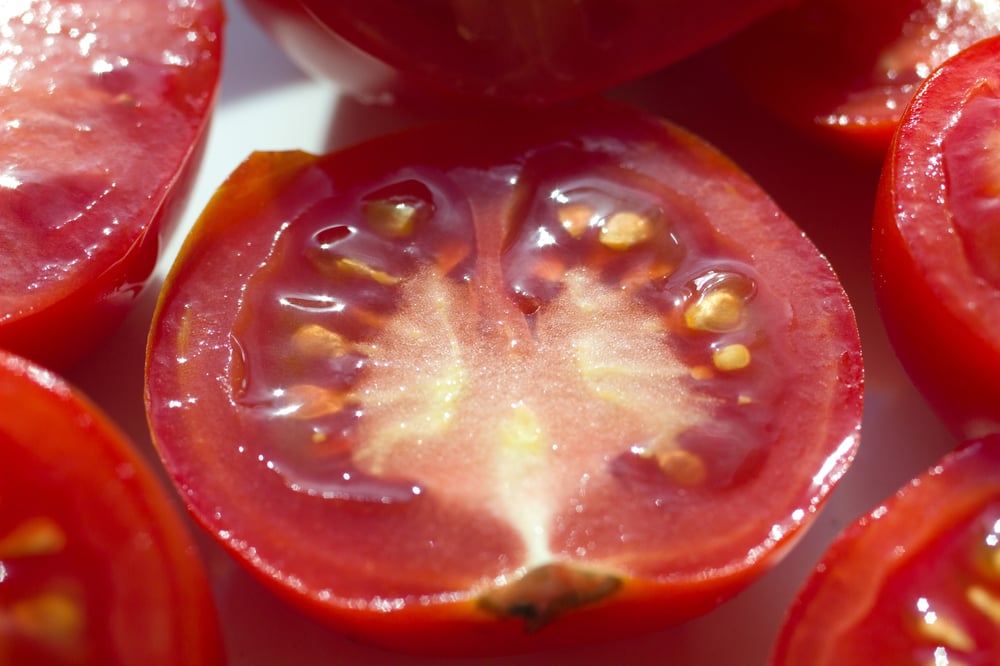
How To save tomato seeds:
- Pick the tomato when it is ripe and what is known as “in its gel sack.”
- Cut the tomato into halves, opening the tomato to expose the seeds in the center.
- Gently squeeze out the gel sack where the seeds are and put them into a mason jar with a kitchen towel over it. If only processing a single tomato, add a little water to the jar.
- The goal is to allow the gel sack surrounding the seeds to ferment. Let it sit for about 3 days, stirring the contents once a day. Allow the jar to sit until a mold forms on the top.
- After mold has formed, fill the jar with warm water.
- Allow the contents in the jar to settle to the bottom. Immature seeds will rise to the top. Pour the water out of the jar, allowing tomato pieces and pulp to drain out. Repeat this until the water being poured out is clear, and the bottom of the jar is lined with tomato seeds.
- Pour the seeds into a strainer to allow remaining water to drip out. Place the seeds onto a plate and allow the seeds to dry completely in a well-ventilated area, out of the sun and direct heat. This process can take several days to a week, depending on the humidity levels.
- Before storing, make sure all of the seeds are completely dry. To check, use a fingernail to push into the seed. Make sure the seed cracks with no indentation.
- If the seeds are not totally dry, give them another day or so.
- Label, date and store seeds properly.
Method 2: The Dry Process
Dry seed saving is a method used for plants whose seeds mature and dry on the plant itself. A few examples include sunflowers, lettuce, peas and beans.
“Beans are fairly easy to save seed from,” says Hoffman. “All you do is let the pods fully mature on the plant, to the point that they begin to crack open. You’ll know they are ready to harvest when the pods dry to a brownish color, about six weeks after the eating stage.”
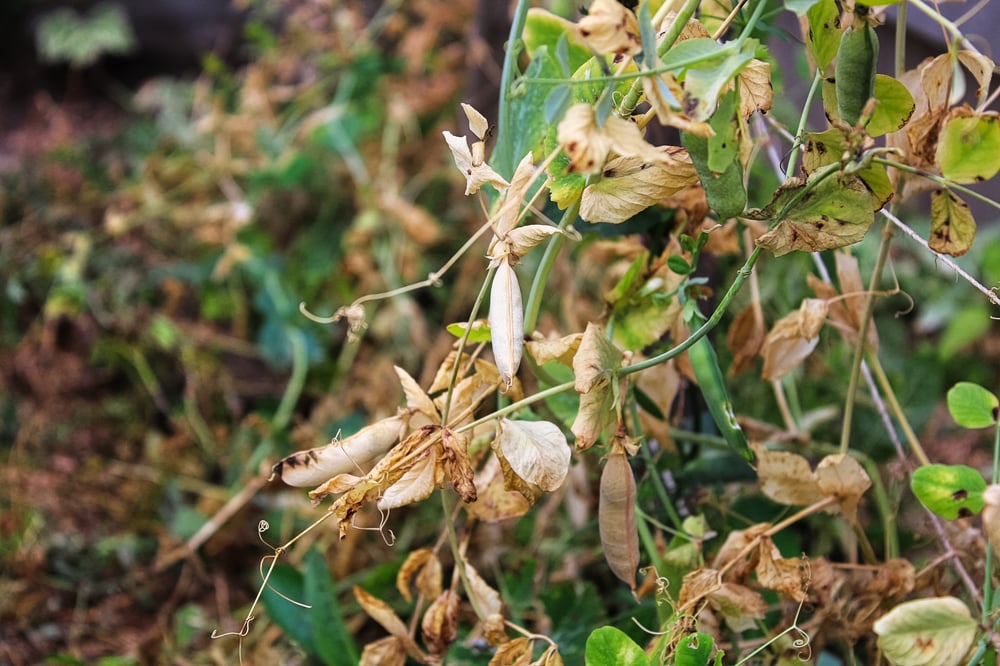
If a frost threatens your area, Hoffman recommends pulling the entire bean plant, roots included, and hanging the plant to dry in a cool and dark location until the pods dry completely and crack open.
To test beans for dryness, a hammer test is required. Take a hammer and gently tap the bean. The seeds must shatter to be considered fully dried for storing.
When it comes to lettuce, Hoffman says it is important to consider the large amount of space the plant needs. “When you want to save lettuce seeds, you have to have plenty of space to allow the lettuce plant to grow into a five-foot giant,” she explains. “Saving lettuce seeds can be lots of fun.”
How to Save Lettuce seeds:
- Prior to planting, plan for a large amount of space to allow the lettuce plant to grow for several months, past its eating stage.
- Allow the lettuce plant to become large (about 5 feet) and produce small dandelion-like blooms. When the plant bolts, it will be time to harvest the seeds.
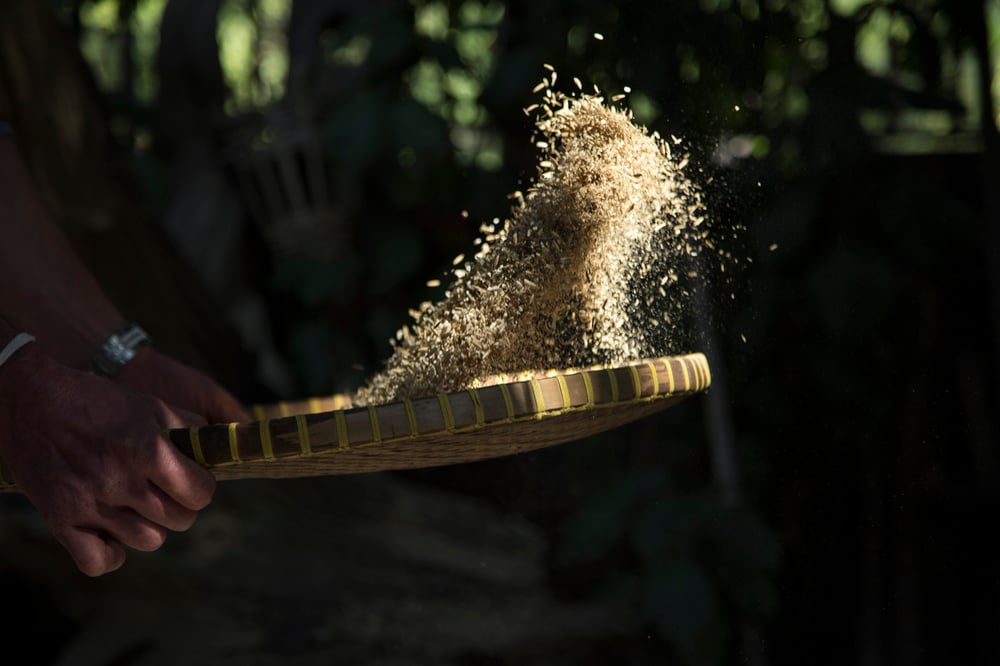
- For several days, take a large paper bag and shake the dried flower heads into the bag. This releases the mature seed from the plant into the paper bag. Repeat this every day until all seeds have been harvested.
- Dump all seeds into a large wide bowl. Gently blow on the bowl. Start with a slow breath to keep the seeds from blowing away. This blows the chaff away, and the viable seed will remain. “As you blow, you’ll know how to regulate your breath,” says Hoffman. This cleaning process is known as ‘winnowing.’ Winnowing is an ancient technique that separates the seeds and chaff, allowing the heavier seeds to be left in the bowl.
- Label, date and store seeds properly.
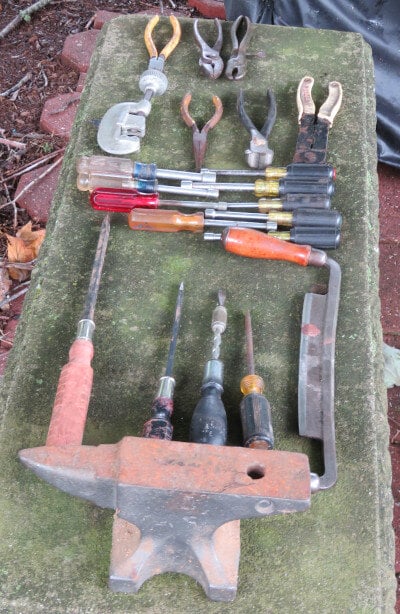
Tools and Equipment Needed to Save Seeds
Supplies needed for seed saving are typical items found around the house. “You don’t need fancy tools and equipment to save seeds,” says Hoffman. “You just need a colander, a plate and a solid knowledge base.”
- A seed-saving screen is useful for shaking seeds away from flower petals, stems, and debris. During the seed-saving process, make sure to use this tool to sift out everything other than the seeds.
- A colander is perfect for rinsing seeds to remove flesh or in the cleaning process.
- A plate is used to set seeds on after harvest for the drying process.
- A wide bowl can be used when saving and drying lettuce seeds.
- Fans are helpful to use when separating beans from their pods. Turn on low to gently move air.
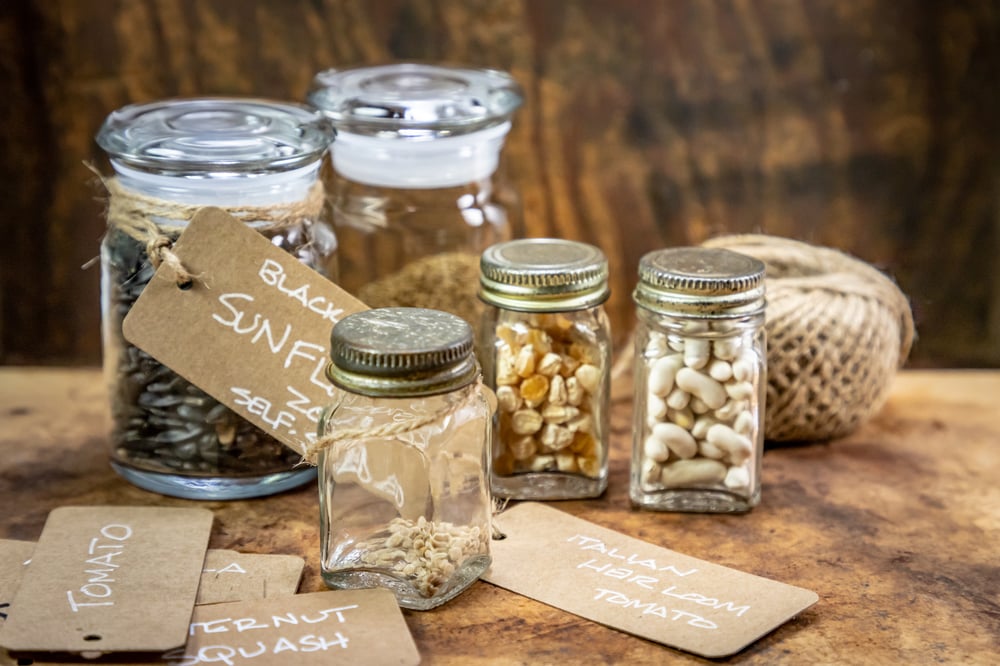
- Mason jars or plastic bags are used for storing seeds after they have completely dried. When storing, make sure mason jars have a tightly fitting top and plastic bags fully seal to reduce moisture from accessing the seeds.
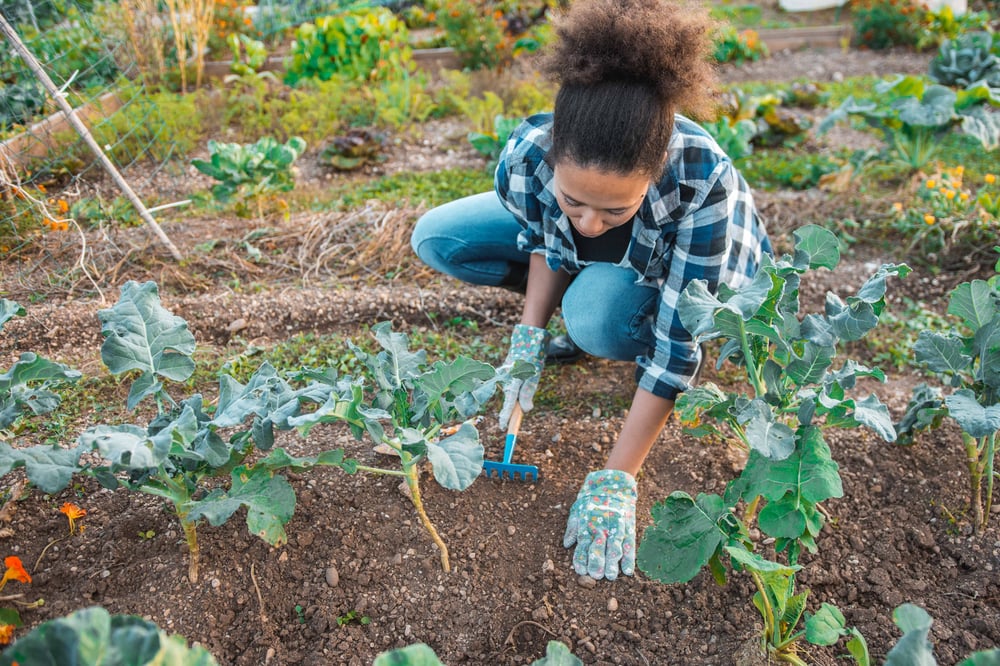
- Use a journal to keep good records of seeds saved. A journal can also be used to plan prior to seed saving. Map out garden spaces tailored to the crops you plan to save seed from. Consider each plant’s space needs and whether or not they need to be planted away from other varieties to reduce the chance of cross-pollination.
- A solid knowledge base is necessary for all homesteaders, gardeners, and farmers that plan to save seeds from their crops. “Saving seeds is generally low-tech,” says Hoffman. “It doesn’t take any special equipment, but it does take a good knowledge base. You need to know whether the plant is an annual or perennial, how it is pollinated and what distance it needs to be isolated to prevent cross-pollination. Knowing the elements and characteristics of each plant is important in your seed-saving journey.” Hoffman recommends purchasing a basic seed-saving book to help guide you and to grow your knowledge base.
Start with Open-Pollinating Plants
“When someone says, ‘I want to learn how to save seeds from my garden,’ I always recommend starting with tomatoes, beans and lettuce,” Hoffman explains. “These are just so simple and rewarding.”
Different varieties pollinate differently, self-pollination and cross-pollination. It is important to understand how pollination works to prevent cross-pollination when growing crops for seed saving.
“Self-pollination does not require other plants for pollination,” says Hoffman. “Isolation or distance is not necessary for preventing cross-pollination. This is only necessary when insects invade the flowers.”
If you are concerned about cross-pollination, there are a few things you can do in your garden to help prevent it:
- Only plant one open-pollinated variety in your garden. For example, by planting one variety of tomatoes, you decrease the likelihood of the wind or a bug carrying pollen to and from various tomato plants --- causing cross-pollination.
- Follow proper spacing needs in the garden for each variety, as distance is a critical part of ensuring the seeds you save are true and pure. A few examples include:
- Beans — because beans are self-pollinating, they are less likely to have cross-pollination issues. However, to be safe, plant bean plants that you plan to save seed from 10 feet apart.
- Tomatoes — at least 10-20 feet away from each other.
- Lettuces — to keep the lettuce variety pure, separate lettuces by 10-20 feet at a minimum.
Storing Seeds
The first step to storing seeds is ensuring they are completely dry. The best way to check for readiness is by the fingernail test — pushing your fingernail into the seed. If the seed cracks under pressure, it is ready to be stored. If your fingernail indents into the seed, give them another day or two to continue drying. A fan or dehumidifier can be turned on to speed the drying process.
Most seeds can be stored in a mason jar with a tight seal, a plastic bag, or paper envelopes. Be sure to label the jar or bag with the seed type, the year the seed was saved and the location the plant was grown.
Keep seeds in a dark and cool location free of moisture. The ideal storage temperature is around 50-60°F (10-15°C), with low humidity.
If stored properly, most seeds will keep for 4 to 10 years. The allium family (onions and leeks) have a shorter shelf life of only 2 years.
“Saving seeds from your garden is so rewarding,” says Hoffman. “Planting from seed is an ancestral practice for all of us. It’s an important process that I’m seeing a lot of people getting involved in. I love seeing gardeners and farmers take this practice to the next level.”
If you’d like to learn more about Hoffman’s seed company, The Living Seed Company, visit their website, https://www.livingseedcompany.com.
She also recommends purchasing her mentor and teacher, Bill McDorman's book and seed saving pocket guide, Basic Seed Saving. For more information about Bill McDorman, visit his Seed School site at www.seedsave.org.
You can also find them on Facebook, Instagram, and Youtube