Winter sowing seeds is a fun and simple way to jumpstart your garden months ahead. Here we share the ins and outs of getting started and how to be successful with milk jug winter sowing.
Winter sowing is a no-fuss, low-cost method of seed starting. You can begin right now for incredible results come Spring.
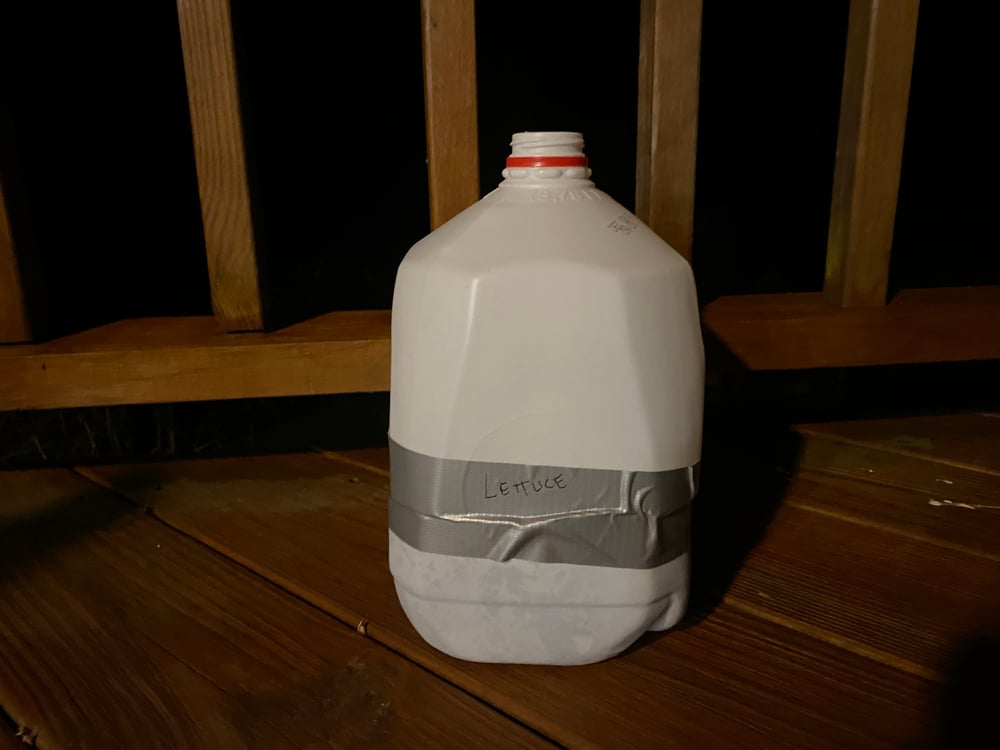
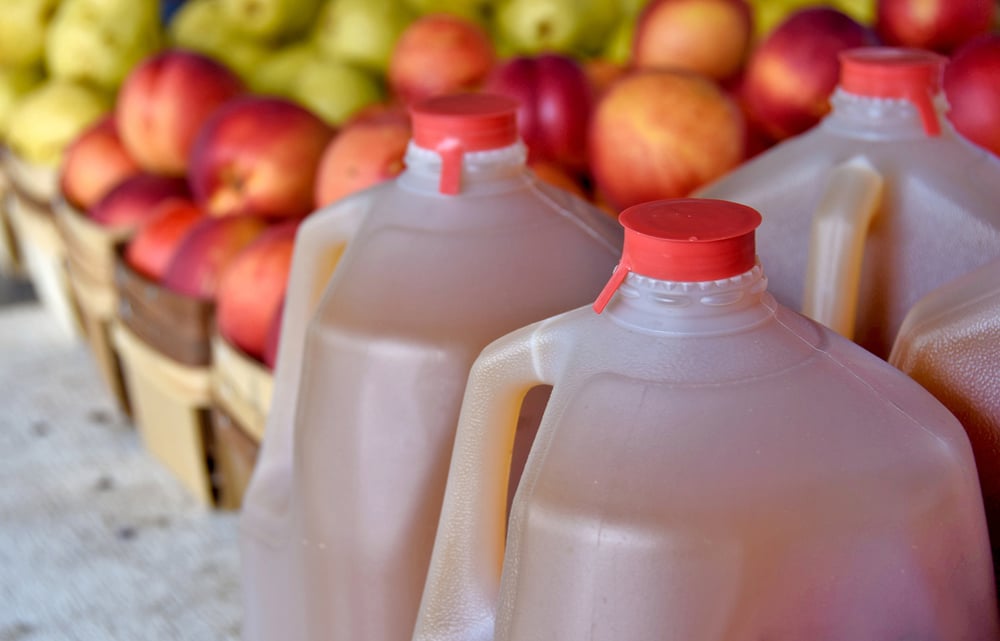
Winter sowing is a method of starting seeds in milk jugs, or similar plastic containers, outdoors during the winter. This simple yet effective gardening technique utilizes protected and vented containers to allow seeds to germinate naturally.
If you enjoy starting seeds for your garden, then give winter sowing a try.
In this article, I share my top tips and advice, including a step-by-step guide on how to get started.
What is Milk Jug Winter Sowing?
About 20 years ago, a seasoned gardener named Trudi Davidoff decided to experiment with her seeds. Sowing seeds indoors was a challenge with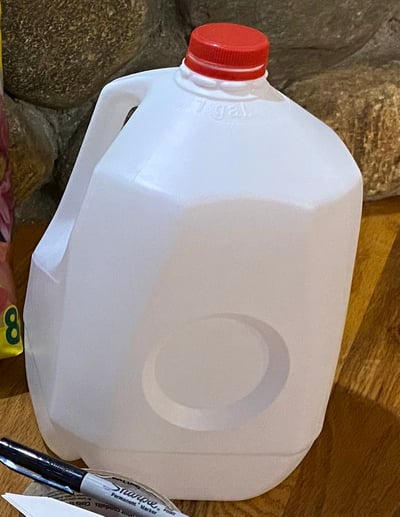 limited space in her small cottage home.
She knew many seeds required cold stratification, or a chilling period, before germinating. An avid recycler, Trudi happened to have a few plastic containers lying around. And so, she gave winter sowing a shot.
Her experiment paid off.
The following spring, her small containers were the home to many seedlings --- a pleasant surprise.
For several years, Trudi has been teaching others how to winter sow. Her technique was so successful that Trudi worked with the USDA to coin an official definition.
According to the USDA, winter sowing is “a propagation method used throughout the winter where temperate climate seeds are sown into vented containers and placed outdoors to foster naturally timed, high percentage germination of climate-tolerant seedlings.”
How Does Winter Sowing in Milk Jugs Work?
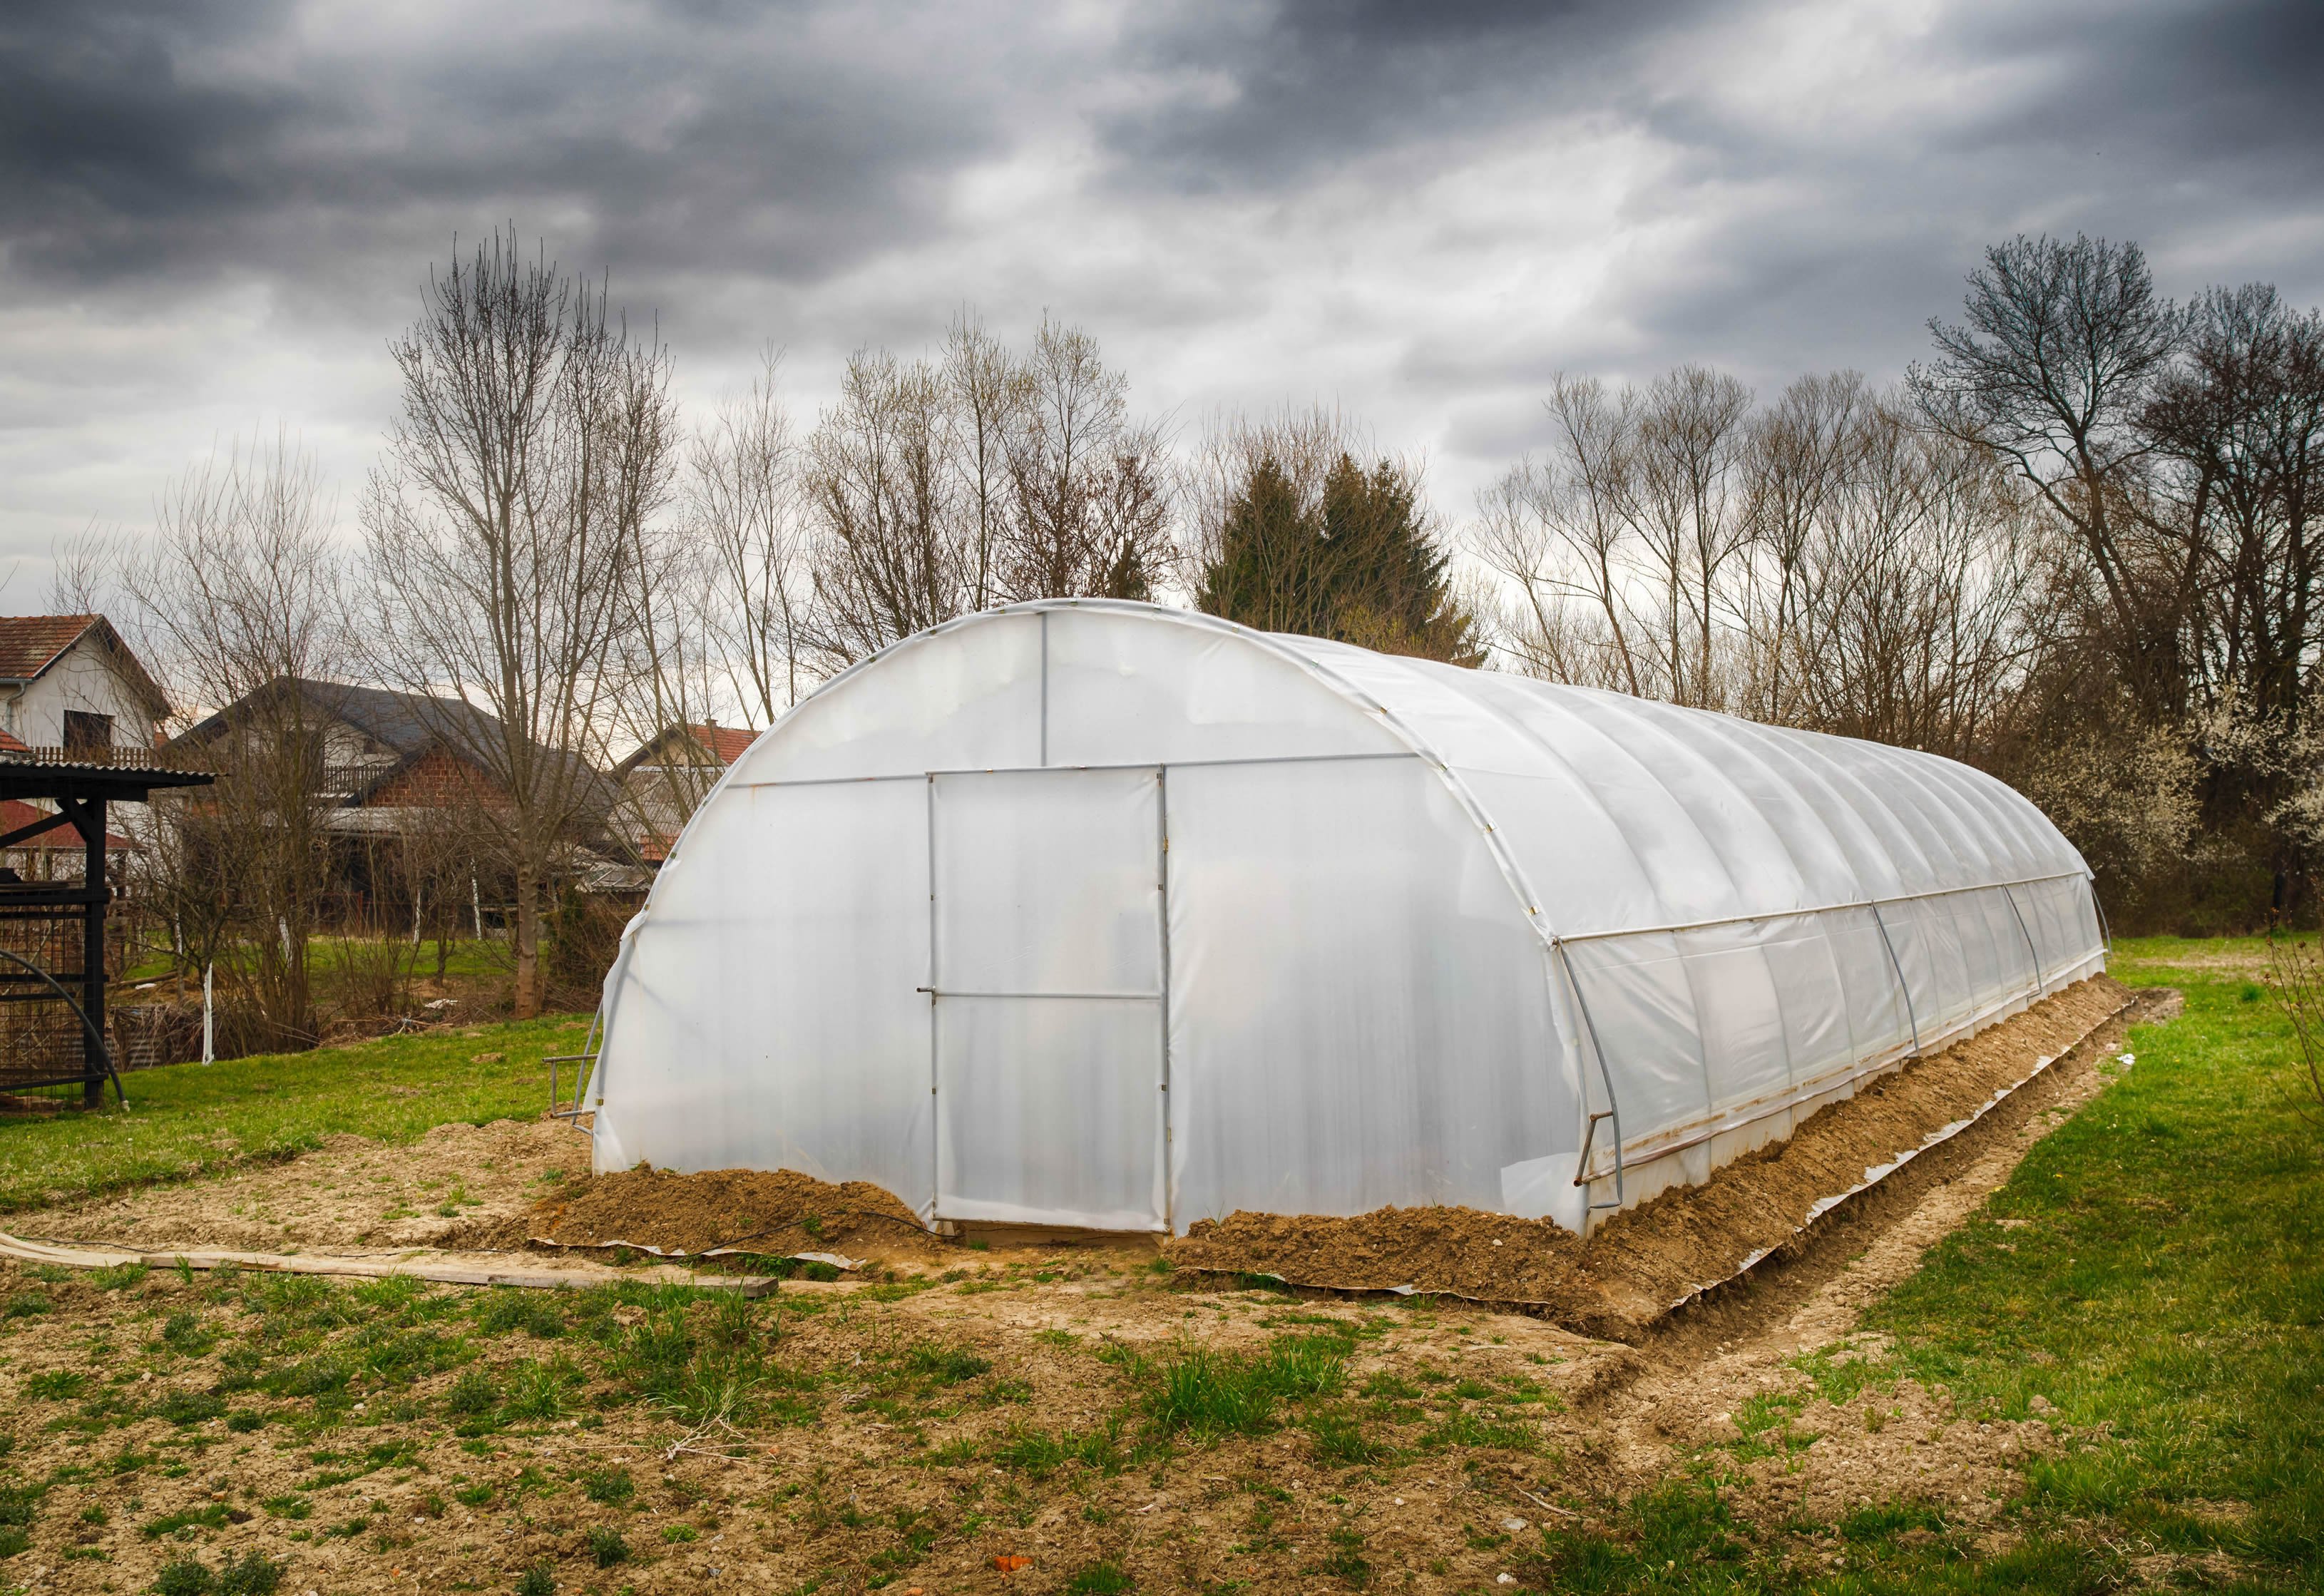
Winter sowing in milk jugs is an effective form of starting seeds naturally. The plastic container works as a greenhouse, protecting the seeds from getting eaten or blown away.
Over the course of winter, the soil freezes and repeatedly thaws until warmer temperatures arrive. This is the natural process of cold stratification --- an action that helps to loosen the seed coat, preparing for germination.
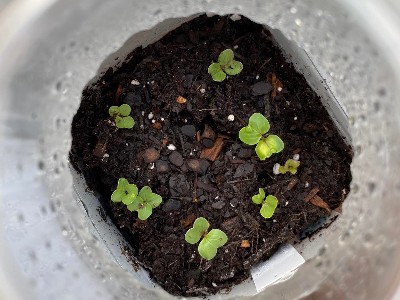
Due to their genetic makeup, each individual seed knows when it is safe to break the soil’s surface. At that point, as outdoor temperatures begin to warm, you will notice little seedlings appearing in your winter sowing containers.
What Are the Benefits of Winter Sowing in Milk Jugs?
There are many advantages to winter sowing seeds.
From experience, the top benefit is how simple and effective it is. At first, I could not understand how winter sowing in milk jugs, in the natural elements, over the course of winter, without my help, was doable. But it is! And it is really easy!
Many long-time winter sowers will tell you to "set it and forget it" and allow Nature to run its course.
Yes, the seeds will get rained, frosted, and snowed on. It is all part of the process and you don't need to worry about covering your winter sowing containers.
Because the plants germinate and grow inside the container, they are naturally hardened off. This means that you do not have to cover them when you transplant them into the ground. You don't need to protect them.
This exposure to natural winter conditions results in strong and hardy seedlings to plant in the spring.
In a nutshell, trust Mother Nature.
Additional benefits to winter sowing in milk jugs include:
- No leggy seedlings, thanks to the plants being conditioned to the outdoors.
- No expensive equipment is needed (so pack away those grow lights).
- The milk jugs prevent the seeds from washing away or being eaten.
- It gives the gardener something to do when the weather prevents you from digging in the dirt outdoors.
When is the Best Time to Winter Sow in Milk Jugs?
There really isn’t a set schedule for winter sowing seeds. Most only need eight weeks of cold weather to trigger the germination response.
Generally, most winter sowers begin setting their winter sowing containers outdoors on or after the Winter Solstice (December 21st for the US/Canada).
Below is an example of a timeline to follow:
November/Early December
- Begin gathering winter sowing containers (milk jugs, water jugs, cool whip containers, etc.)
- Purchase seeds and soil
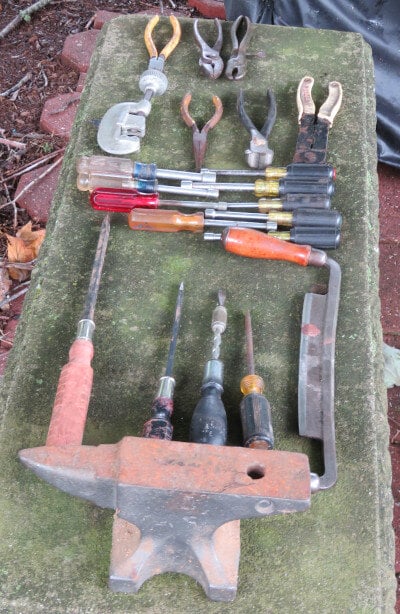
- Purchase or gather tools (drill, permanent marker, duct tape, coffee filters)
- Prep your containers: drill holes in the bottom of each container (about 4 per container) for drainage, cut the milk jugs in half, leaving a small portion still attached to act as a hinge, and set a coffee filter in the bottom covering the drainage holes
- Make plant markers
December 21st to Springtime
- Begin winter sowing! I suggest only doing 5 winter sowing containers a week five keep from becoming overwhelmed. You do not have to do all of your containers at once. You can set containers outdoors as long as the nightly temperatures are low.
- When spring evenings are in the 50s, this is an indication to stop winter sowing and begin summer planting.
December/February
- This is a great time to start winter sowing perennials (i.e., milkweed, foxglove, globe thistle)
- All native plants can be sown, as well as hardy annuals (i.e., black-eyed susan, poppy, pansy), some vegetables (i.e., spinach, broccoli, cabbage) and herbs (i.e., thyme, cilantro)
March
- Begin winter sowing half-hardy and tender annuals (i.e., marigolds and cosmos)
- This is an excellent time to begin winter sowing vegetables such as beets, lettuce and snow peas. I had great success with squash, zucchini and peppers.
April
- Set out tomatoes and basil in early April.
Again, this is not a rigid schedule.
Depending on your hardiness zone, and the types of native plants that grow well in your area, your timeline for winter sowing will differ from others.
A good rule of thumb is to look around at what grows naturally in fields and understand what grows well in your personal garden.
How Long Does it Take to Start Seeds in Milk Jugs?
For most seeds, an 8-week period of cold weather is all that is needed for starting seeds in milk jugs.
This does, however, depend on the genetic makeup of the seed.
When the seedlings have at least 2 or 3 real sets of leaves, that’s when they can be transplanted into the garden.
Your Winter Sowing Seed List
Believe it or not, any seed other than tropicals can be winter sown.
Spend some time looking through a seed catalog, and you will find that most will include some notation about the seed’s germination requirements.
Look for terms such as ‘needs stratification,’ ‘sow outdoors in early autumn, or ‘seedlings can withstand frost.’ These types of seeds work well for winter sowing.
When it comes to winter sowing vegetables, your hardiness zone is essential for ensuring a reliable crop. A good understanding of your soil, area and understanding of your soil, your area and your garden will help you gauge what vegetables will do well in your particular climate.
A few examples of excellent seed choices for winter sowing in milk jugs include:
Hardy Annuals:
- Sunflowers (Helianthus)
- Sweet Peas (Lathyrus odoratus)
- Alyssum (Lobularia)
- Forget-Me-Not (Myosotis dissitiflora)
- Poppy (Papver)
- Pansy (Viola tricolor)
- Petunias (Petunia hybrida)
- Mallow (Malva)
- Baby’s Breath (Gypsophila)
- And so many more!
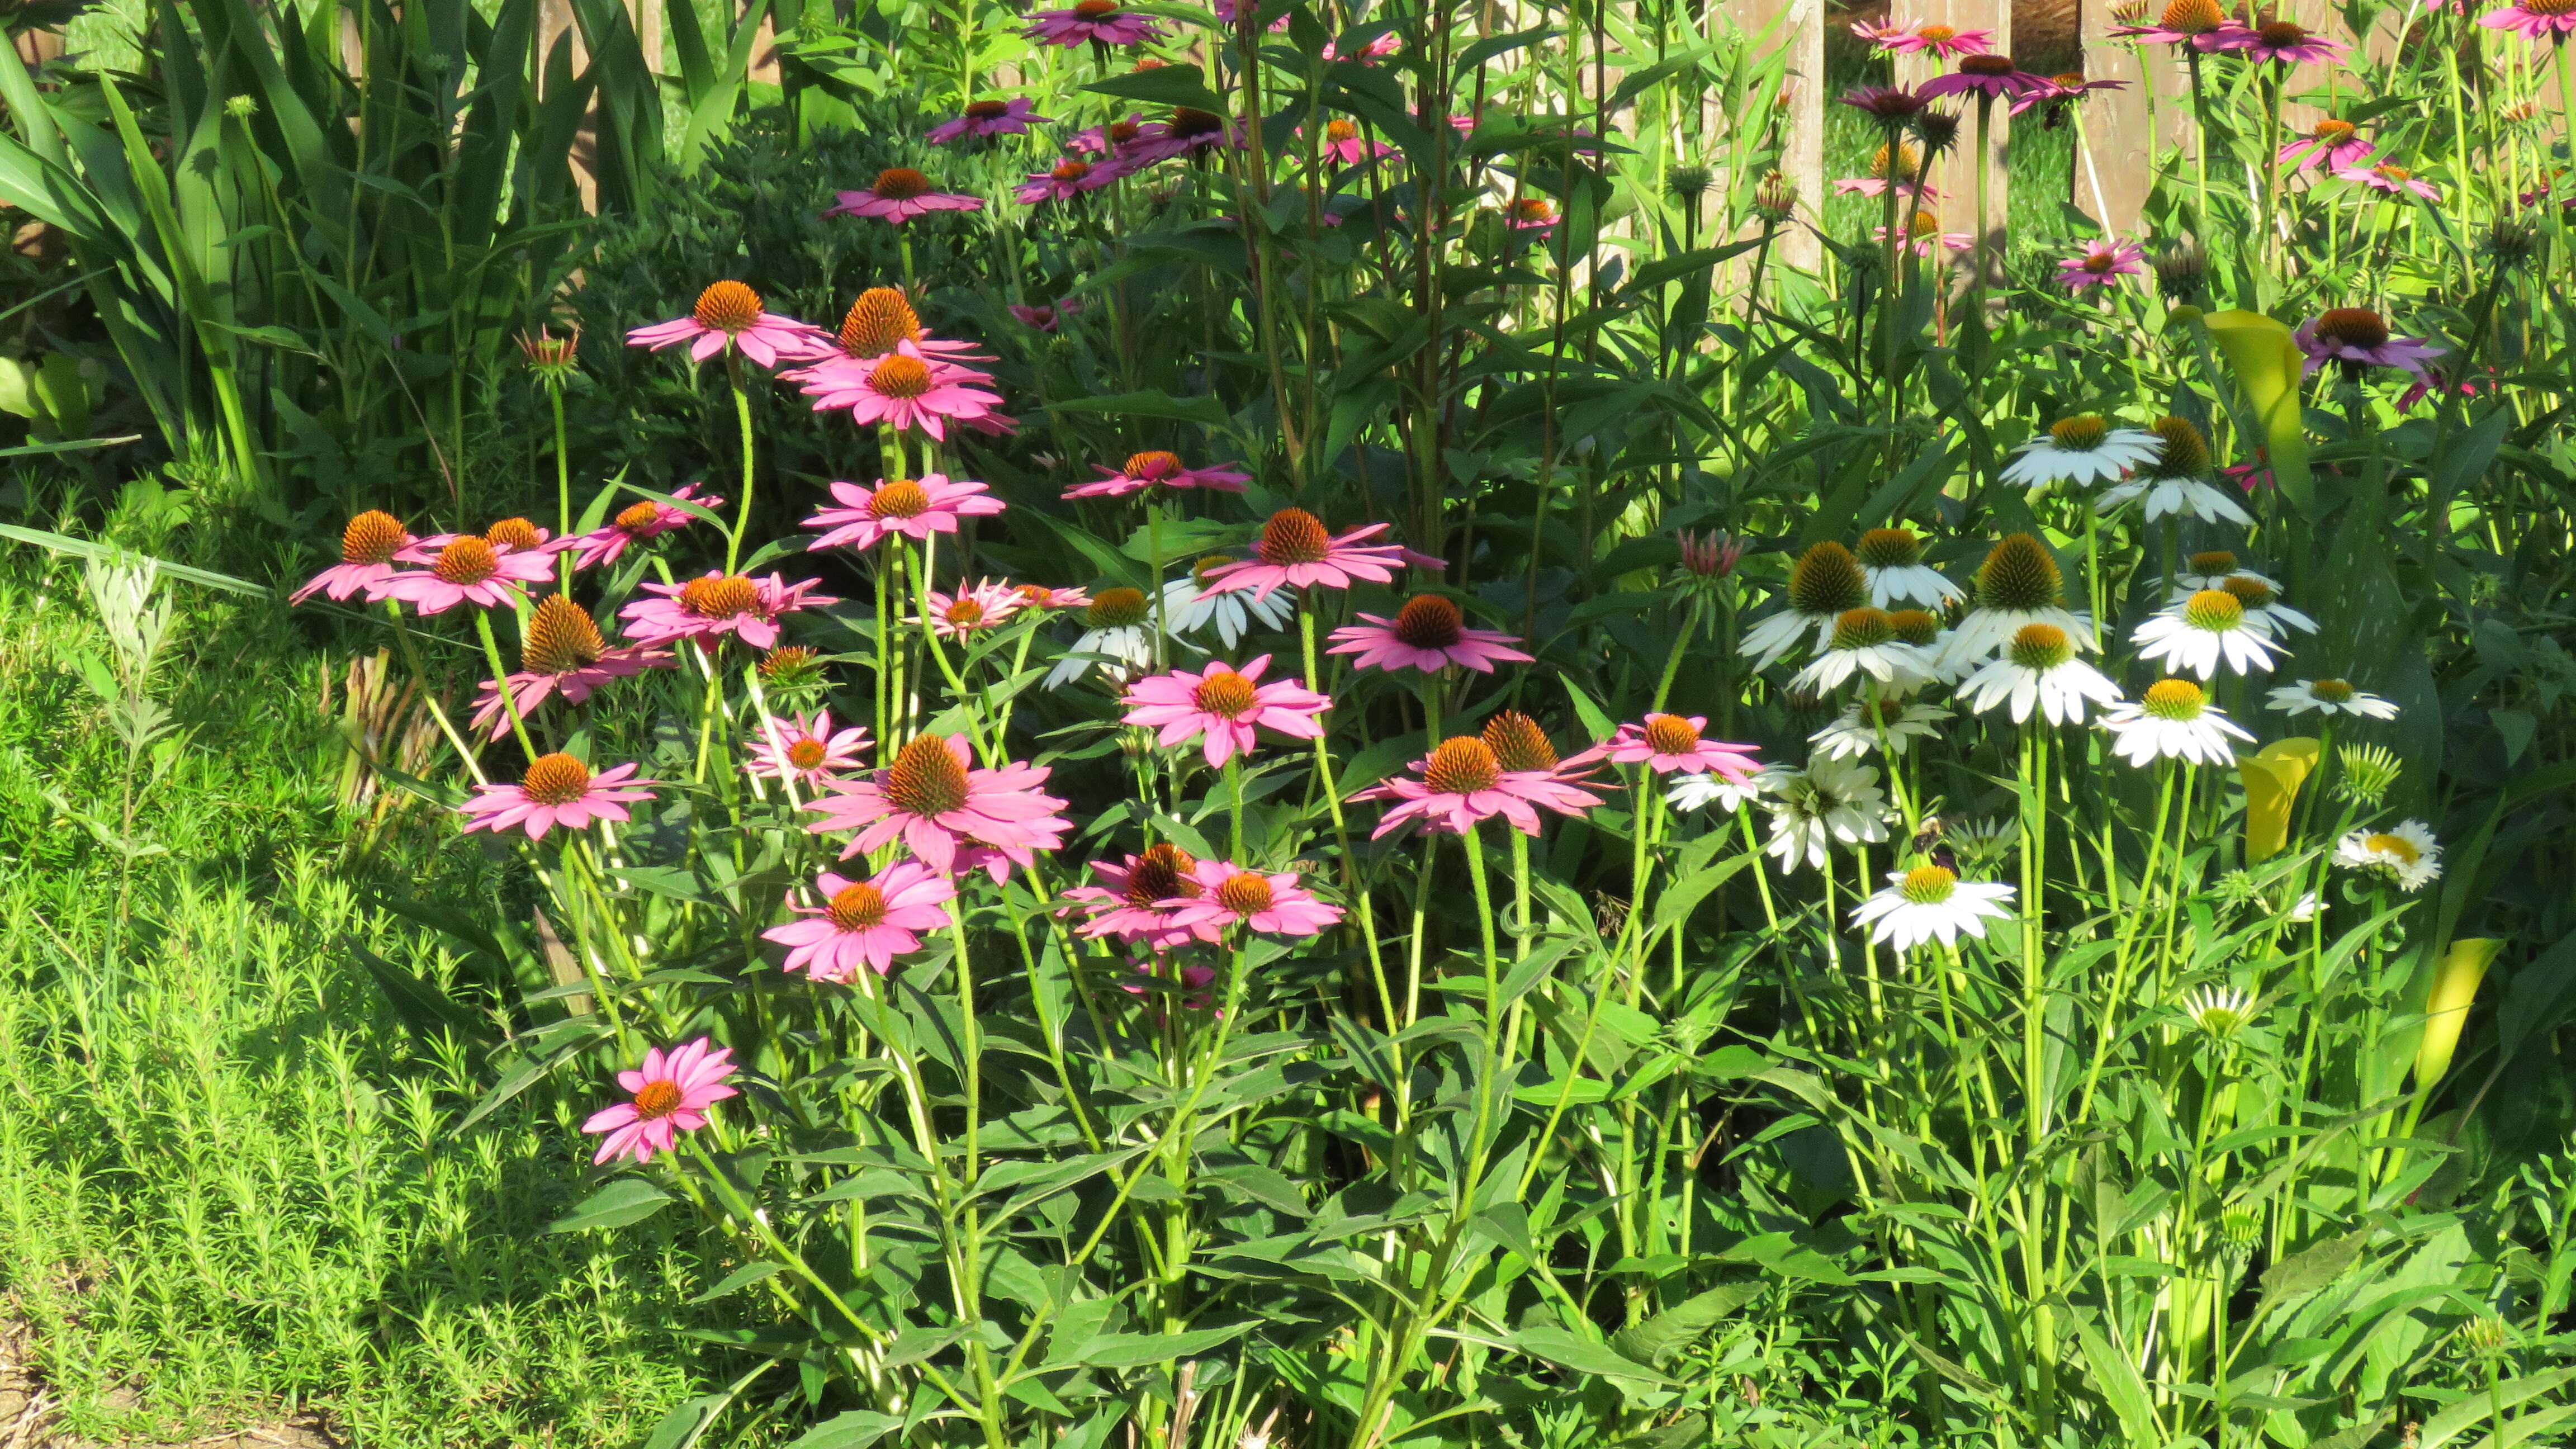
Perennials (with suggested hardiness zones):
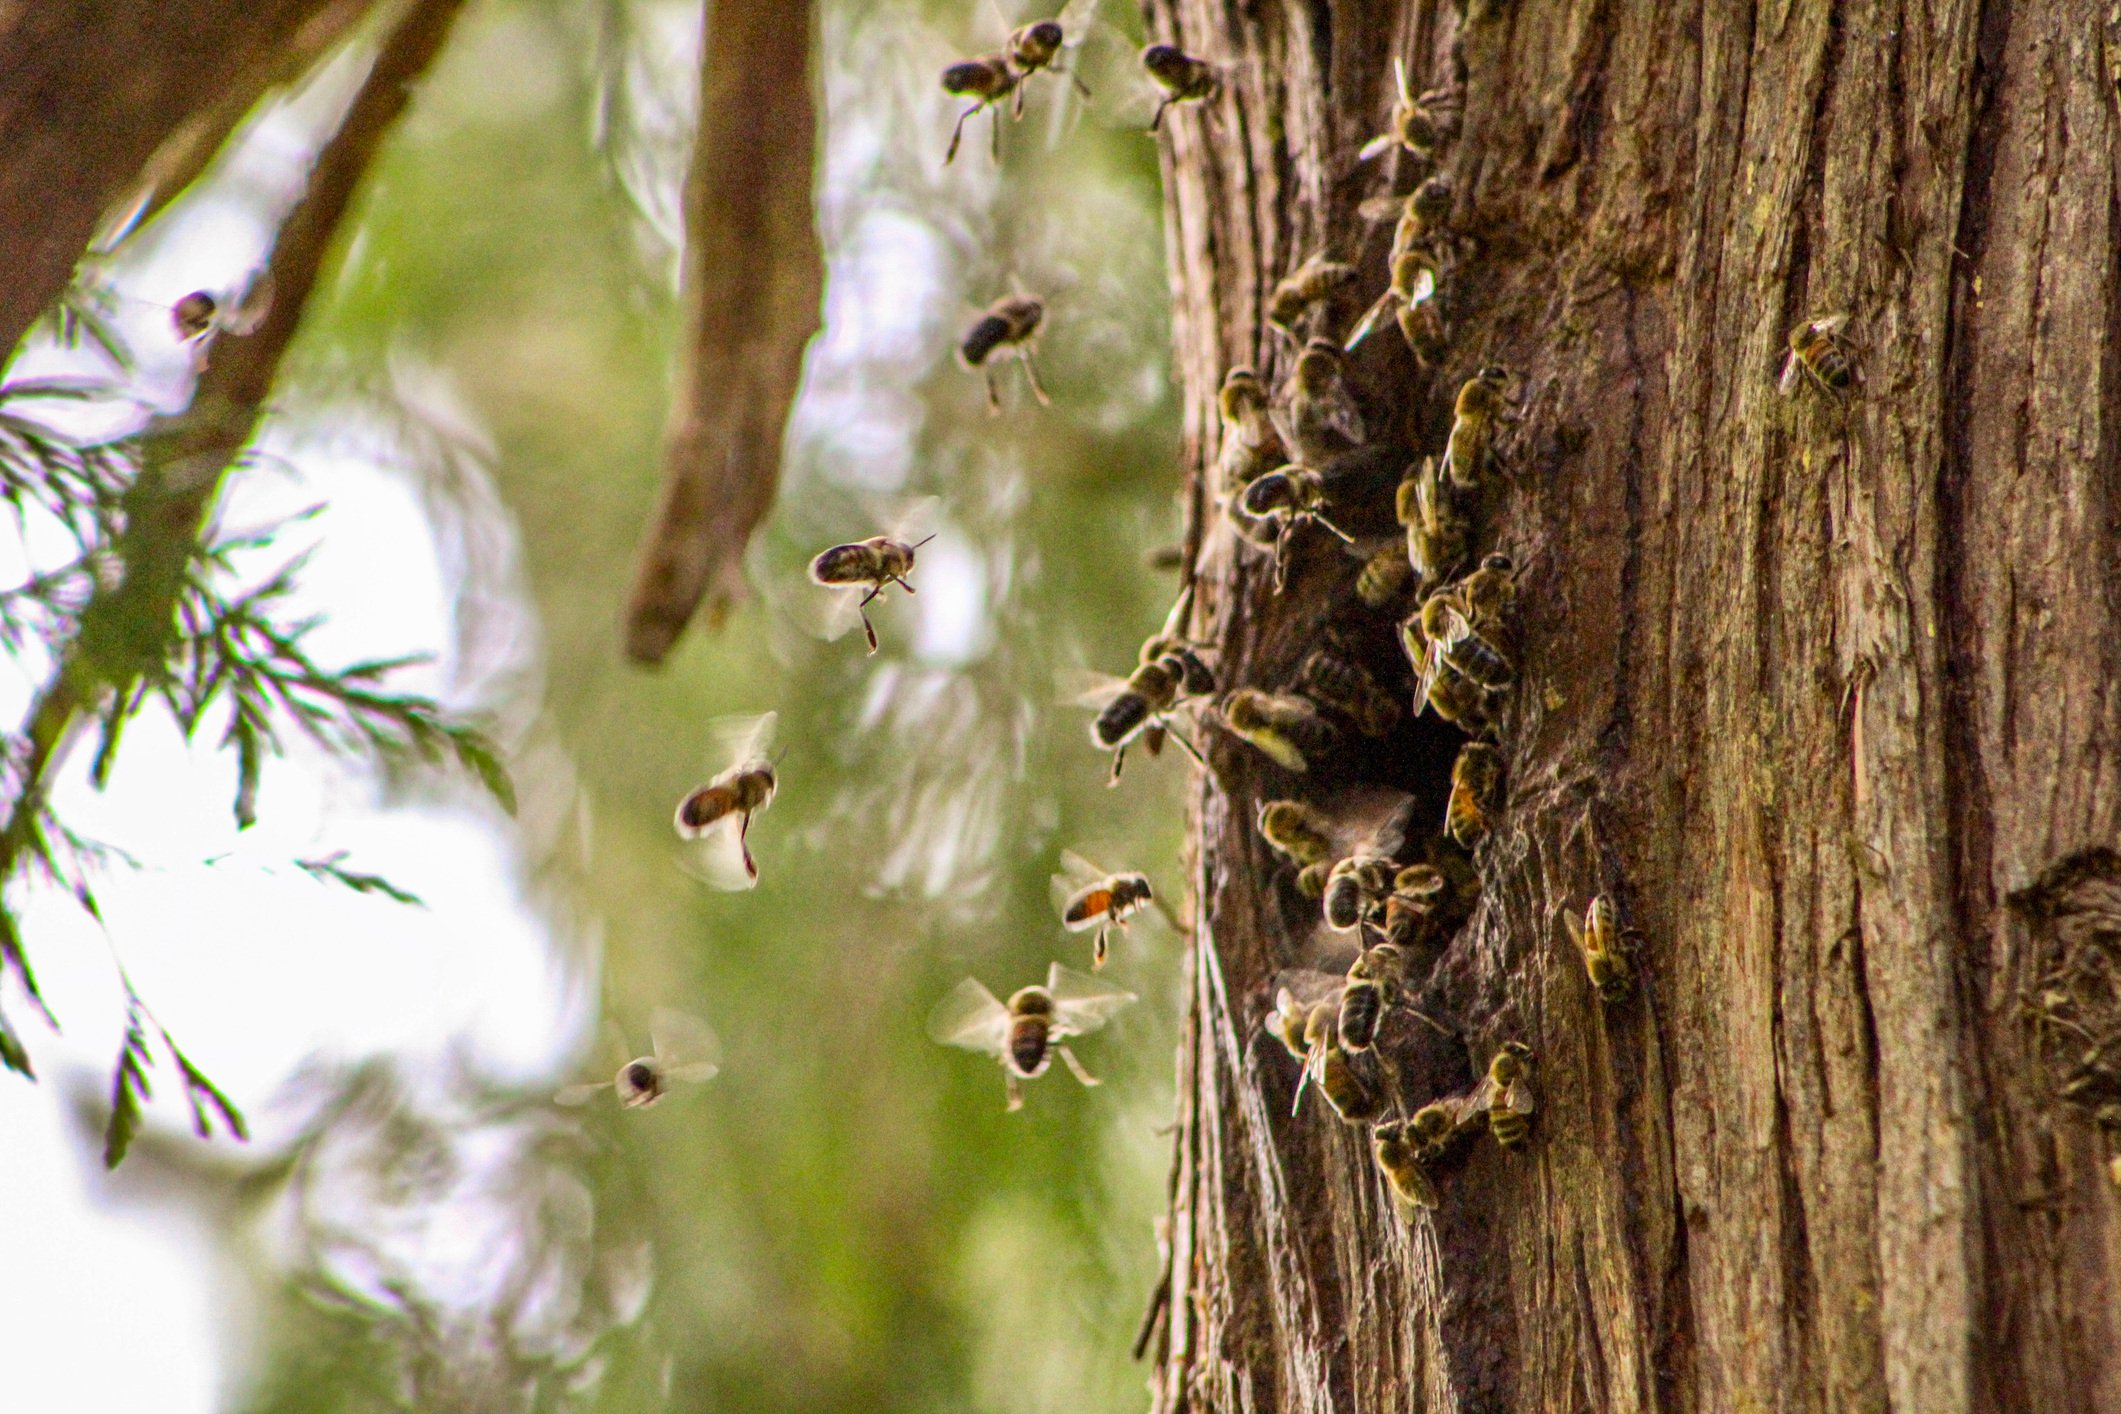
- Bee Balm (zones 4-9)
- Butterfly Weed (zones 3-9)
- Carnation (zones 4-8)
- Chrysanthemum (zones 5-10)
- Hosta (zones 3-9)
- Iris (zones 4-9)
- Lily (zones 4-8)
- Primrose (zones 5-8)
- Red Hot Poker (zones 6-10)
- Yarrow (zones 3-10)
- And many, many more!
Vegetables:
- Onions and Garlic (The Allium Family)
- Beans
- Broccoli and Cabbage (The Brassica Family)
- Carrots
- Corn
- Cucumbers, Squash, and Gourds
- Leafy greens
- Okra
- Peas
- Radishes
- Spinach
- Tomatoes
Herbs:
- Anise
- Basil
- Dill
- Lavender
- Lemon Balm
- Oregano
- Parsley
- Thyme
- And many more!
What is the Best Soil for Winter Sowing?
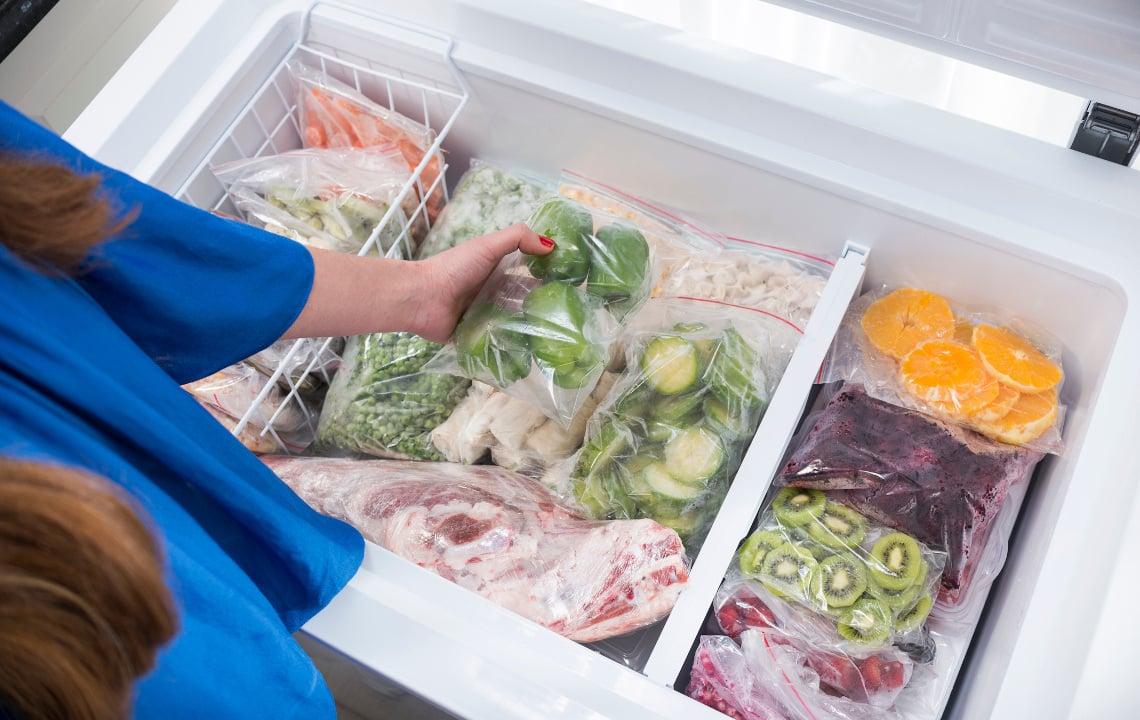
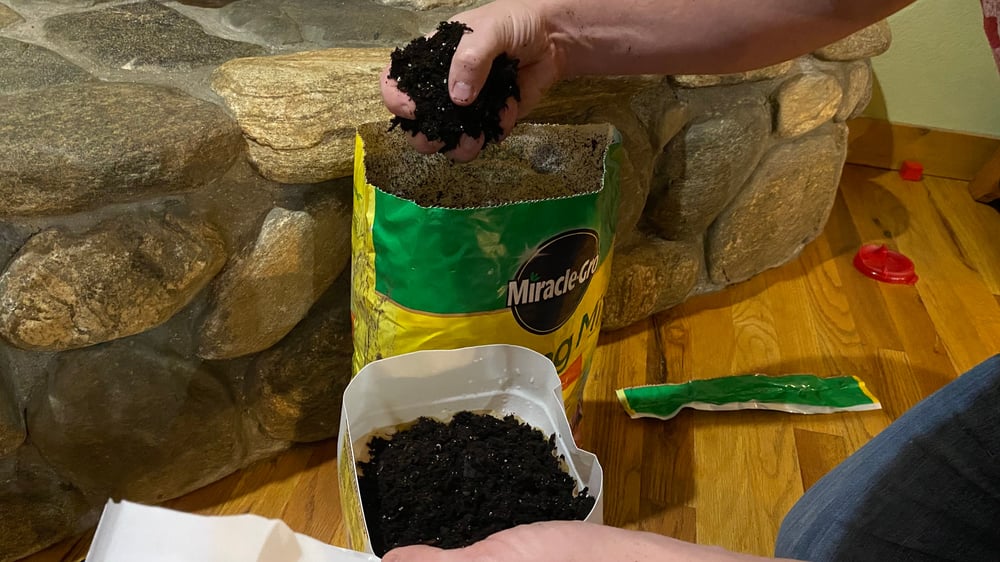
Any planting medium will work, but potting soil or potting mix is commonly recommended.
Soils containing moisture crystals help absorb extra water from rain or snow while your containers are outside, which can help keep your soil moist throughout the season.
But use caution. If you live in a wetter climate region, moisture-added soils can become overly wet, causing green algae or mold to grow in your winter sowing containers.
Bags of soil containing mild fertilizers are okay to use for winter sowing. This can be beneficial, as seedlings will not require additional fertilizer before transplanting into garden beds.
Avoid cheap soils as they are inconsistent and tend to be filled with ‘fillers.’ Also, avoid soil bags that claim they are ‘weed-free’ because they contain chemicals that can prevent weed seeds (i.e., milkweed) from germinating.
What are the Best Containers for Starting Seeds?
Almost any plastic container can be used to winter sow, so long as it can hold at least 3-4” potting soil. In addition, containers that are transparent, translucent, or opaque are best.
Transparent containers allow light to pass through, while translucent containers allow some light to pass through. These containers do not require additional cutting or windows to provide seeds with adequate sunlight.
Opaque containers, on the other hand, do not allow sunlight to pass through. Because of this, if opaque containers are used for winter sowing, you will need to cut small windows to provide the necessary light. 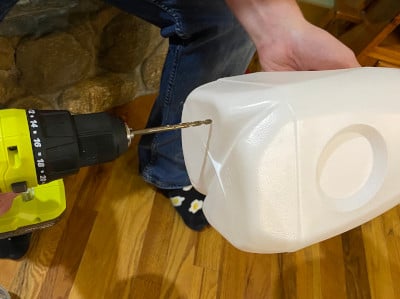
Below is a list of tried and true winter sowing containers:
- Milk or water jugs
- Clear orange juice containers
- Large cool whip tubs
- Plastic storage bins
- Rotisserie chicken containers
Putting it All Together: How to Winter Sow.
- Gather all of your tools and seed-sowing items. You will need the following:
- Clean milk jugs or similar translucent containers
- Seeds and potting soil
- Spray bottle
- Coffee filters
- A drill or sharp knife
- Duct tape, permanent marker, and plant tags
- Clean milk jugs or similar translucent containers
- Winter Sowing Instructions
- Clean your containers using warm soapy water. Rinse well.
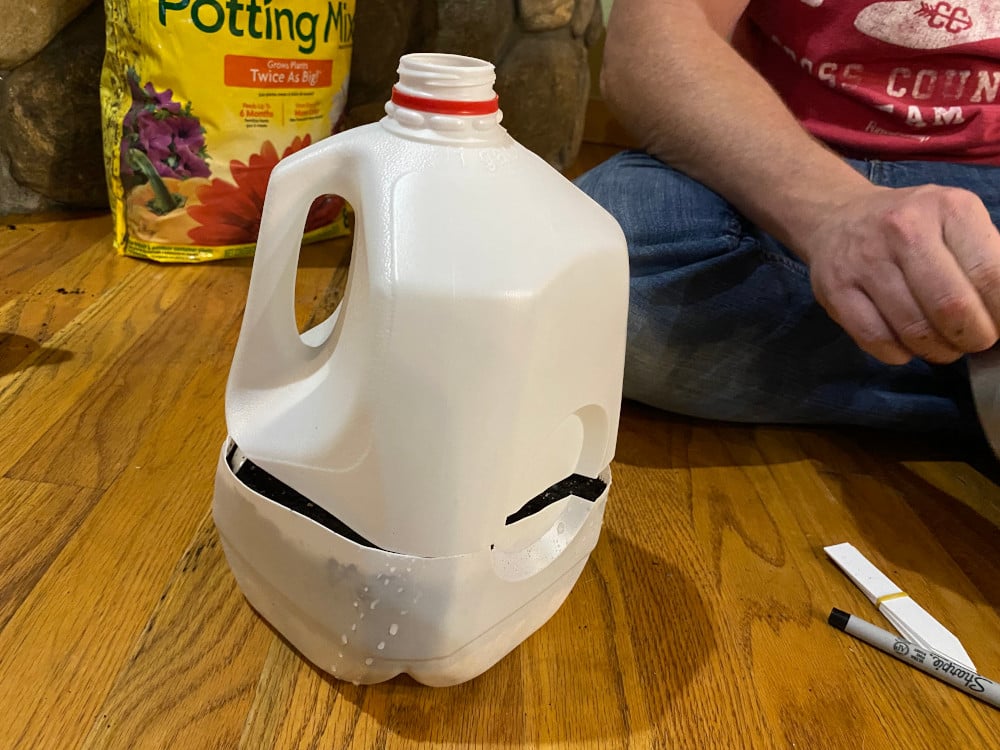
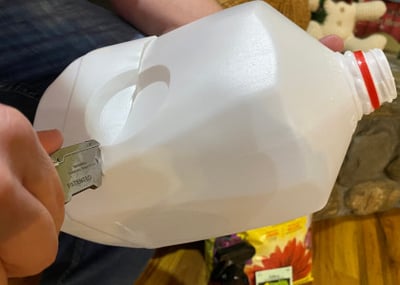
- Cut your containers in half.
- Drill 4 holes into the bottom of each container for proper water drainage. Add a single coffee filter (unbleached is best if you're concerned about chemicals) to the bottom inside of the jug, covering the drilled holes. The coffee filter allows water to drain while keeping the soil in your container.
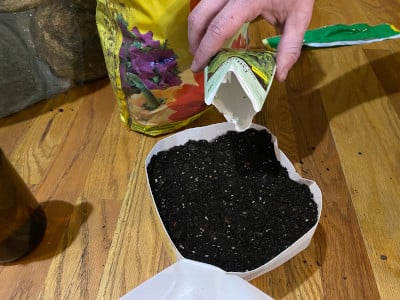
- Add potting soil to the container, leaving about an inch of headspace.
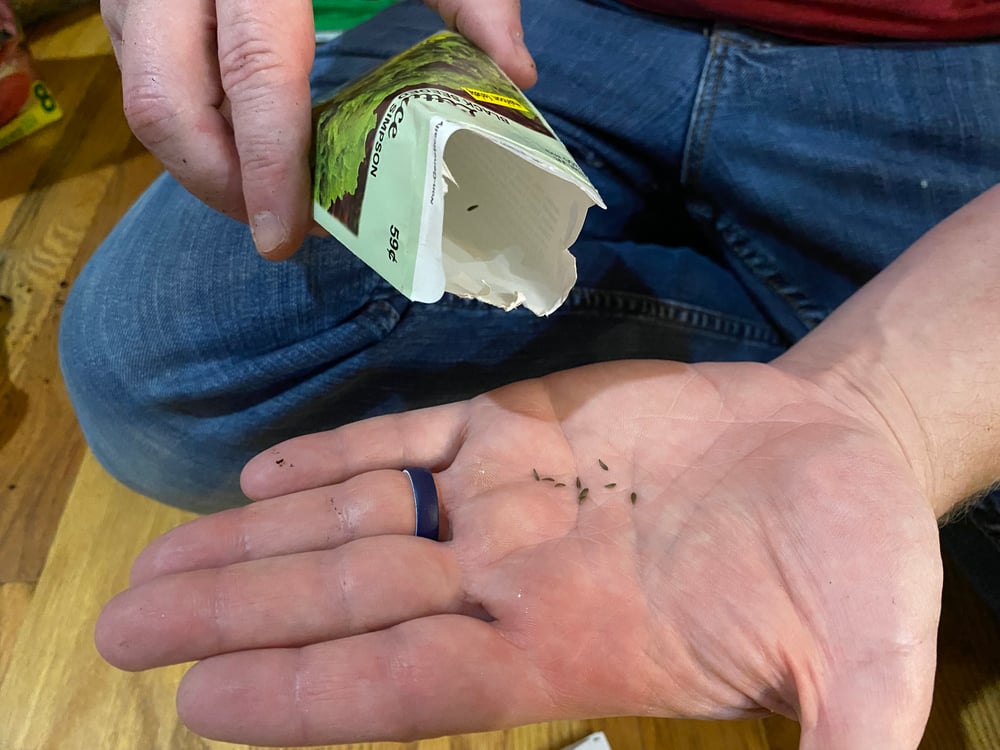
- Add seeds to the top layer of the soil.
- For tiny seeds, I like to sow about 10-15 per container. I’ll sow 4 or 5 in a single container for larger seeds.
- Add a top layer of soil over the seeds, gently patting it down with your fingers. Label a plant tag and push it down into the soil.
- Spray the soil with water to dampen it.
- Reapply the top portion of the milk jug and duct tape around the cut seam. Leave the screw top off, as this allows your container proper ventilation. Also, you want rain and snow to access your seedlings.
- Label the outside of your container with a permanent marker.
- Set the containers outside in an open-air location.
- Leave the containers outside, monitoring the soil regularly to ensure it does not dry out. Add water when needed. You can open the containers for sun and air access as spring approaches.
- You will know your seedlings are ready to transplant in spring when they have at least three (3) leaves.
- Clean your containers using warm soapy water. Rinse well.
The greatest piece of advice for any new winter sower is to trust the process.
Trust that Mother Nature can and will provide all the tools needed to start seeds for your spring and summer garden.
With some prep work and effort, you’ll soon reap the benefits of winter sowing.