Building a simple forge for metalworking is within the capabilities of most anyone. Those who enjoy a rural lifestyle or homesteading may find it a means of creating useful tools. The scope of this article covers building a forge and anvil for relatively small items.
Heating metal for bending and shaping requires a number of elements for success.
It involves the use of fuel that can generate high temperatures, something to contain the fuel and a source of airflow that will bring the fuel to its highest heat potential.
Securing Materials for Your Forge and Anvil
 The first step is securing the parts.
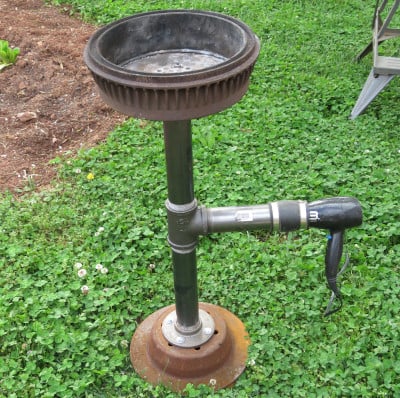
For heating small parts, a brake drum from an automobile or truck is sufficient.
In my project, I chose to use two brake drums at a cost of under $20 for both.
One was inverted to use as the base, and the other was used as the receptacle for the fuel.
I purchased a 2" I.D. pipe for the main trunk of the forge.
Two 12" threaded pipes, one 8" section, a 2" “T” connector and two 2" floor flanges were required to complete the project.
The pipe was ordered from a plumbing supply house and cost approximately $25, but it could probably have been purchased at a salvage yard for less.
Assembly of the Forge and Anvil
A hand drill was used to drill holes in the two brake drums matching the hole spacing of the floor flanges.
Six hex head bolts, washers and nuts were used to attach the flanges.
After that, it was simple to screw the 12" pipe sections into the flanges. They were both screwed into the “T,” and the 8" pipe was screwed into the “T” to extend horizontally.
A rubber fitting I already had available was slipped onto the end of the 8" pipe section and created a snug receptacle for the end of a hair dryer.
With these simple steps, a forge was created.
I used a circular floor grate to keep the fuel from falling down into the pipe opening, and the hair dryer created the airflow to increase the heat potential from the fuel.
Fuel Choices
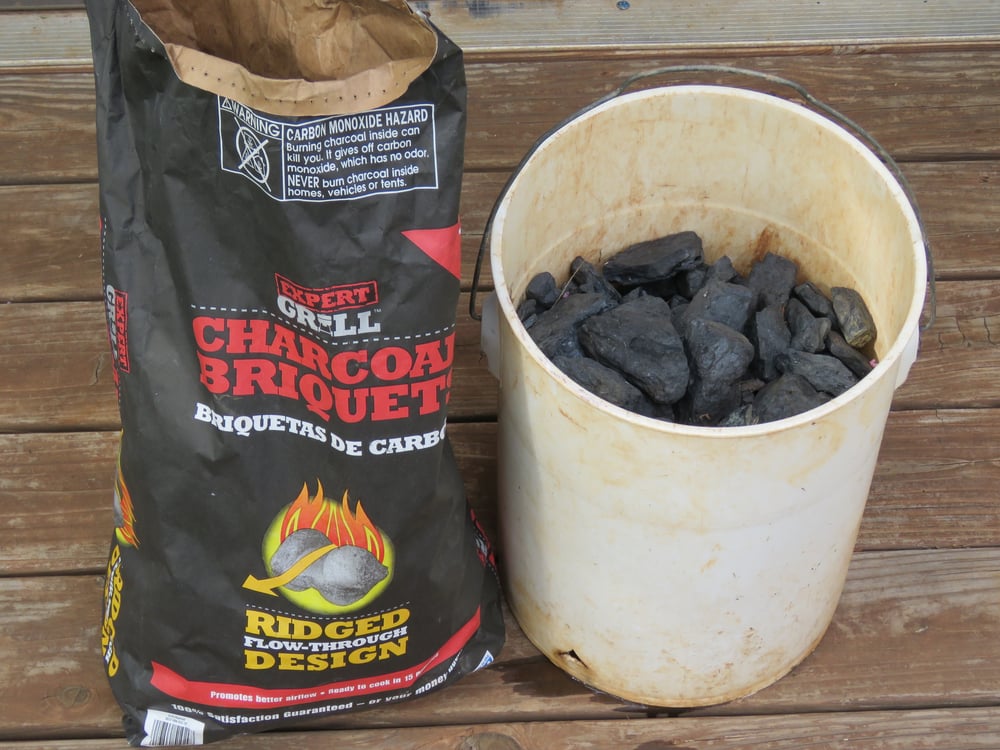
Regarding fuel, coal is the best since it generates more heat and lasts longer, but charcoal may be used.
I usually fire up the forge with charcoal and add coal to generate more heat. Small-size coal is desirable. If only large coal is available, break it with a hammer into a more suitable size.
How to Create Coke
If coal is soaked in water prior to use, it will perform better.
Coal may be burnt in a low-oxygen environment to create coke. Coal is black, but after it burns it produces coke, which is lighter in weight and gray in color. Coke will burn hotter and is desirable for heating metal for blacksmithing projects.
Coke will occur naturally when burning coal in a forge, but it may be created in bulk by placing it in a metal container, igniting it and then sealing the container with only a small hole where gases may escape.
This is a similar technique for creating char cloth for primitive fire starting.
In this manner, a large supply of coke for forging and blacksmith projects may be created.
Making a Basic Anvil
Another key element in metalworking is the need for an anvil.
A simple anvil may be created by shaping a section of railroad track to a point on one end.
I had a section on hand that was given to me and used an angle grinder with metal cutting discs to cut and shape one end of the track.
It is an arduous task, and I must admit I destroyed one angle grinder that was too small for the job! I had to replace it with a heavy-duty model to finish the task. So, learn from my mistake and use a heavy-duty version.
Railroad track is very hard and makes a great anvil for the novice. If you find that you enjoy metalworking, you may choose to seek out a used anvil for purchase, but they are expensive.
If you plan to do any cutting with a chisel on your anvil, you may wish to fashion a special plate to sit over the anvil face to protect it from being disfigured by the chiseling action.
The face of the anvil should be kept in as smooth a condition as possible.
Tools for Bending Heated Metal
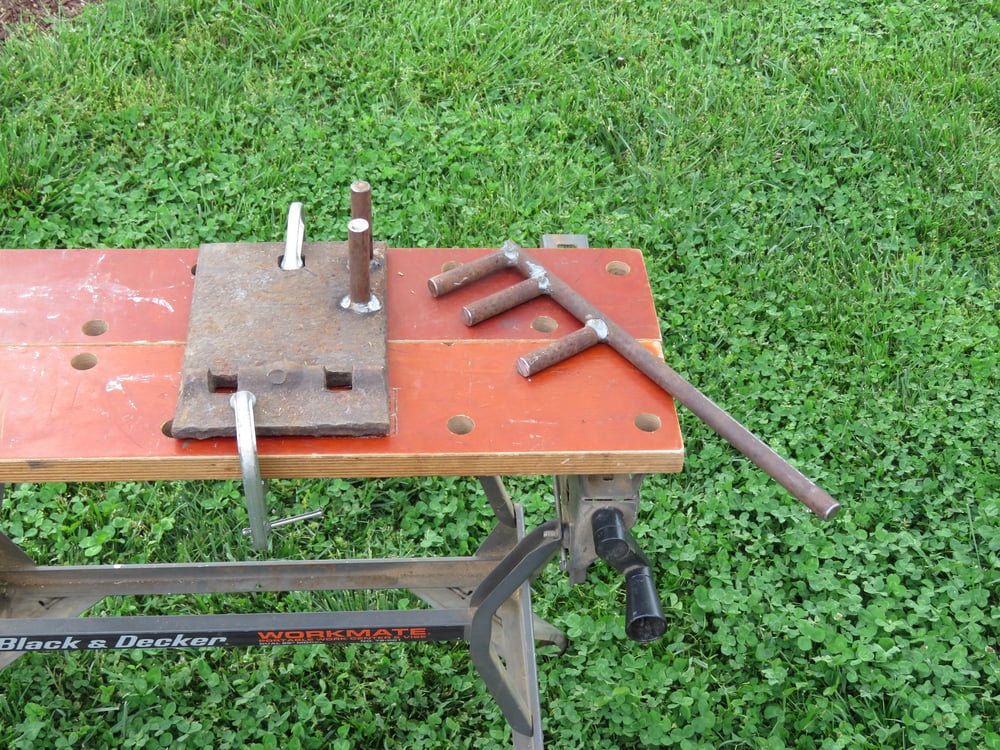
Next, I created some additional tools for bending hot metal.
I had a friend weld two rods vertically onto a metal plate. The plate may be clamped onto a workbench and used for metal bending.
The same friend welded a hand-held tool for bending metal that may be used alone or in conjunction with the one clamped to the workbench.
Hammer Requirements
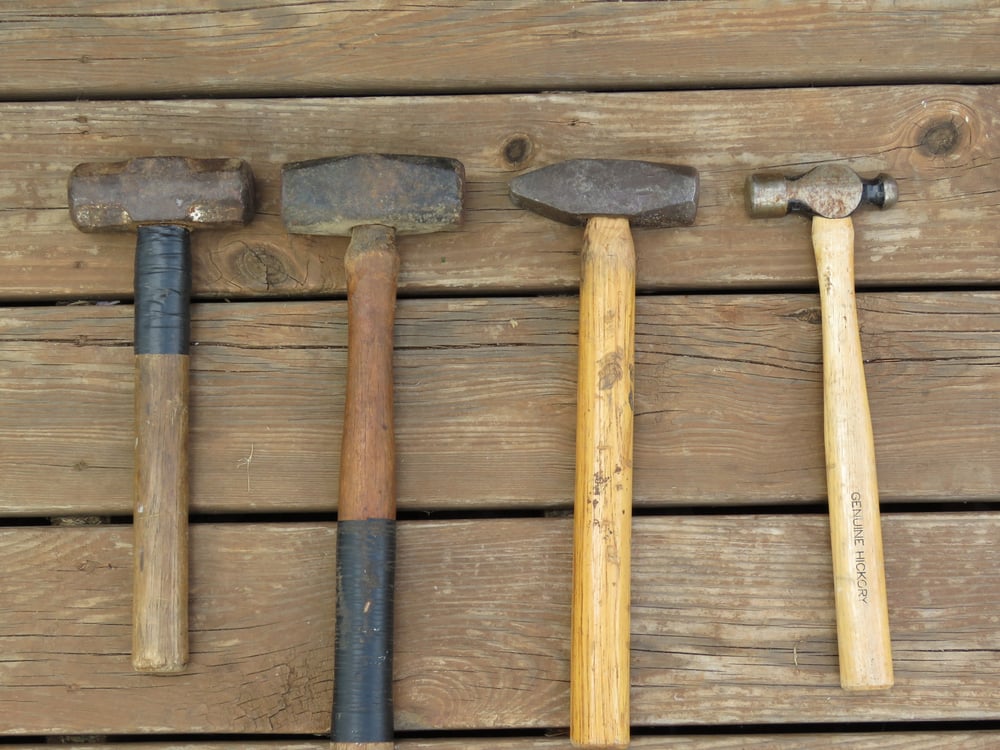
You will need an assortment of hammers for metal working.
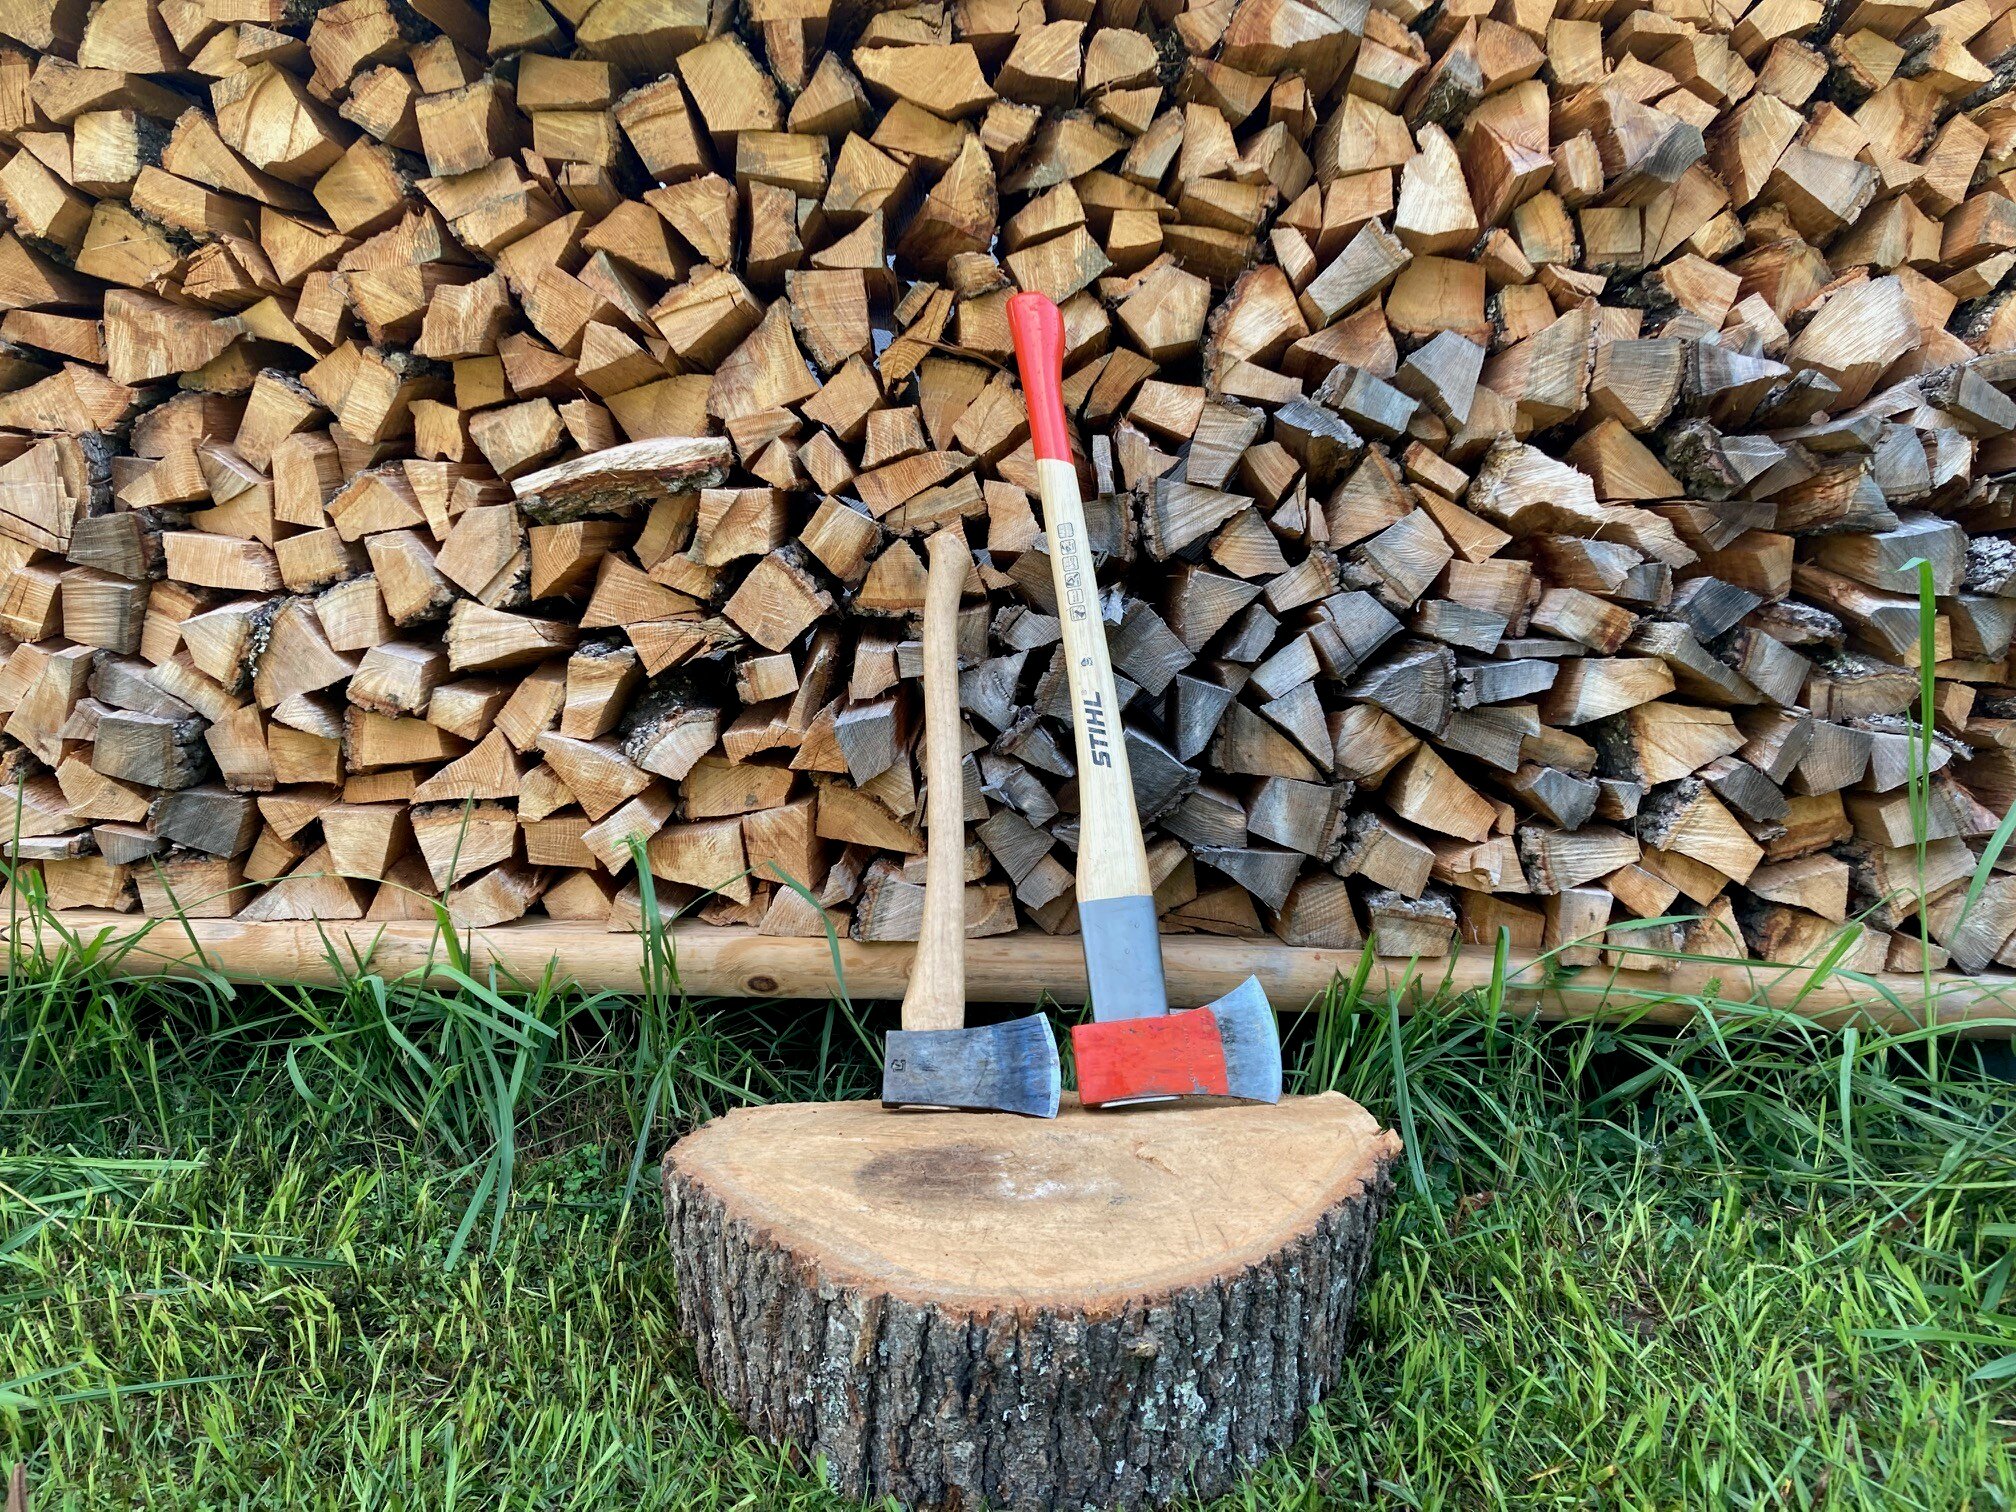
I was fortunate to have several that had belonged to my father. To begin, I would suggest getting a heavy cross-pein, a ball pein and a short-handled sledge (pictured below). You can add more later as needed.
Getting Started
If you have an interest in pursuing blacksmithing as a hobby or as a way to make your own tools and metalware, I would suggest learning by doing online research, reading and watching videos as much as possible.
Even better, finding a blacksmith mentor will speed up the learning process immensely.
Metalworking is very enjoyable and rewarding, but you will need to apply yourself to the learning process to produce satisfactory results.
The basic tools to get started may be had for a minimal investment, and you can make many of the needed tools after the initial project of making a forge and anvil is completed.
Metalworking is addictive, and in addition to making items such as fire sets, wall hooks, hand tools and more, many blacksmiths venture into artistic metal work that can be lucrative and artistically challenging.
Whether as a hobby or a profession, metalworking is a very rewarding pursuit.



.jpg)

